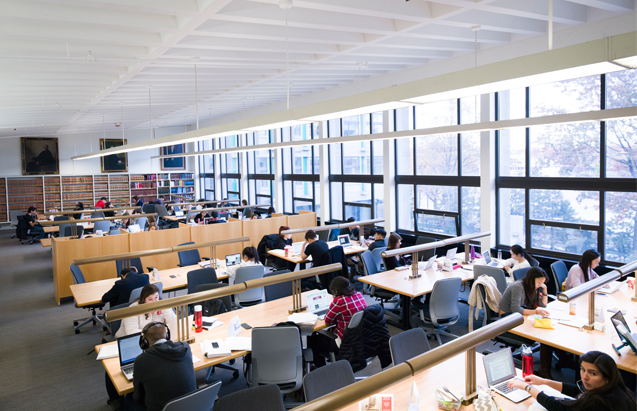
Computer Services: Configuring your Mac for Library Printing
First download the Pharos PopUp client
- Go to http://www.pharos.com/Support/downloads/mac/mac-components.html
- Click on the file name Popup.dmg listed under Pharos Popup for Mac OS 10.4-10.6.
- Double click on the file name to install this file.
Next, add the printer:
- Go to Applications > Utilities > Printer Setup.
- Click the Add button in the toolbar, then hold down the Option key on the keyboard and click the More Printers... button.
- From the topmost menu, select Advanced.
- From the Device menu, select Pharos Print Server.
- In the Device Name field, enter a name to help you identify the printer, such as Library Printer.
- In the Device URL field, enter: popup://128.197.170.64/student_printing
- From the Printer Model menu, select "Generic".
- Click Add. The printer will now appear in the print dialog of any application with the name provided in step 5.
First download the Pharos PopUp client
- Go to http://www.pharos.com/Support/downloads/mac/mac-components.html
- Click on the file name Popup.dmg listed under Pharos Popup for Mac OS 10.4-10.6.
- Double click on the file name to install this file.
- Open System Preferences and click on the Print & Fax icon.
- Click the + button.
- If you do not see the Advanced button on the Print & Fax toolbar:
a. Hold down the Control key on the keyboard and click anywhere on the toolbar.
b. From the popup menu that appears, select Customize Toolbar.....
c. Drag the Advanced icon to the toolbar.
d. Close the customization dialog. - Click on the Advanced button in the toolbar.
- From the Type menu, select Pharos Print Server.
- In the URL field, enter: popup://128.197.170.64/student_printing
- In the Name field, enter a name to help you identify the printer, such as Library Printer.
- From the Print Using menu, select "Generic PostScript Printer".
- Click Add. The printer will now appear in the print dialog of any application with the name provided in step 7.