- Scan to Email/Cloud Storage is available on any of our MyPrint Multi-Function Devices. You can find the nearest scanning-capable device on the MyPrint: Locations page.
- There is no charge for scanning to Email/Cloud Storage.
- Currently only BU Google Drive and BU OneDrive (Faculty/Staff Only) are available for Scan to Cloud Storage.
- MyPrint Scan to Email/Cloud Storage is NOT Approved for HIPAA Data
- The first time you scan to cloud storage, you will be asked to authorize PaperCut to save files to your account. More information can be found in the Authorize PaperCut to Scan to Cloud Storage section.
Scan to Email/Cloud Storage at a MyPrint Device
- Swipe your BU ID or login via the onscreen keyboard

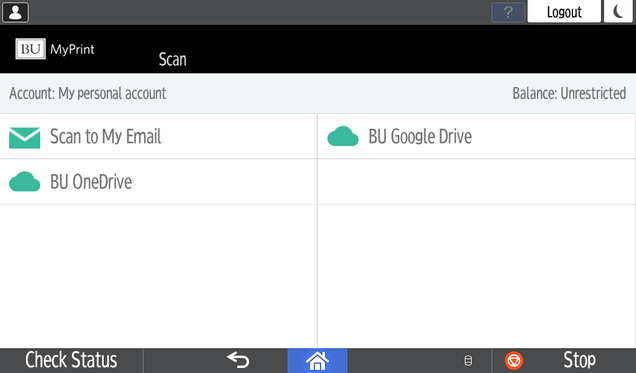
- Tap “Scan”
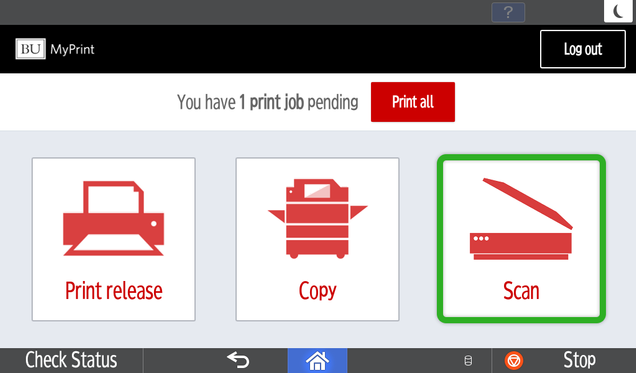
- Select “Scan to My Email”, “BU Google Drive” or “BU OneDrive” depending on where you want the file sent.
Note: “BU OneDrive” will only appear to Faculty and Staff.
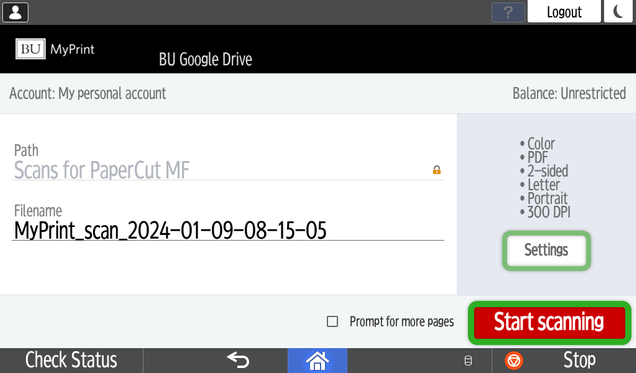
- Adjust the scanned file name and any settings, then tap “Start Scanning” when ready.
- Tip: Scanning multiple documents? Tap “Prompt for more pages” before starting your scan. You’ll then have the option to start a new scan as soon as the previous one is finished.
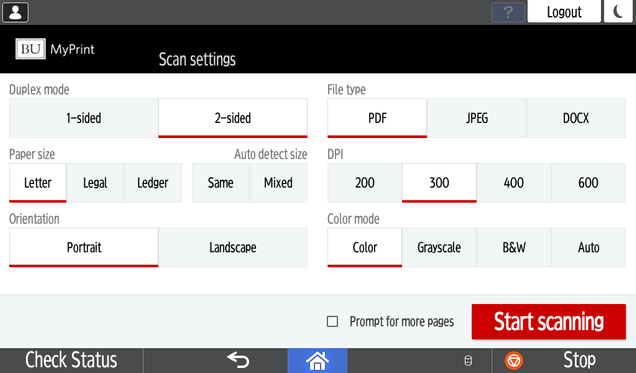
- Note: By default, the device will scan scan both sides of your document through the document feeder at the top. To scan using the glass, tap “Settings” and change to “1-Sided.”
PaperCut will return to the function selection screen automatically once the scan has finished processing. If you selected “Prompt for more pages,” you’ll be asked if you wish add additional pages or start a new scan before PaperCut returns to the function selection screen.
Authorize PaperCut to Scan to Cloud Storage
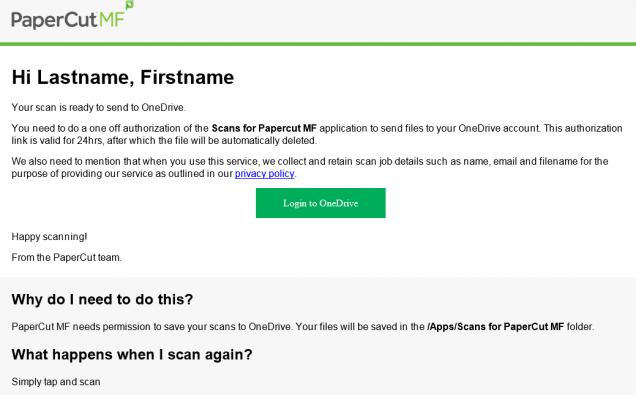
The first time you send a scan to “BU Google Drive” or BU OneDrive,” you will receive an email from “scans@papercut.com” at your BU email address.
Authorize Scanning to BU OneDrive


Authorize Scanning to BU Google Drive
When Scanning to BU Google Drive, the email will have the subject : “Authorize Scans for PaperCut MF to save to your Google Drive.” The email will look like the message below:
- Click on the “Login to Google Drive” button.
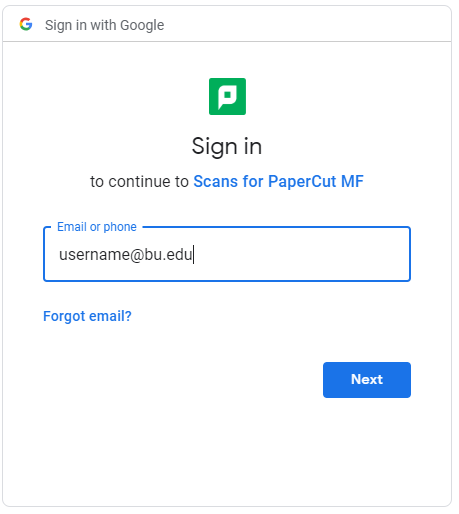
- Enter your BU email address then click “Next”
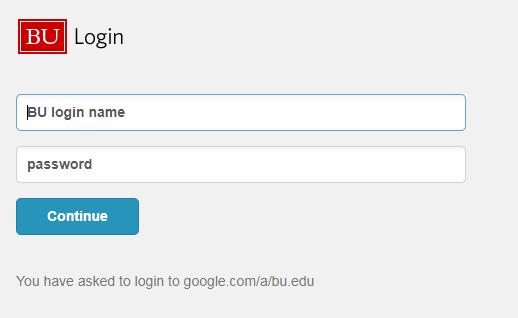
- You will be redirected to a BU Login page. Enter your BU username and password.
- Click “Allow”
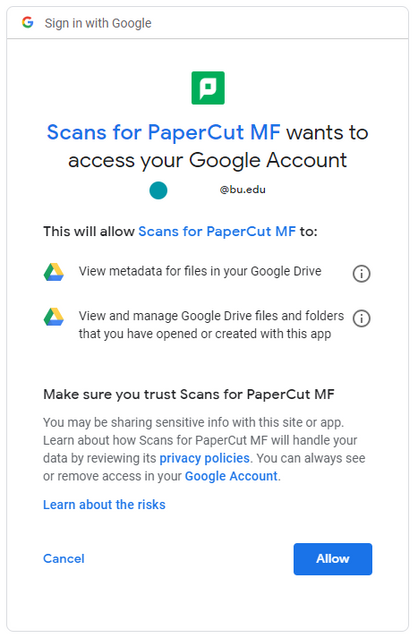
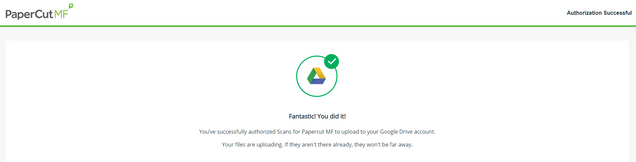
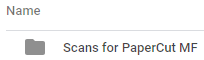
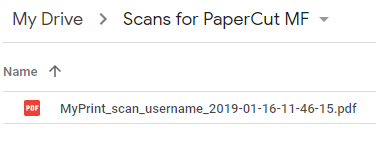
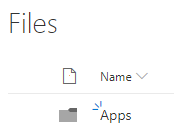
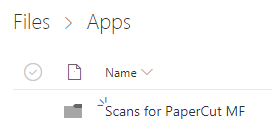
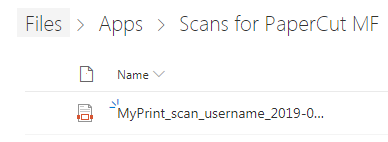
- You are all set. Your files can be found under the folder, “Scans for PaperCut MF,” found at the top level of your Google Drive.