From the Calendar, you can see all your upcoming due dates and meetings across your courses—all in one place.
In your calendar, find this event information:
- Office hours: These appointments appear automatically on the calendar when you add them to a course.
- Due dates: When you create content with a due date, it appears automatically in the calendar.
Check your course calendar
When you access the calendar from inside a course, it shows events for that course only. Select the Calendar option from the course's navigation bar.
The course view of the calendar displays due dates, the course schedule, office hours, and course-specific meetings and events. When you create content with a due date, it appears automatically in the calendar.
To add a course schedule in Blackboard Ultra:
- Select Add course schedule under Details & Actions on the course's Content page
- Or by going to the course's Calendar page, selecting the New Event button, then Add course schedule from the dropdown menu.
- The course schedule now appears beneath Details & Actions on the Content pages of everyone enrolled in the course.
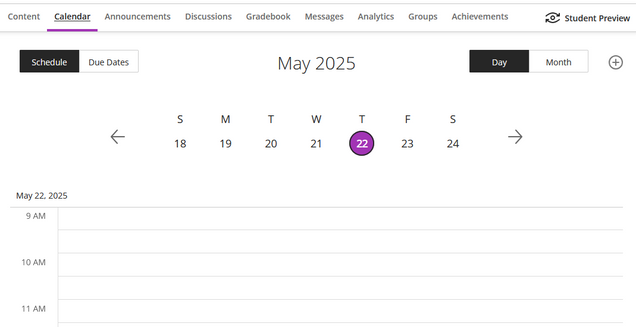
All events you create within a specific course roll up into the global calendar. You can switch over to the big picture by accessing your global calendar from the base navigation page.
- Select Day or Month to zoom in on one day's tasks or plan for the weeks ahead.
- Select Due Dates to focus only on your upcoming deadlines.
- Select the Calendar Settings icon in the upper-right corner to choose the calendars you want to see.
Sharing with external calendars
You can share your Blackboard Learn calendar with external services so course events appear with other events.
You can't share calendars for individual courses. When you share your calendar, events for all of your courses appear.
- Select Calendar in the base navigation menu (not within a course).
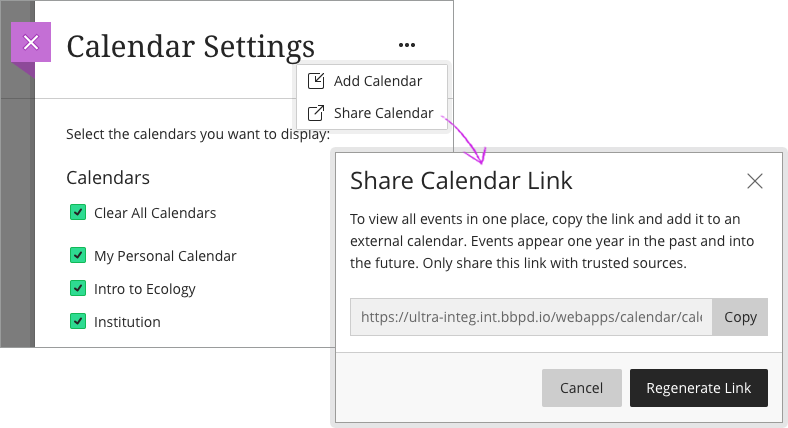
- Select the Calendar Settings icon.
- Open the menu next to Calendar Settings heading.
- Select Share Calendar.
- In the window, copy the calendar link. Share the URL only with trusted sources.
When you connect your Blackboard Learn calendar to an external calendar, all course events appear one year in the past and into the future.
Add calendar to iCal
To share your Blackboard Learn calendar with iCal, you'll add it as a calendar subscription.
- Open iCal on your Mac.
- Go to File > New Calendar Subscription.
- Paste the Blackboard Learn calendar link and select Subscribe.
- Enter the calendar's name and adjust other settings. In the Location field, select iCloud if you want the calendar to appear on your other authenticated Apple devices such as iPhone or iPad.
- Select OK to finish set up.
Add calendar to Google calendar
Share your Blackboard Learn calendar with Google calendar to view all events in one place.
- Open your Google calendar on a computer.
- Next to Add calendar, point to Add other calendars and select From URL in the menu.
- Paste the Blackboard Learn calendar link and select Add calendar to finish set up.
- Open the calendar's settings to rename it and adjust sharing and notification settings.