PointSolutions by ECHO360 (formerly TurningPoint) is an Audience Response System that allows faculty to engage students in active learning and make class time more interactive. Presenters can use prepared PowerPoint presentations with embedded questions or run ad-hoc polls; audience members respond using a small hand-held clicker or a mobile device or laptop with the PointSolutions software app.
Benefits
PointSolutions helps make classroom sessions more interactive. It can correlate in-class feedback and responses, then display anonymous results in real time using charts and graphs. It can also assist with quizzing and attendance. Scores can be uploaded to Blackboard gradebook.
Key Features
Requirements
Faculty
- Microsoft Windows® 7 or later (32- or 64-bit)
- Microsoft Office® PowerPoint 2010 or later
- Local Installation of Microsoft Office®: 2010, 2013 or 2016 (32- or 64-bit; for PowerPoint® Polling and viewing exported reports in Excel®)
- Microsoft .NET 4.5, SP1
- 2 GHz Dual Core Processor
- 4 GB RAM
- 500 MB hard disk space
- 1024 x 768 at 32-bit color or higher resolution, up to 150% DPI (up to 125% DPI for PowerPoint Polling recommended)
- Standard USB 2.0 port (for USB-based hardware devices)
- Ethernet or 802.11 compatible wireless network card
- Adobe® Acrobat® Reader (for printing and viewing Help options)
- An active internet connection (for initial account authentication, TurningPoint app usage (if applicable) and use of Cloud features)
- Java™ 11 Runtime Environment or later (for importing RTF, DOC, DOCX and QTI documents and exporting reports to Excel and CSV)
- Note: Java™ 11 Runtime Environment is required for Turning Classic (PC) 8.9.7 and above.
Students
Cost
Faculty
- PointSolutions Instructor Kit with software, and Instructor PointSolutions Account: Free
Students
Getting Started
Adding the PointSolutions Account Registration tool link to your Blackboard Learn course menu
Why do I need this?
Once the PointSolutions Account Registration tool is enabled, you are required to add a Tool Link to your Blackboard Learn course menu for PointSolutions to work seamlessly with Blackboard Learn. This will allow students to connect to the PointSolutions portal. In the portal, students who have not yet established an account can do so and they can register their PointSolutions Response Device ID(s) and licenses. Students who already have an account can use the link to access their PointSolutions profile.
Visit https://learn.bu.edu and log in using your BU username and password.
- Select the Blackboard Learn course that you would like to use for PointSolutions .
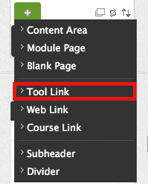
- Make sure Edit Mode is set to ON. Add a course menu item by clicking the white plus sign on a green background from your Blackboard Learn course and select Tool Link.
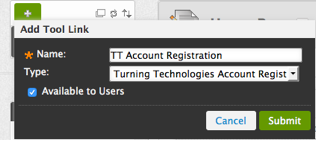
- Type a Name for your tool link in the appropriate field, such as PointSolutions Account Registration then under Type: select PointSolutions Account Registration. To make the tool available to your students is to check the Available to Users checkbox.
Please note: If you don’t see PointSolutions Account Registration as an option please reach out to askedtech@bu.edu for assistance.
- Click Submit.
Students: Creating an Account
You can skip to Step 5 of this tutorial if you are creating your PointSolutions account through a link on your course’s Blackboard page.
- To begin the registration process, go to echo360.com and select Sign Up in the upper right hand corner and select Get Started under PointSolutions.
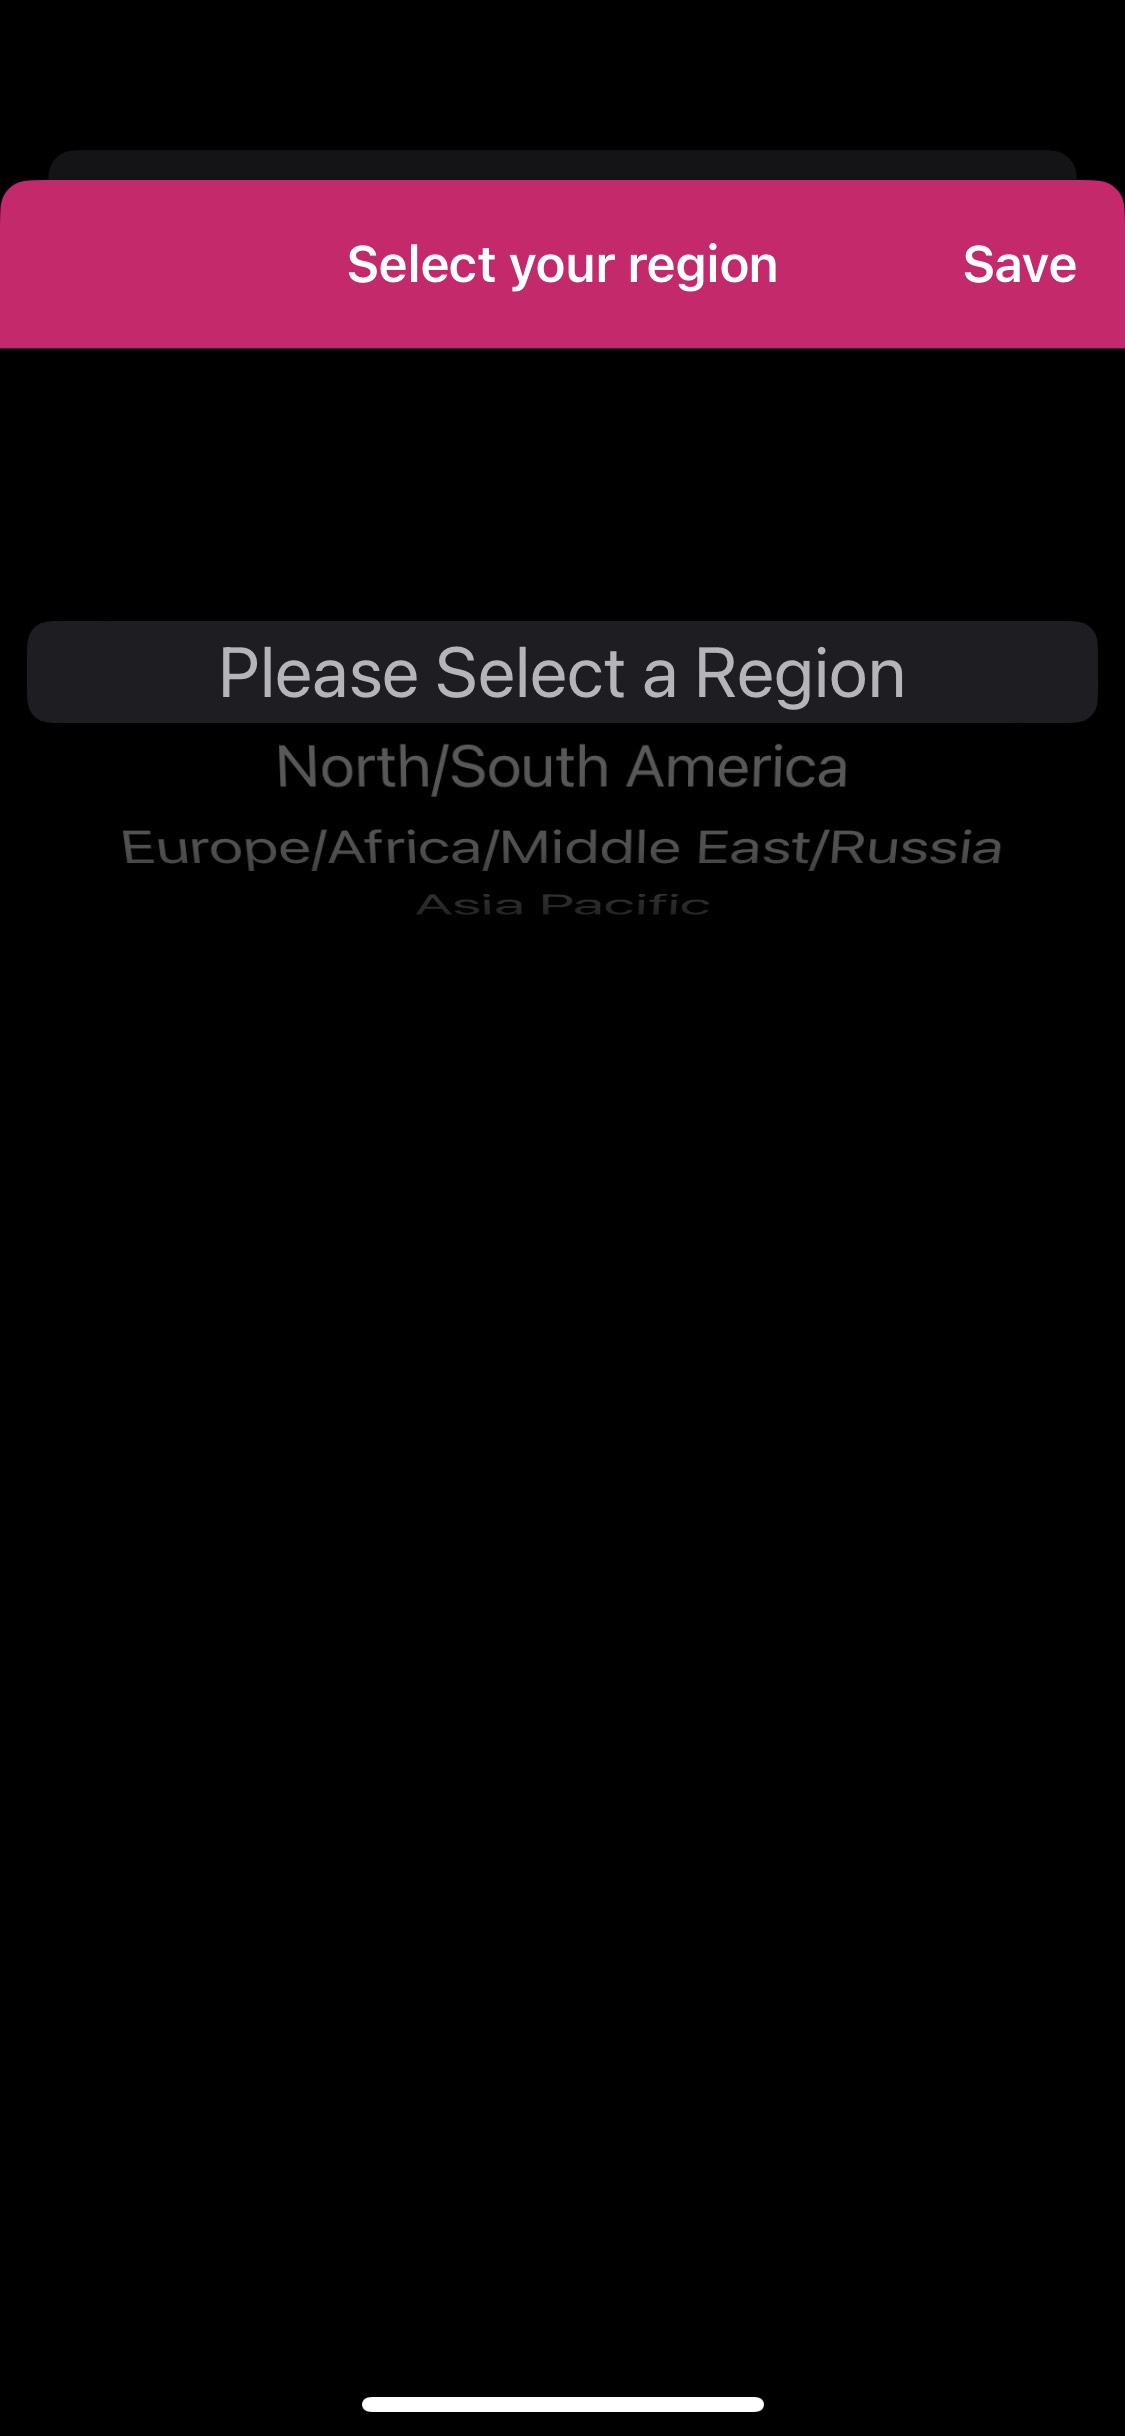
- On the next page, select the option for North/South America.
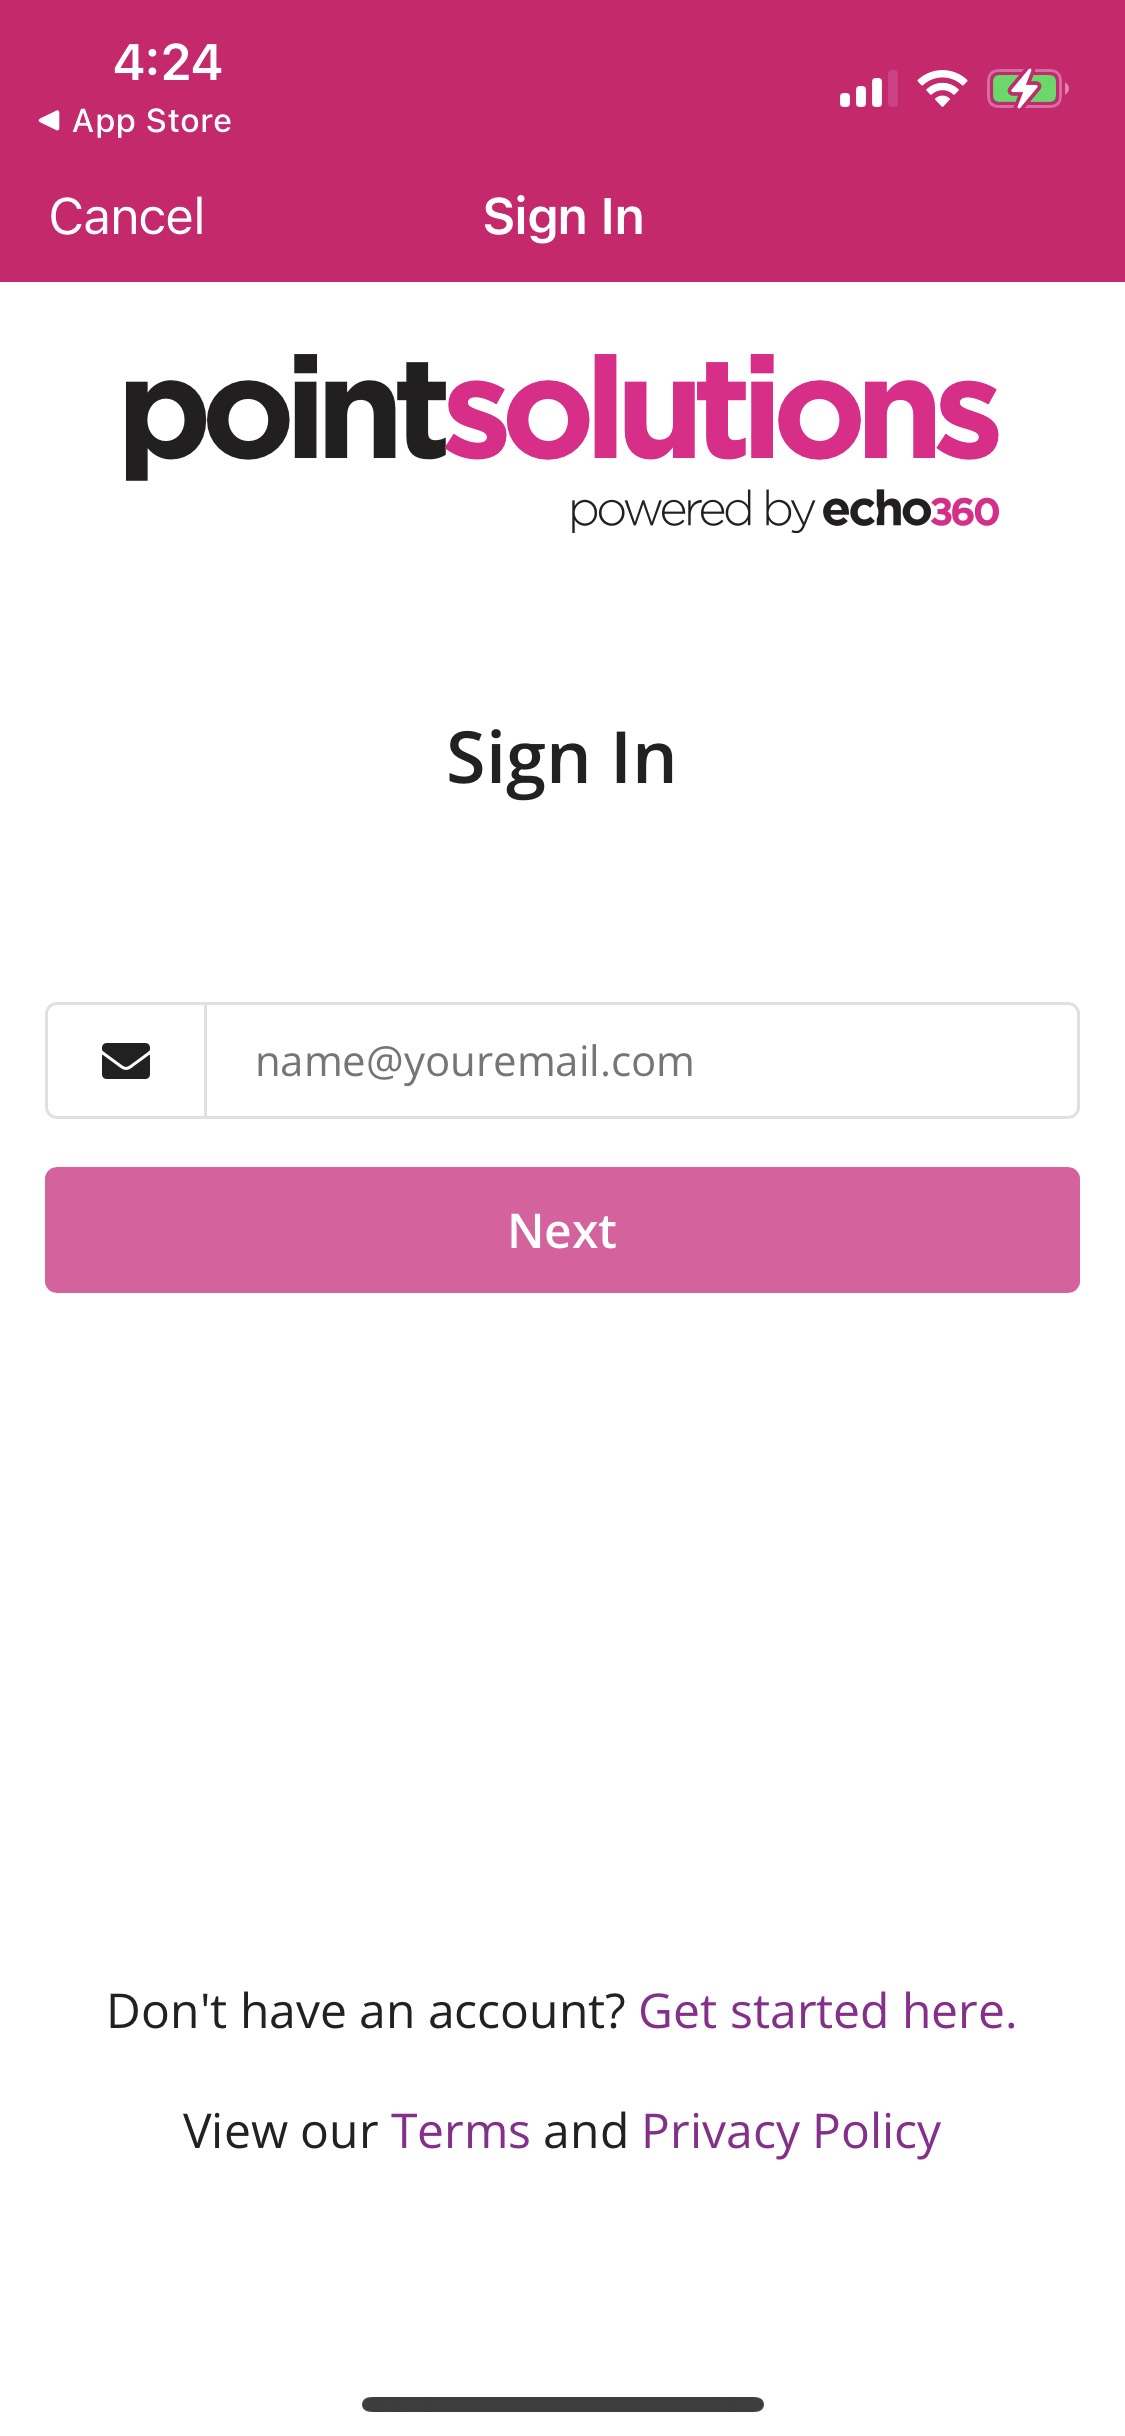
- Enter your BU email address when prompted, and hit Next.
- Check your email inbox and upon receiving the email for account verification, click the attached link.
- At the linked address, enter the required information for setting up your account and click Continue.

- Once at the registration site, click the Let’s get started button to begin registration.
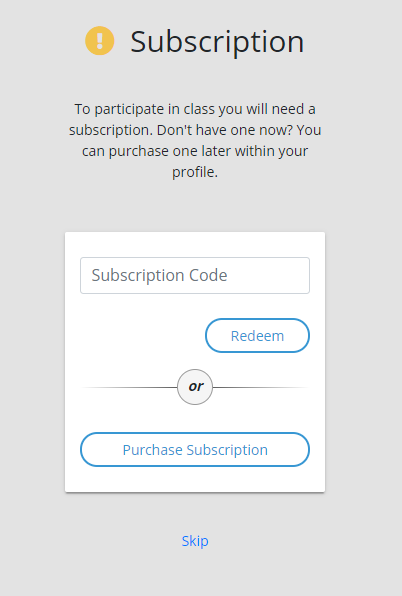
- If you have already ordered a subscription or have a subscription, enter the subscription code in the text box on the left. If you don’t have a subscription, choose the subscription option that you would like to purchase on the right side of the page. Click Next in the bottom right.

- If you will be using a clicker in class and already have a clicker, enter the clicker code in the text box on the left (this code can be found on the back of your physical clicker). If you still need to purchase a clicker, you can do so with the section on the lower right. If you would prefer to use the mobile app instead of a clicker, select Only use mobile Device.

- Click Next to move to the next page, confirm the order in your cart and click Next to continue. Click Previous at any time to return to a previous page.
- Fill out your billing and shipping address information on the following page, then click Next.
- If you selected that you will be ordering a physical clicker, you will be prompted on the next page to select a delivery option. Click Next.
- Verify your order, billing and shipping address, and any other details on the next page, then enter your payment information and select the Pay button.
- An order confirmation page should appear, and after reviewing this click Next again.
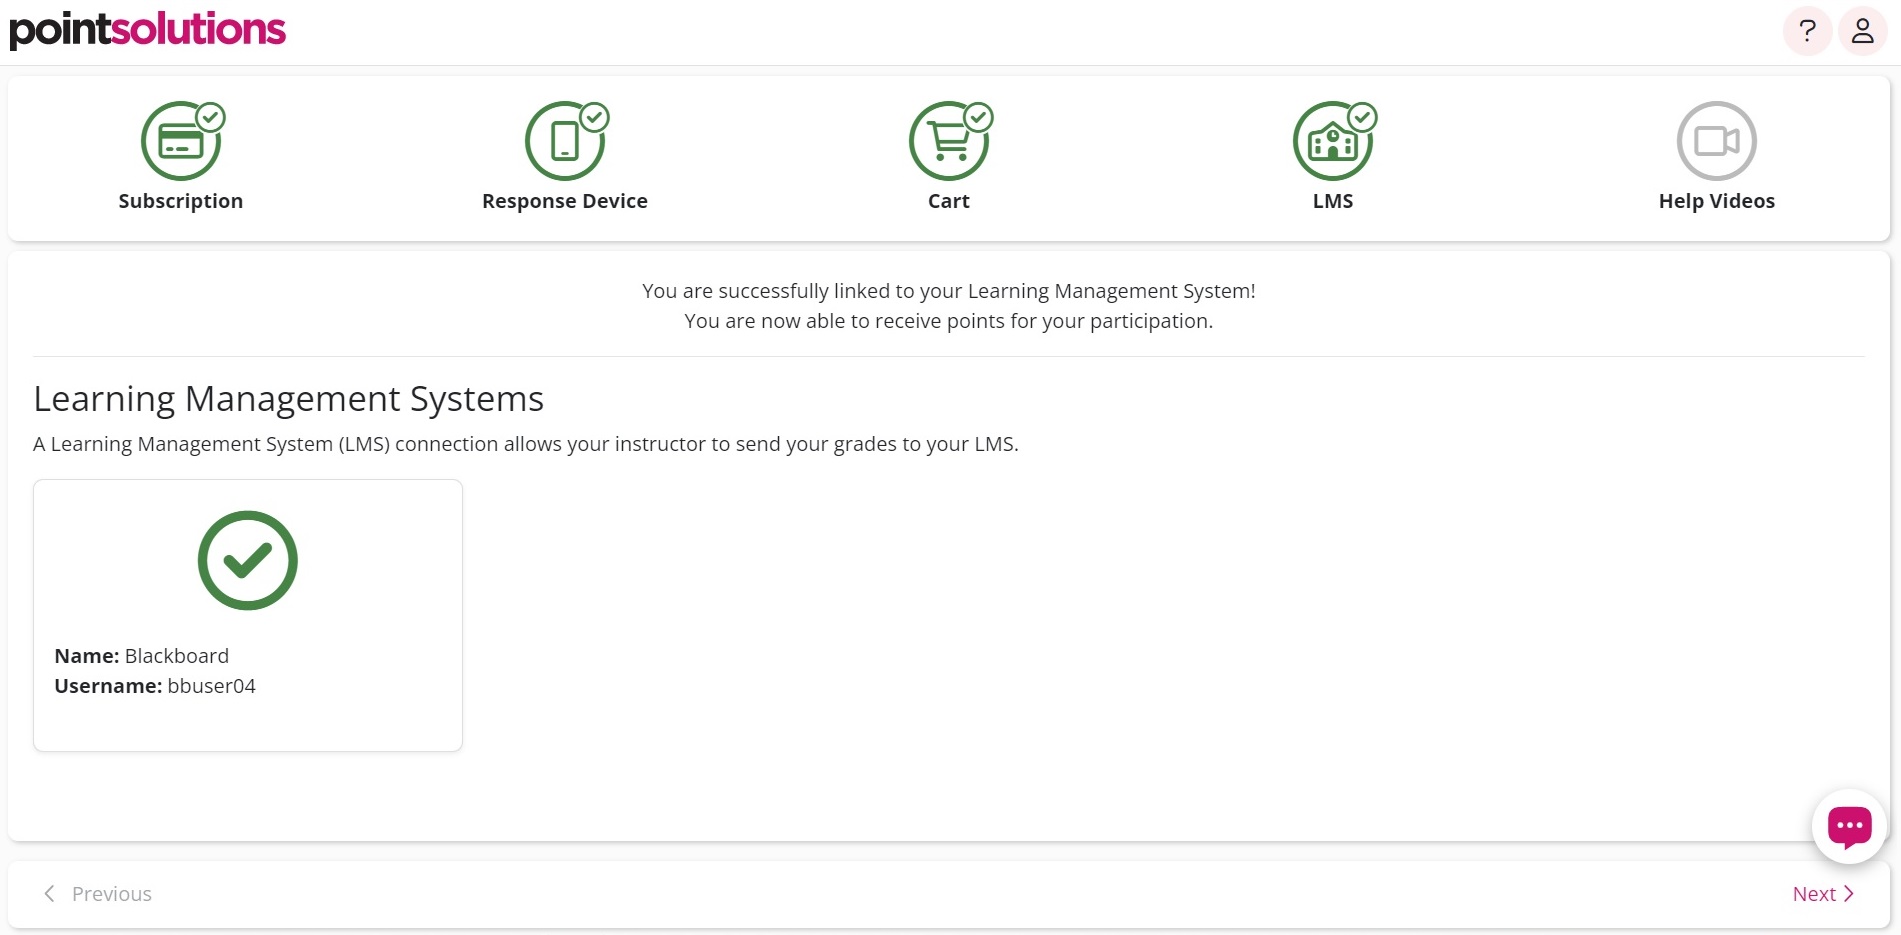
- The last page of registration will check if you are connect to a Learning Management System (LMS), such as Blackboard for your enrolled course. If there is a green check mark, you are already connected. If there is not a green check mark, you will have to authorize the connection by clicking the Connect button.
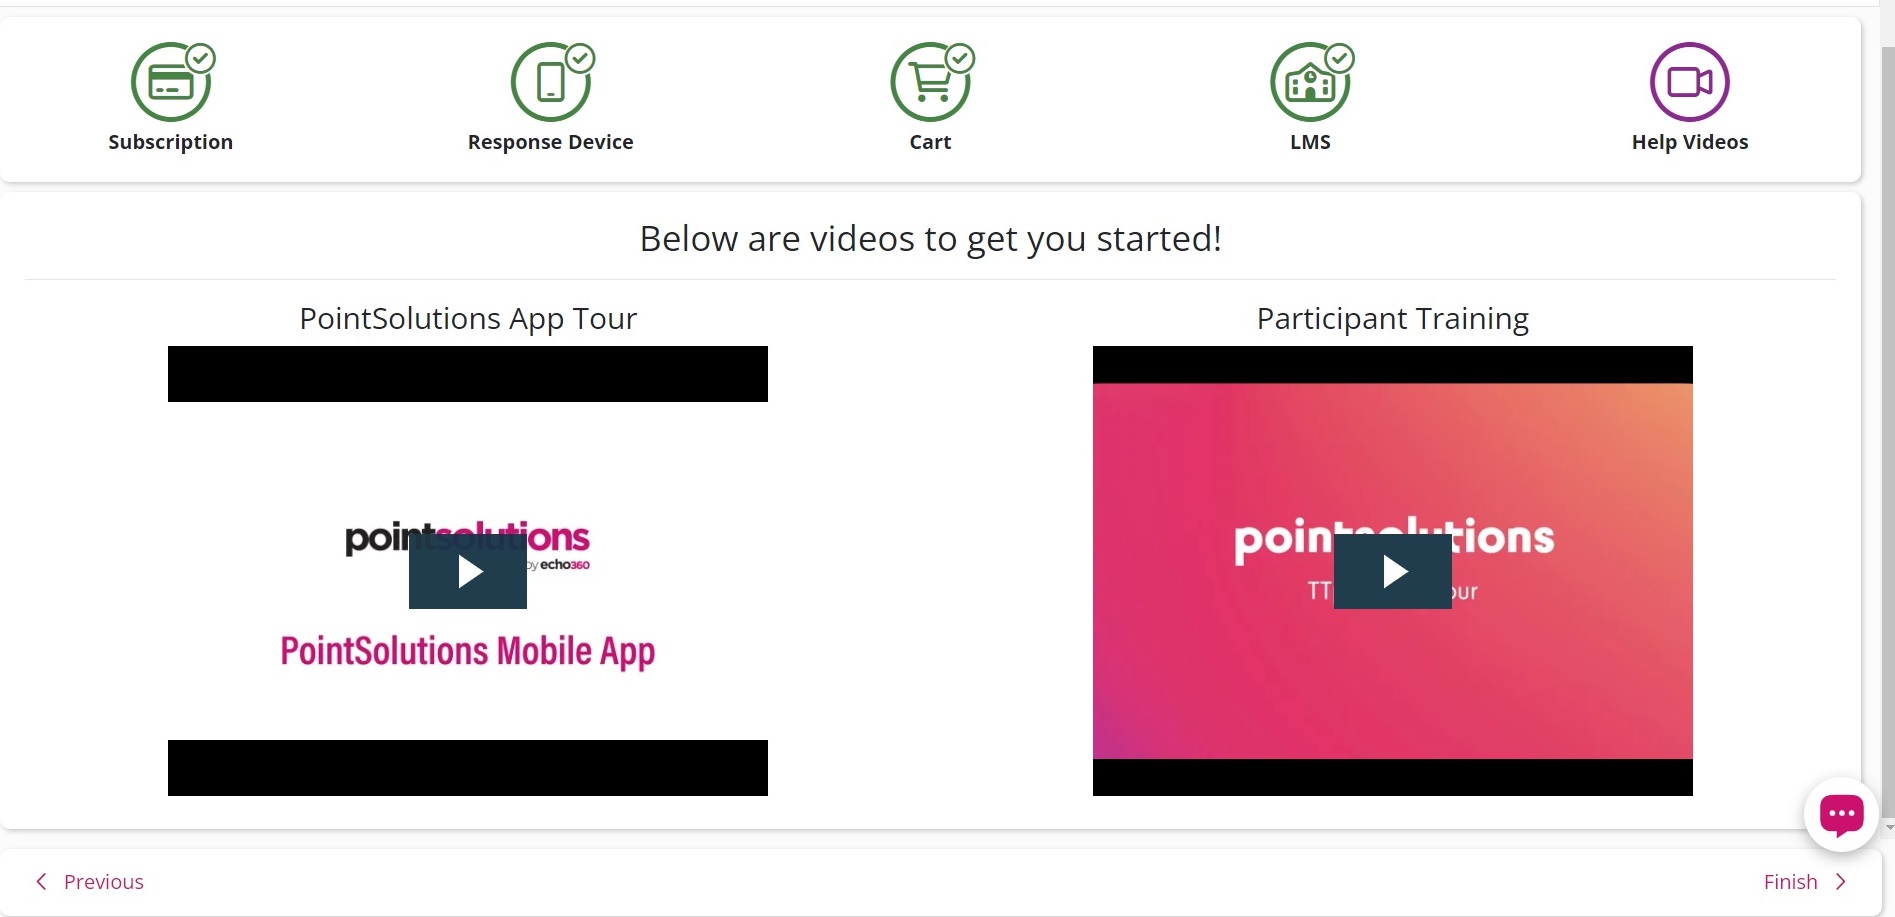
- Finally, after clicking Next at the bottom right, there will be instructional videos that you can watch if you would like help getting started using PointSolutions for your course.
Visit this page for a video walkthrough of the account creation and registration process.
Students: Downloading the App
Students: Responding with PointSolutions in Class
Using the PointSolutions mobile app or a registered clicker device, you may participate in class by doing the following:
Mobile App:
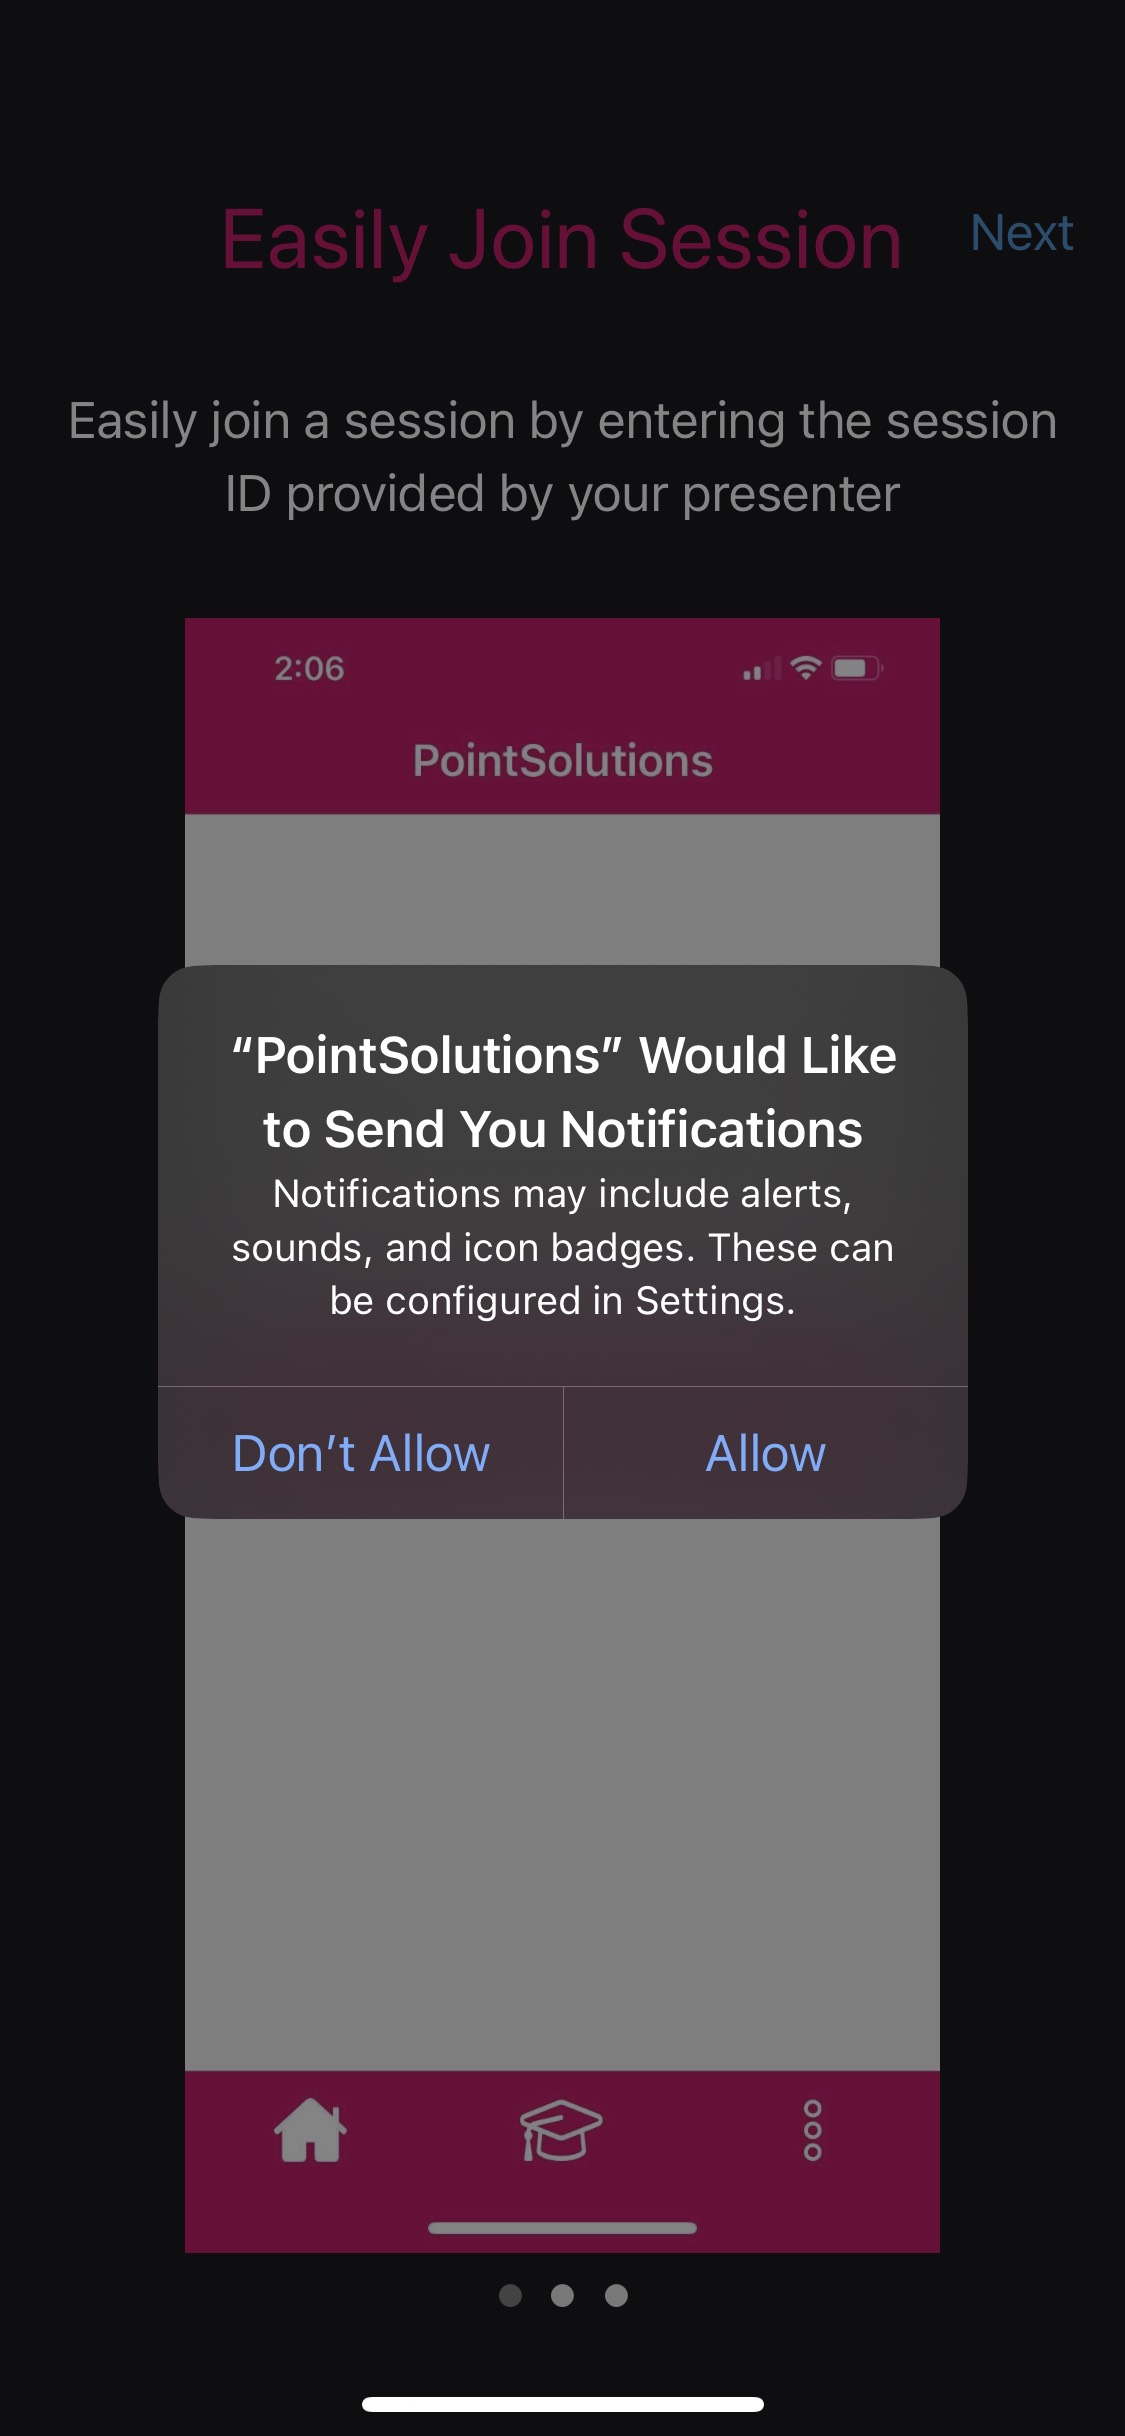
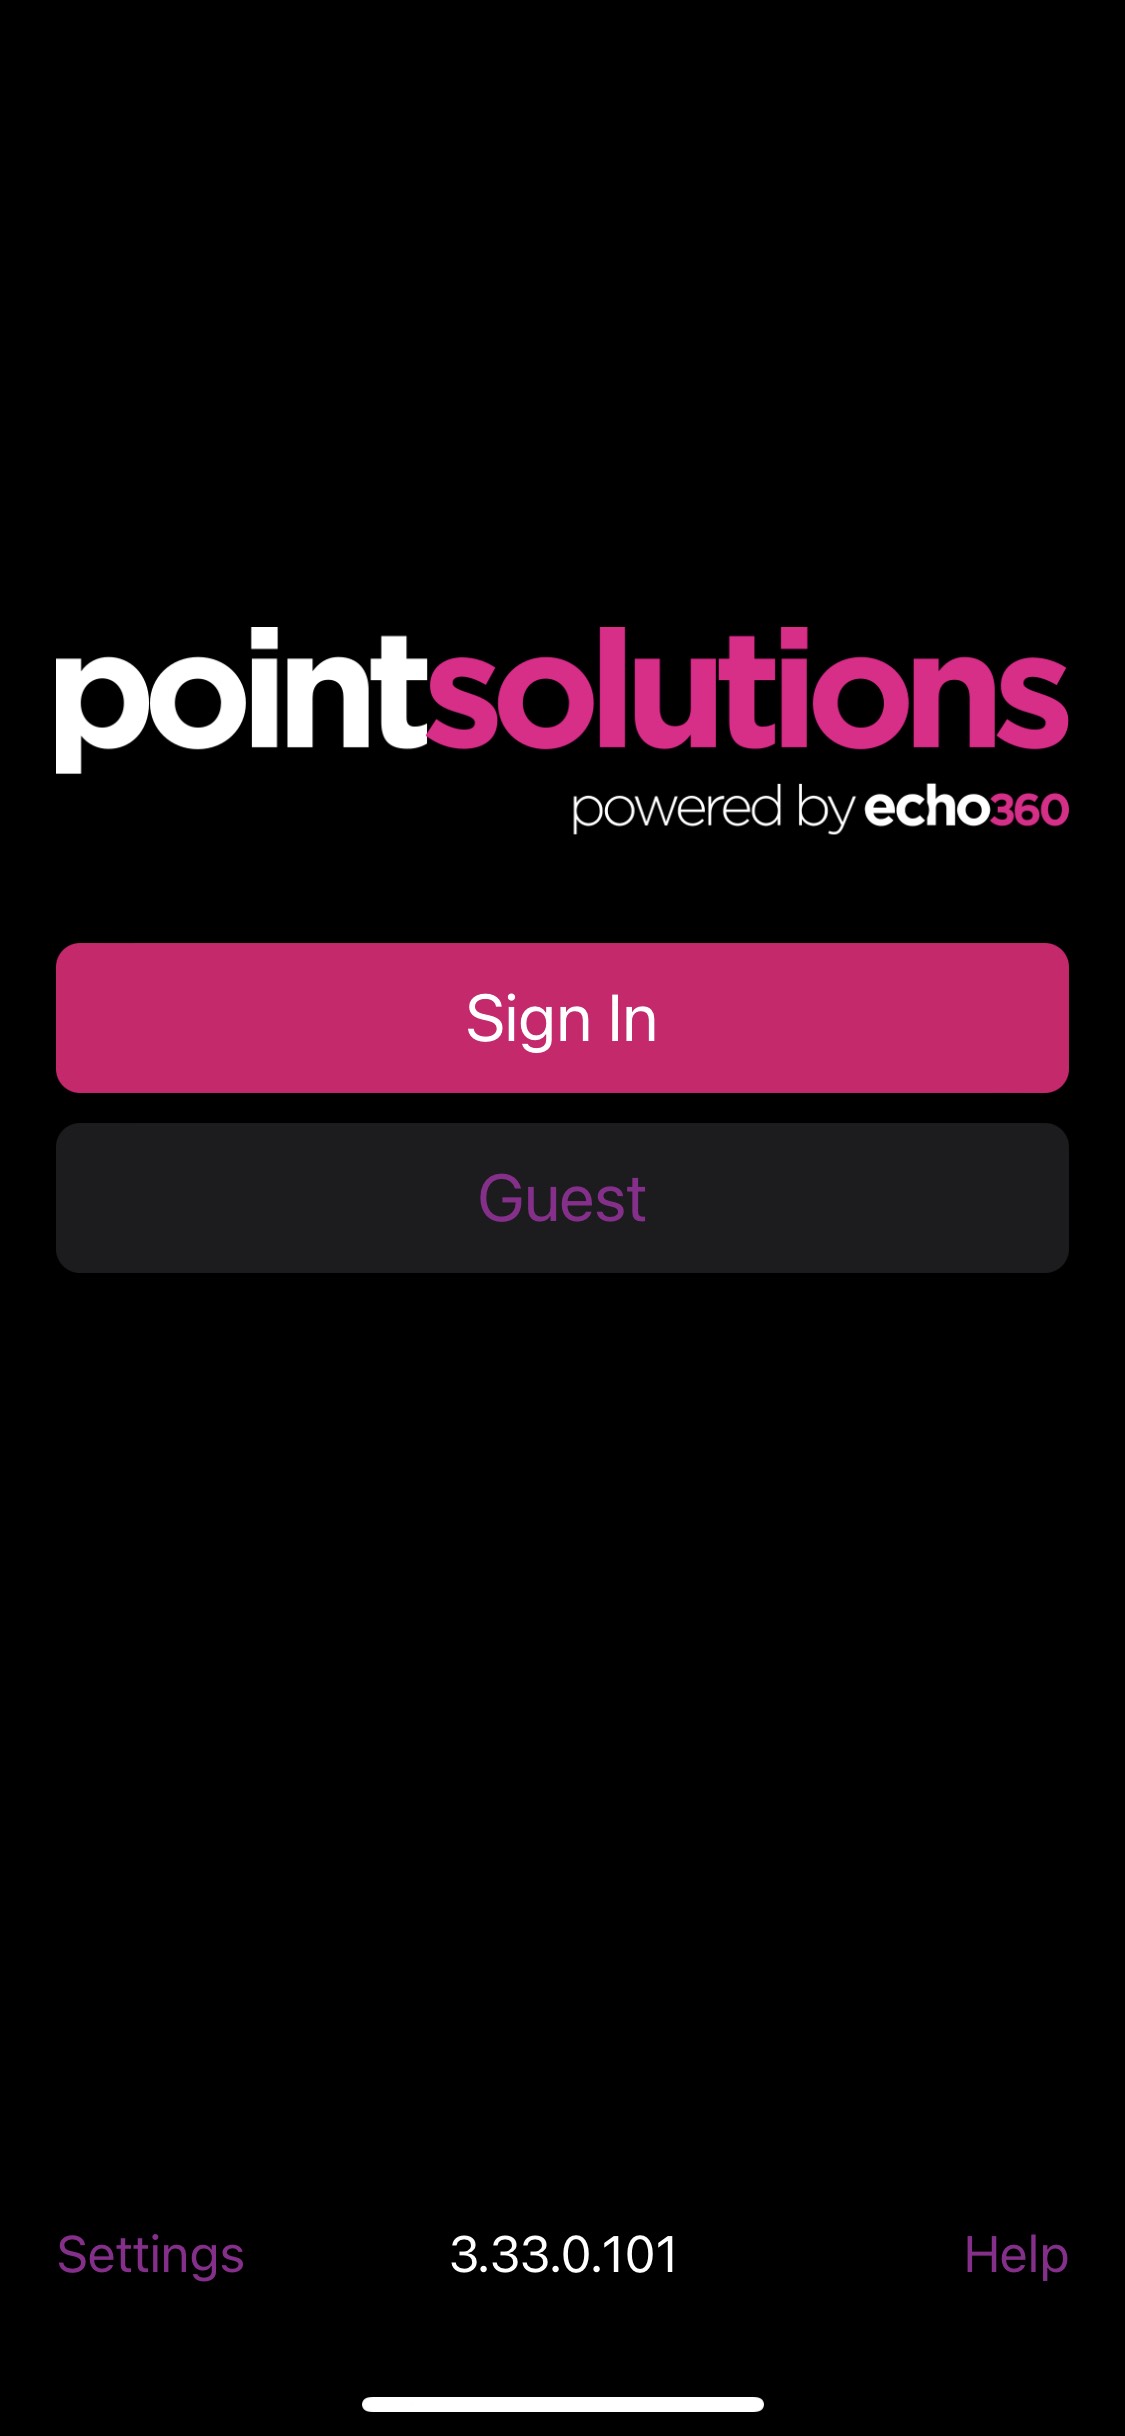
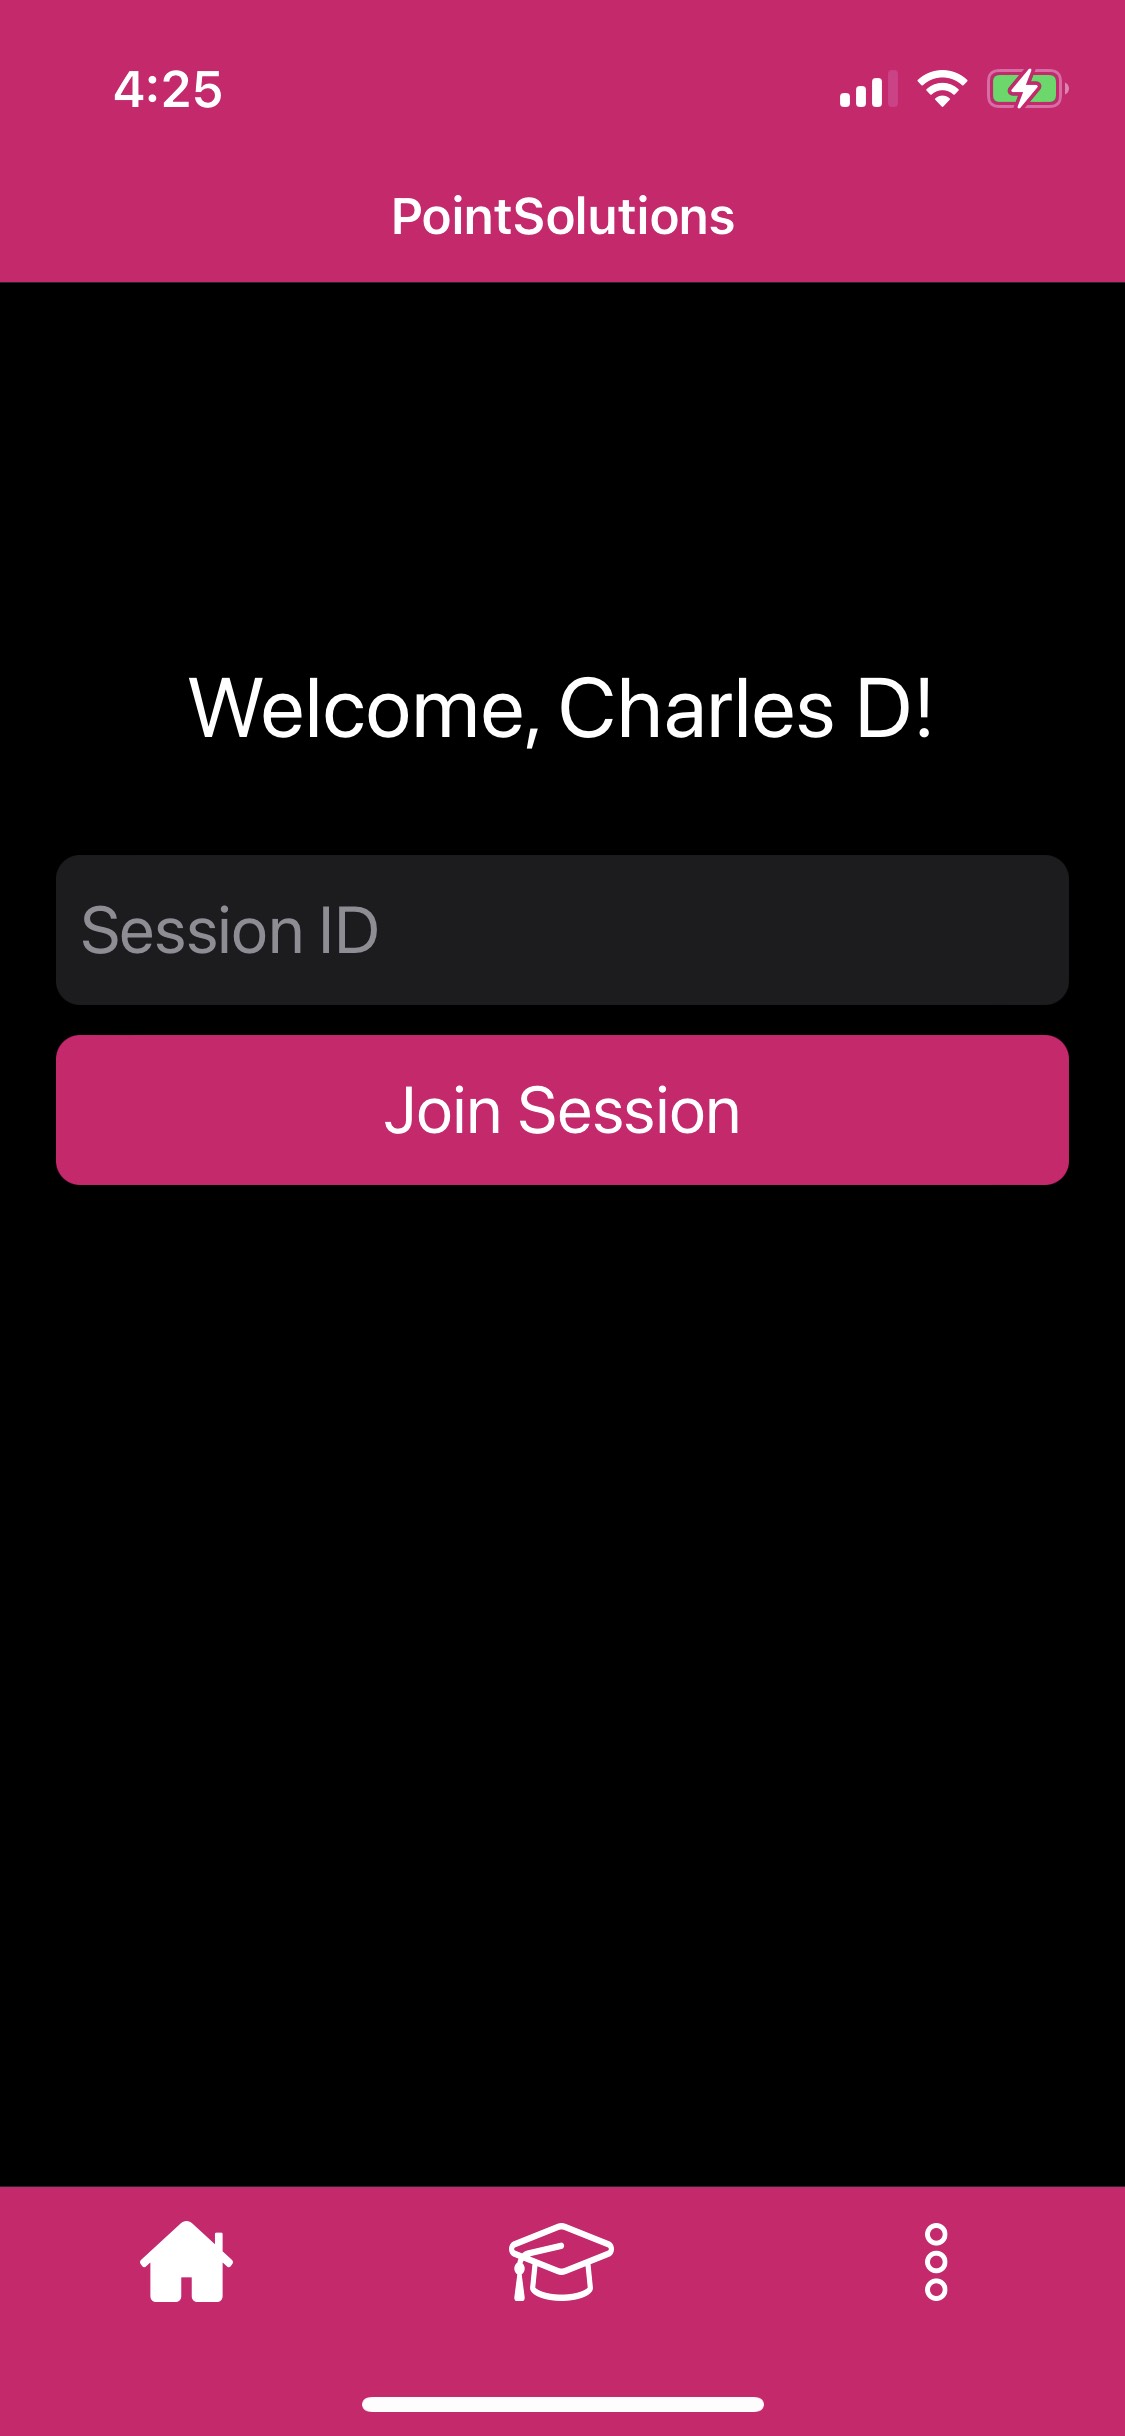
- Open the PointSolutions app on your mobile device.
- If your instructor is using PointSolutions to collect attendance, you will receive a notification on your mobile device that you can click, which will create a pop-up that marks you as present.
Note: Instructors are able to use location services to collect attendance, and in this case you will not receive a notification if you and your device are not physically in the classroom.
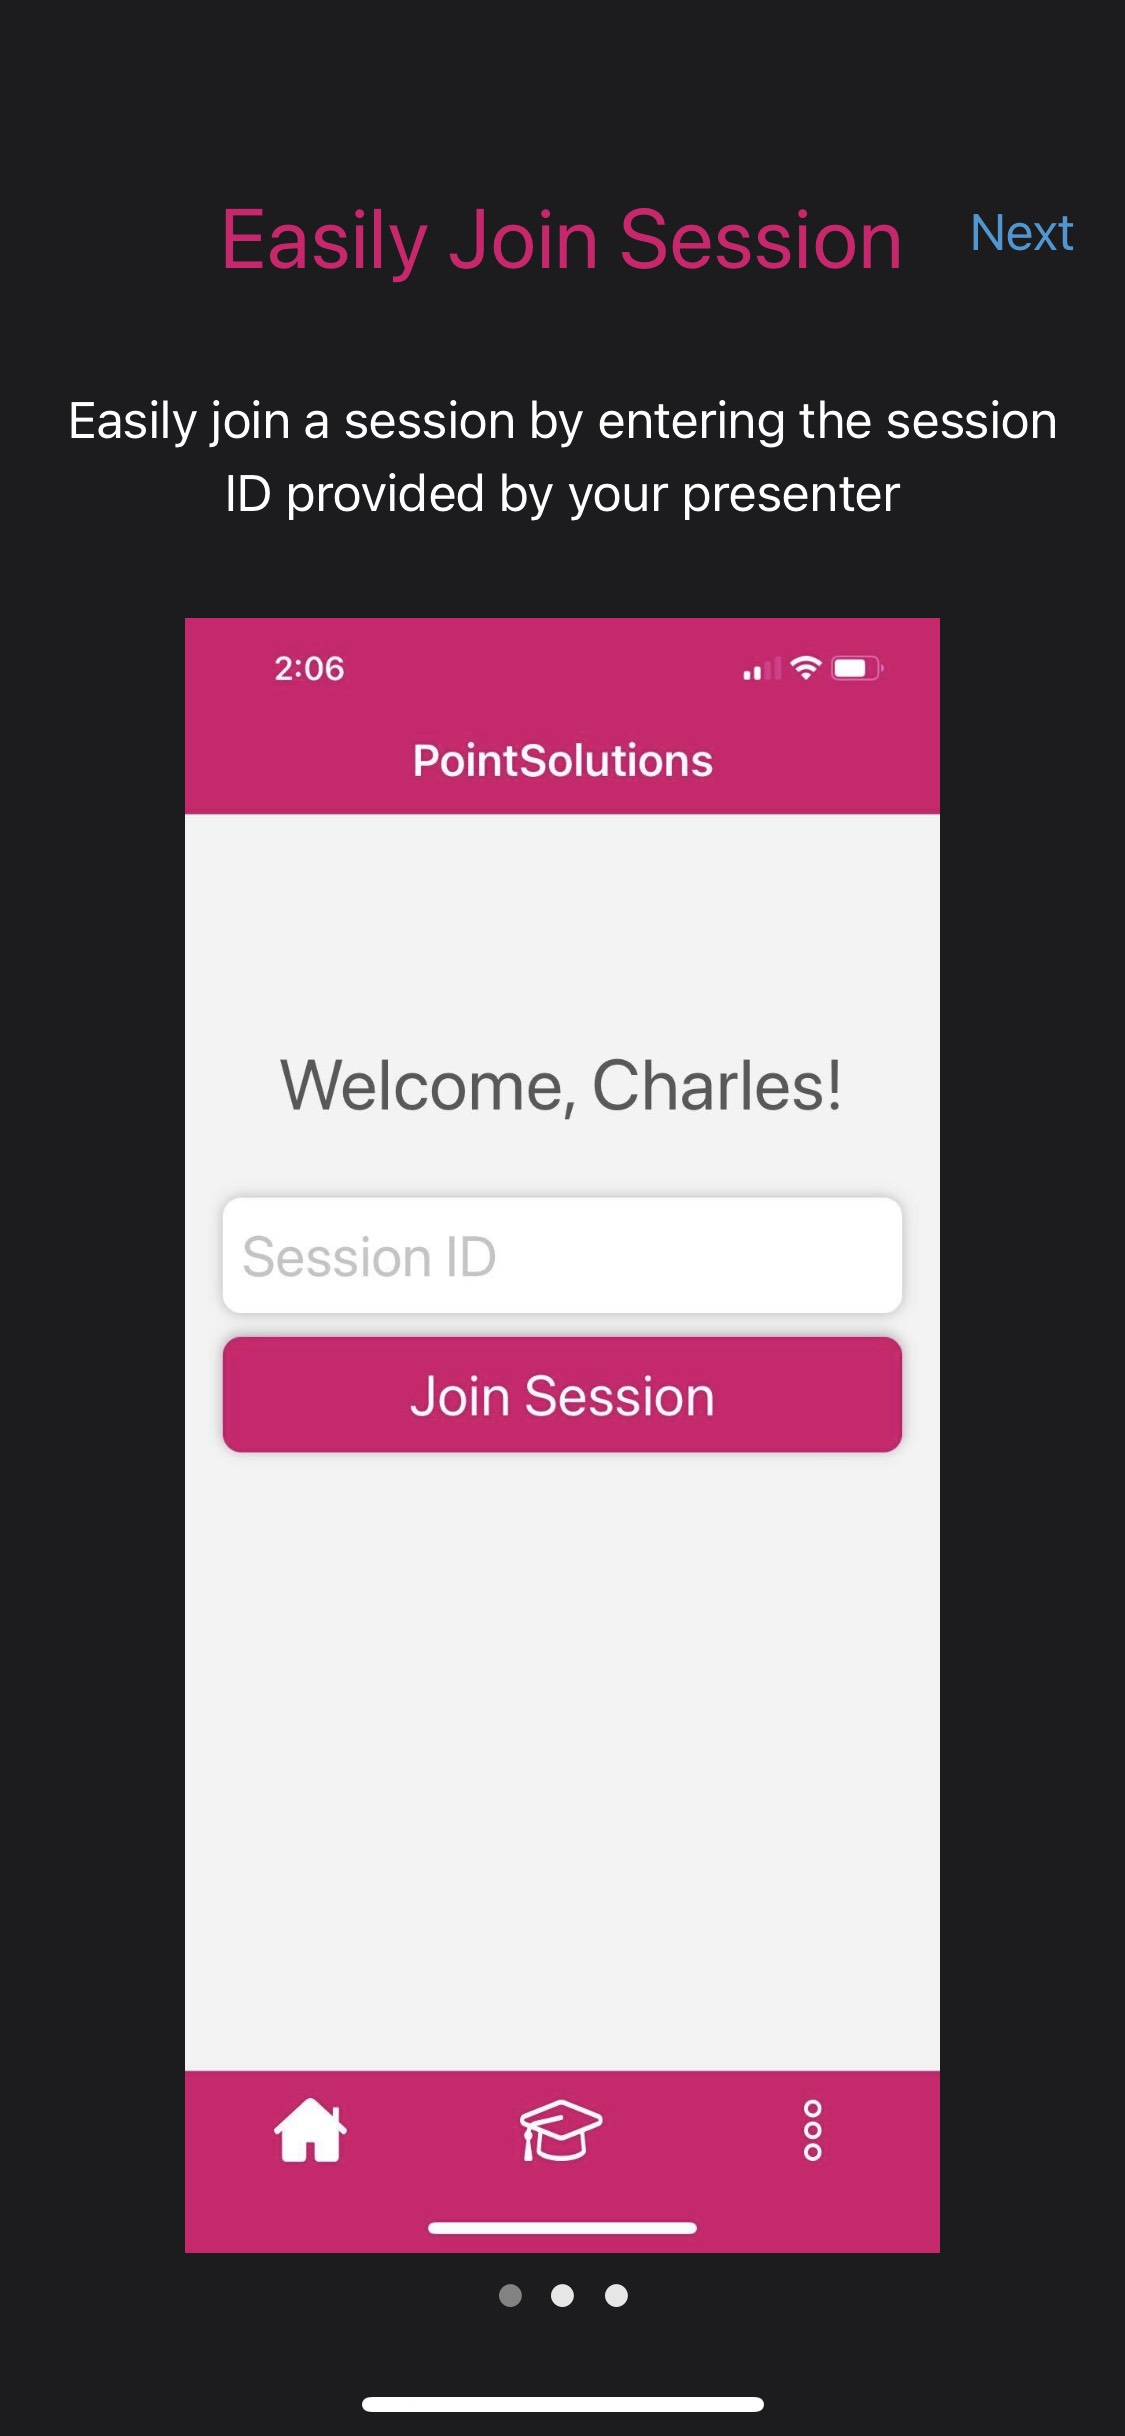
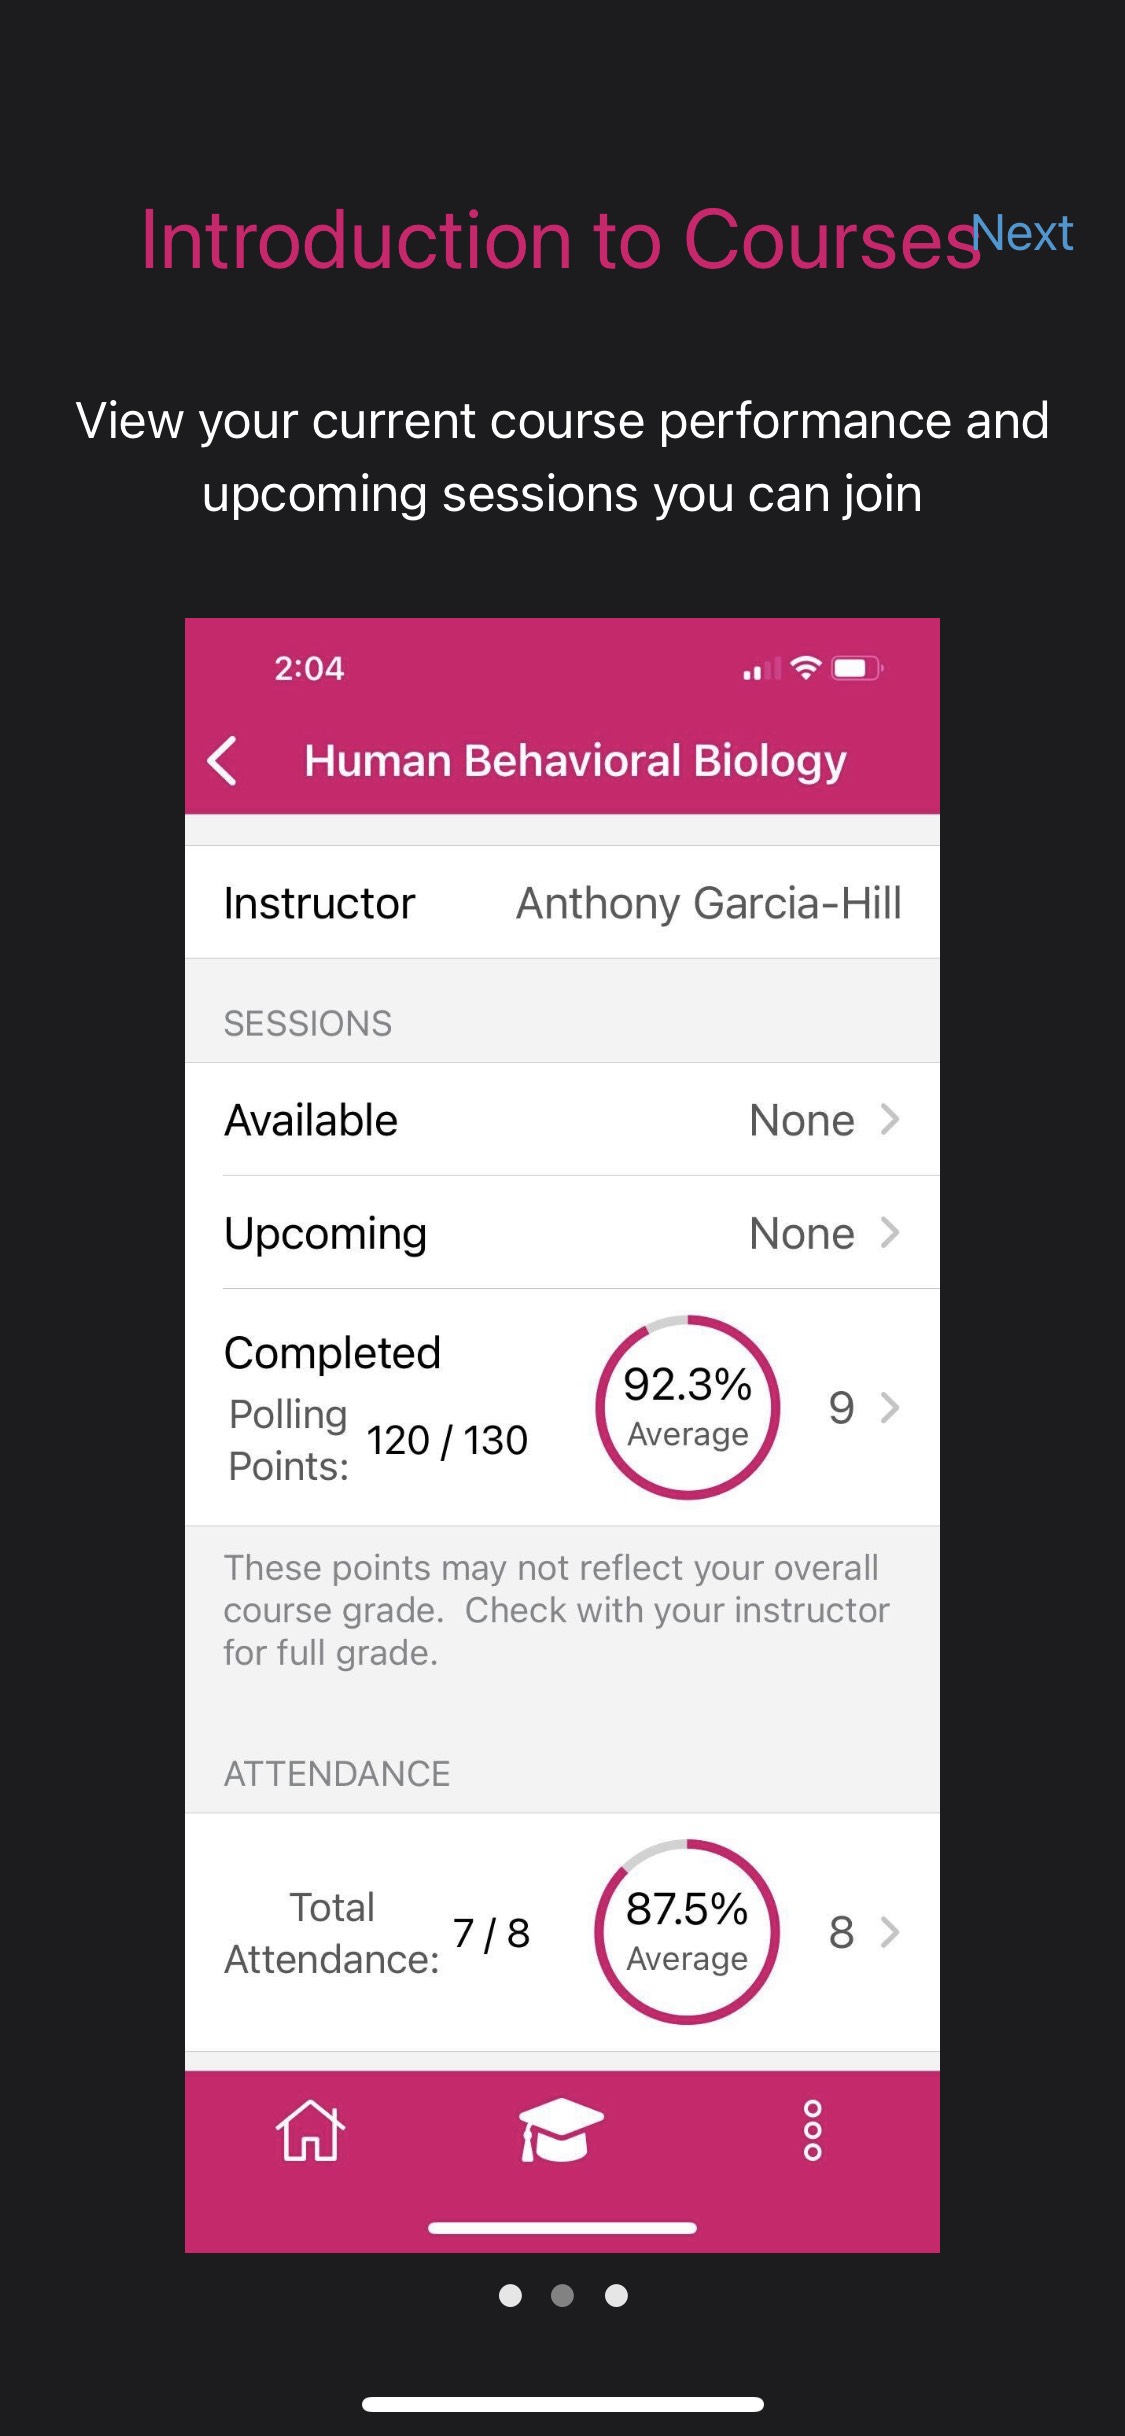
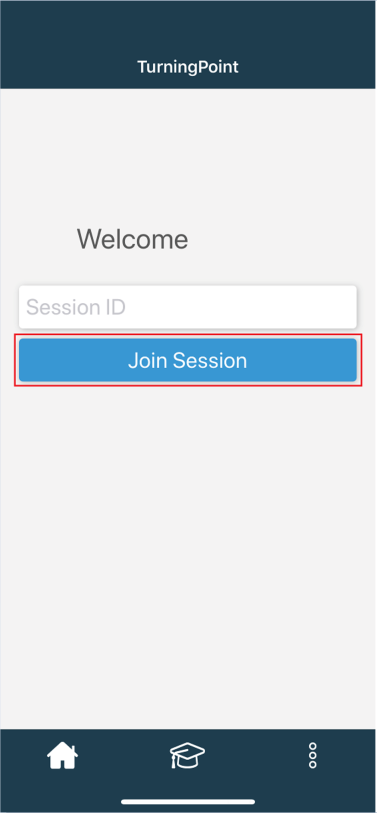
- From the home screen, enter the Session ID provided by your instructor and click Join Session. If your instructor has not provided a Session ID, you can also navigate to the courses/education page (by clicking the graduation cap icon in the middle of the bottom navigation bar) to find available sessions for the courses you’re in.
- You will have entered the session and will see a “Please Wait” screen while the instructor/presenter is getting ready.
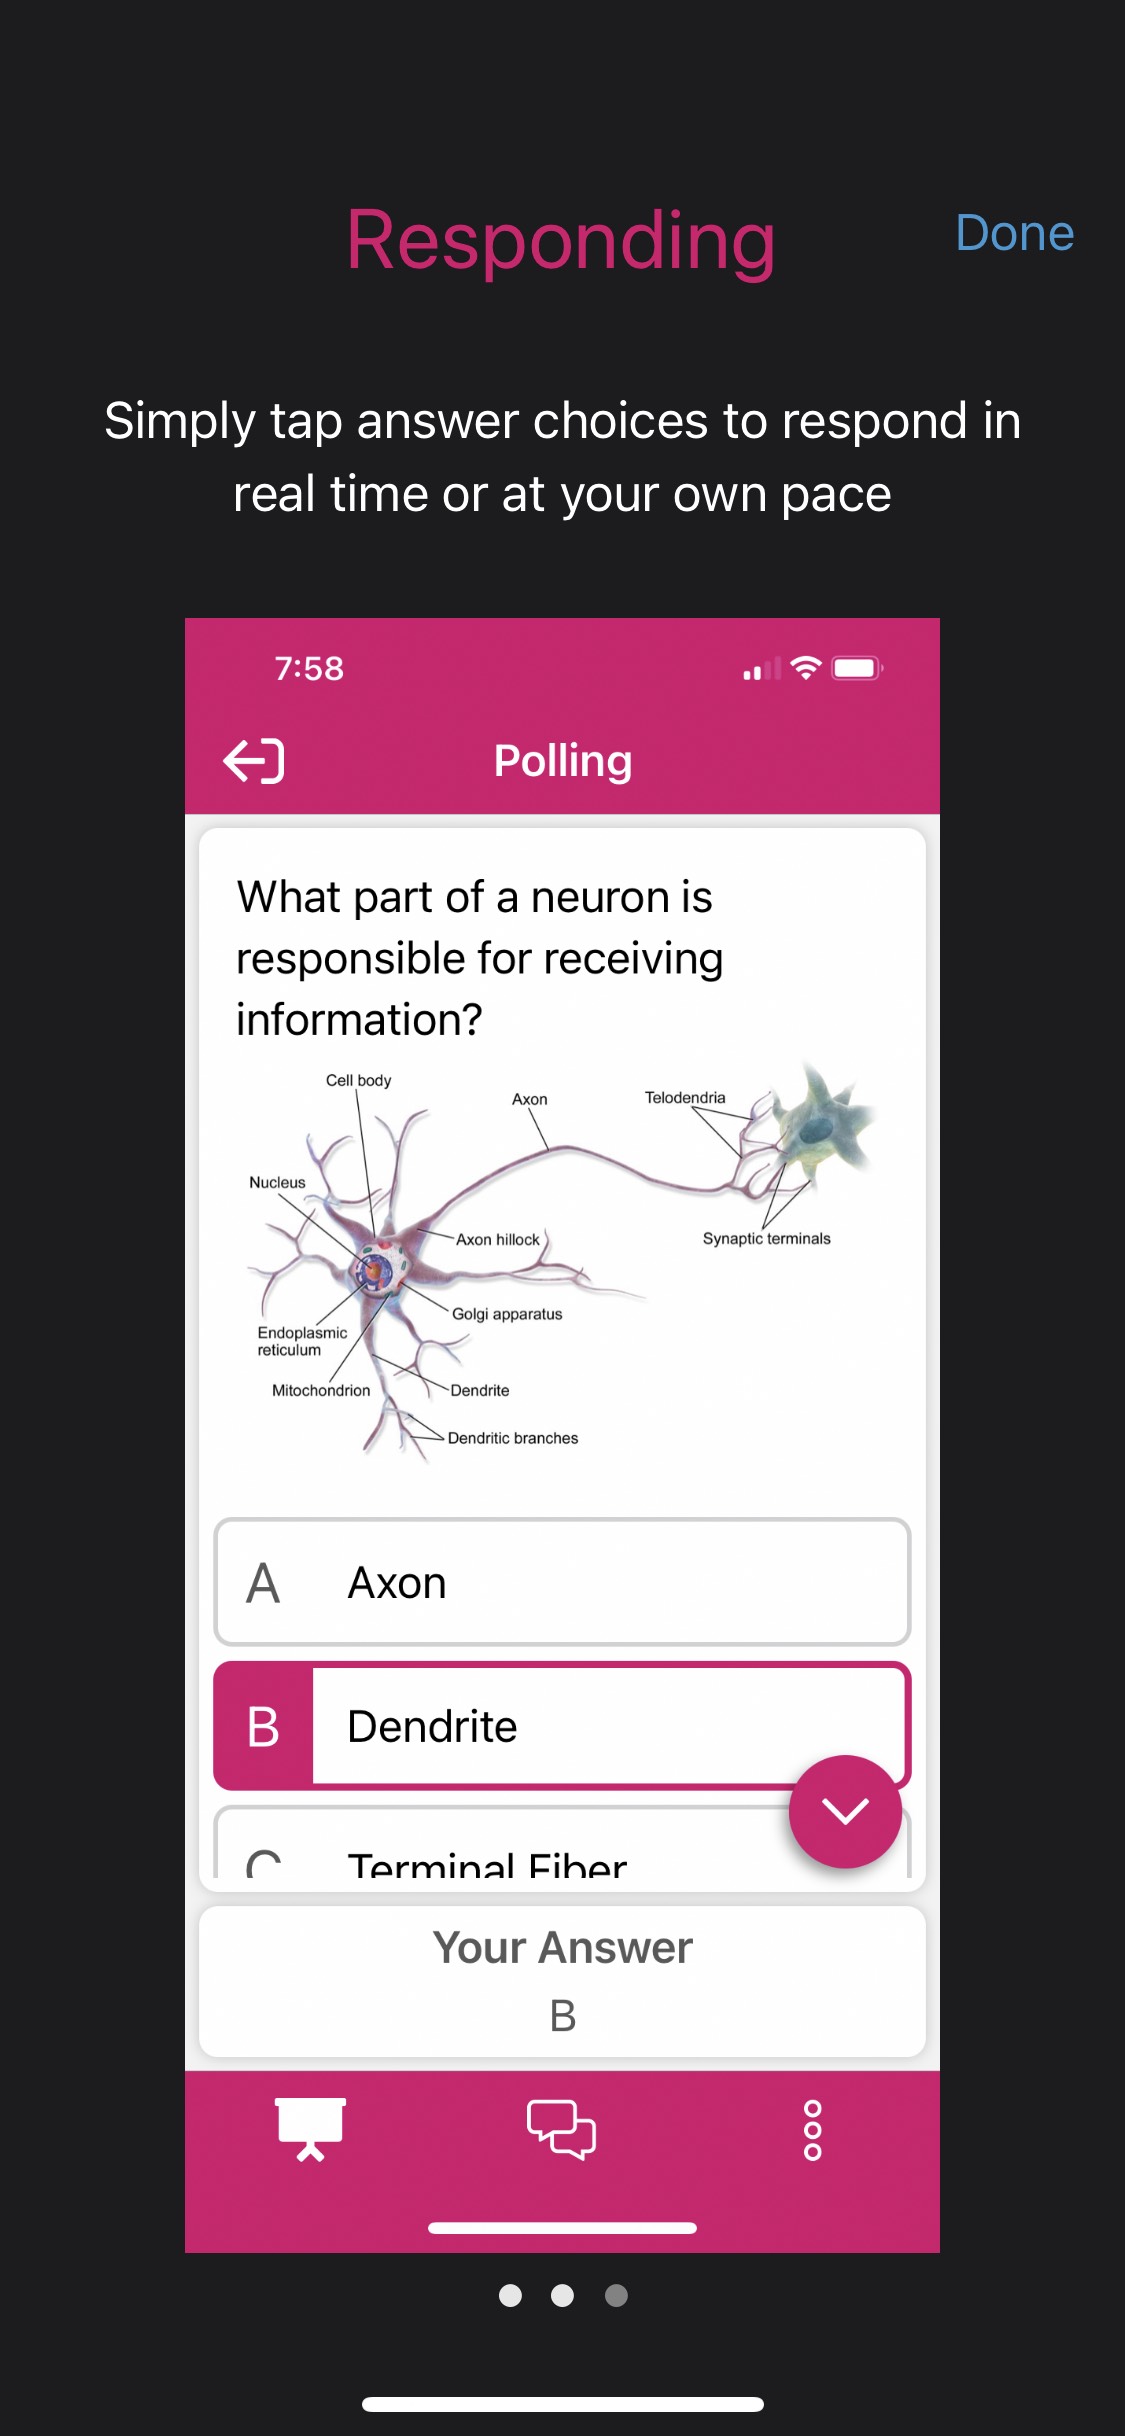
- Once the instructor has started the presentation, you will either see a screen visual or a question, both of which you should be able to interact with on your device.
- If enabled, you can also send a chat message to just the instructor or the entire class by selecting the chat tab at the bottom of the app.
- When you’re not already in a session, you can move to the courses/education page to browse the courses you’re enrolled in that are using PointSolutions. From there you can look through current and upcoming sessions that you can join.
Clicker:
- Turn on your registered PointSolutions clicker.
- Your clicker should automatically be connected to this course if you connected it correctly during the account registration process.
- During class your instructor can prompt you for a response by asking you to use your clicker for answering a variety of questions. If you are confused about which clicker buttons you should be using to answer a specific prompt or question, clarify with your instructor.
Frequently Asked Questions
How does an Instructor create a PointSolutions account and download the PointSolutions client?
- Open your Internet browser and access the Turning Account web site: https://account.turningtechnologies.com/account/
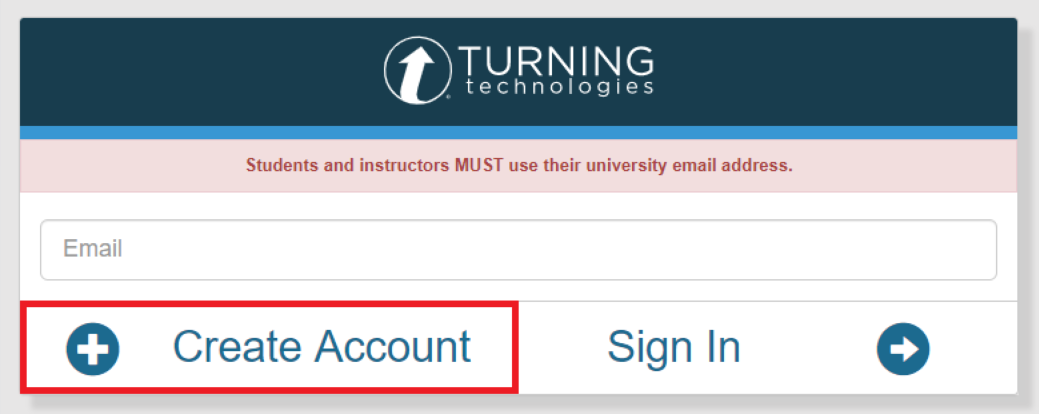
- Type in your BU email address.
- Click Create an account.
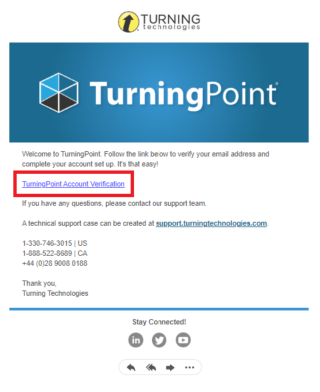
- A verification email will be sent to your BU email address containing a link to finish your Turning Account setup.
- Fill in account information, select instructor for “role” and higher education for “market”, once completed select finish.
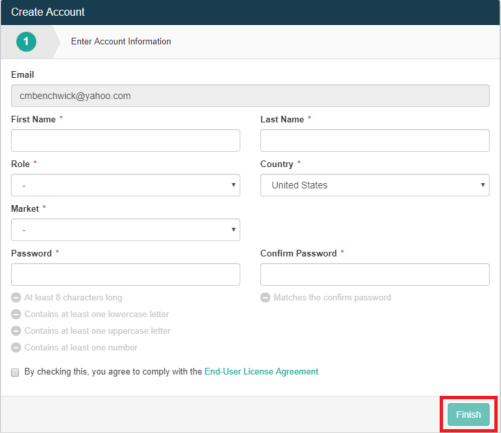
- To get the TurningPoint 8 App, sign into your recently created TurningPoint account and click Downloads at the top left-hand corner and select the download version for your operating system. If you have a PC computer, you have two options: PC No-Install and PC-Install. If you do not have administrative rights to download software and/or intend to use a different computer with the TurningPoint software, select PC No-Install. If not, select PC-Install.

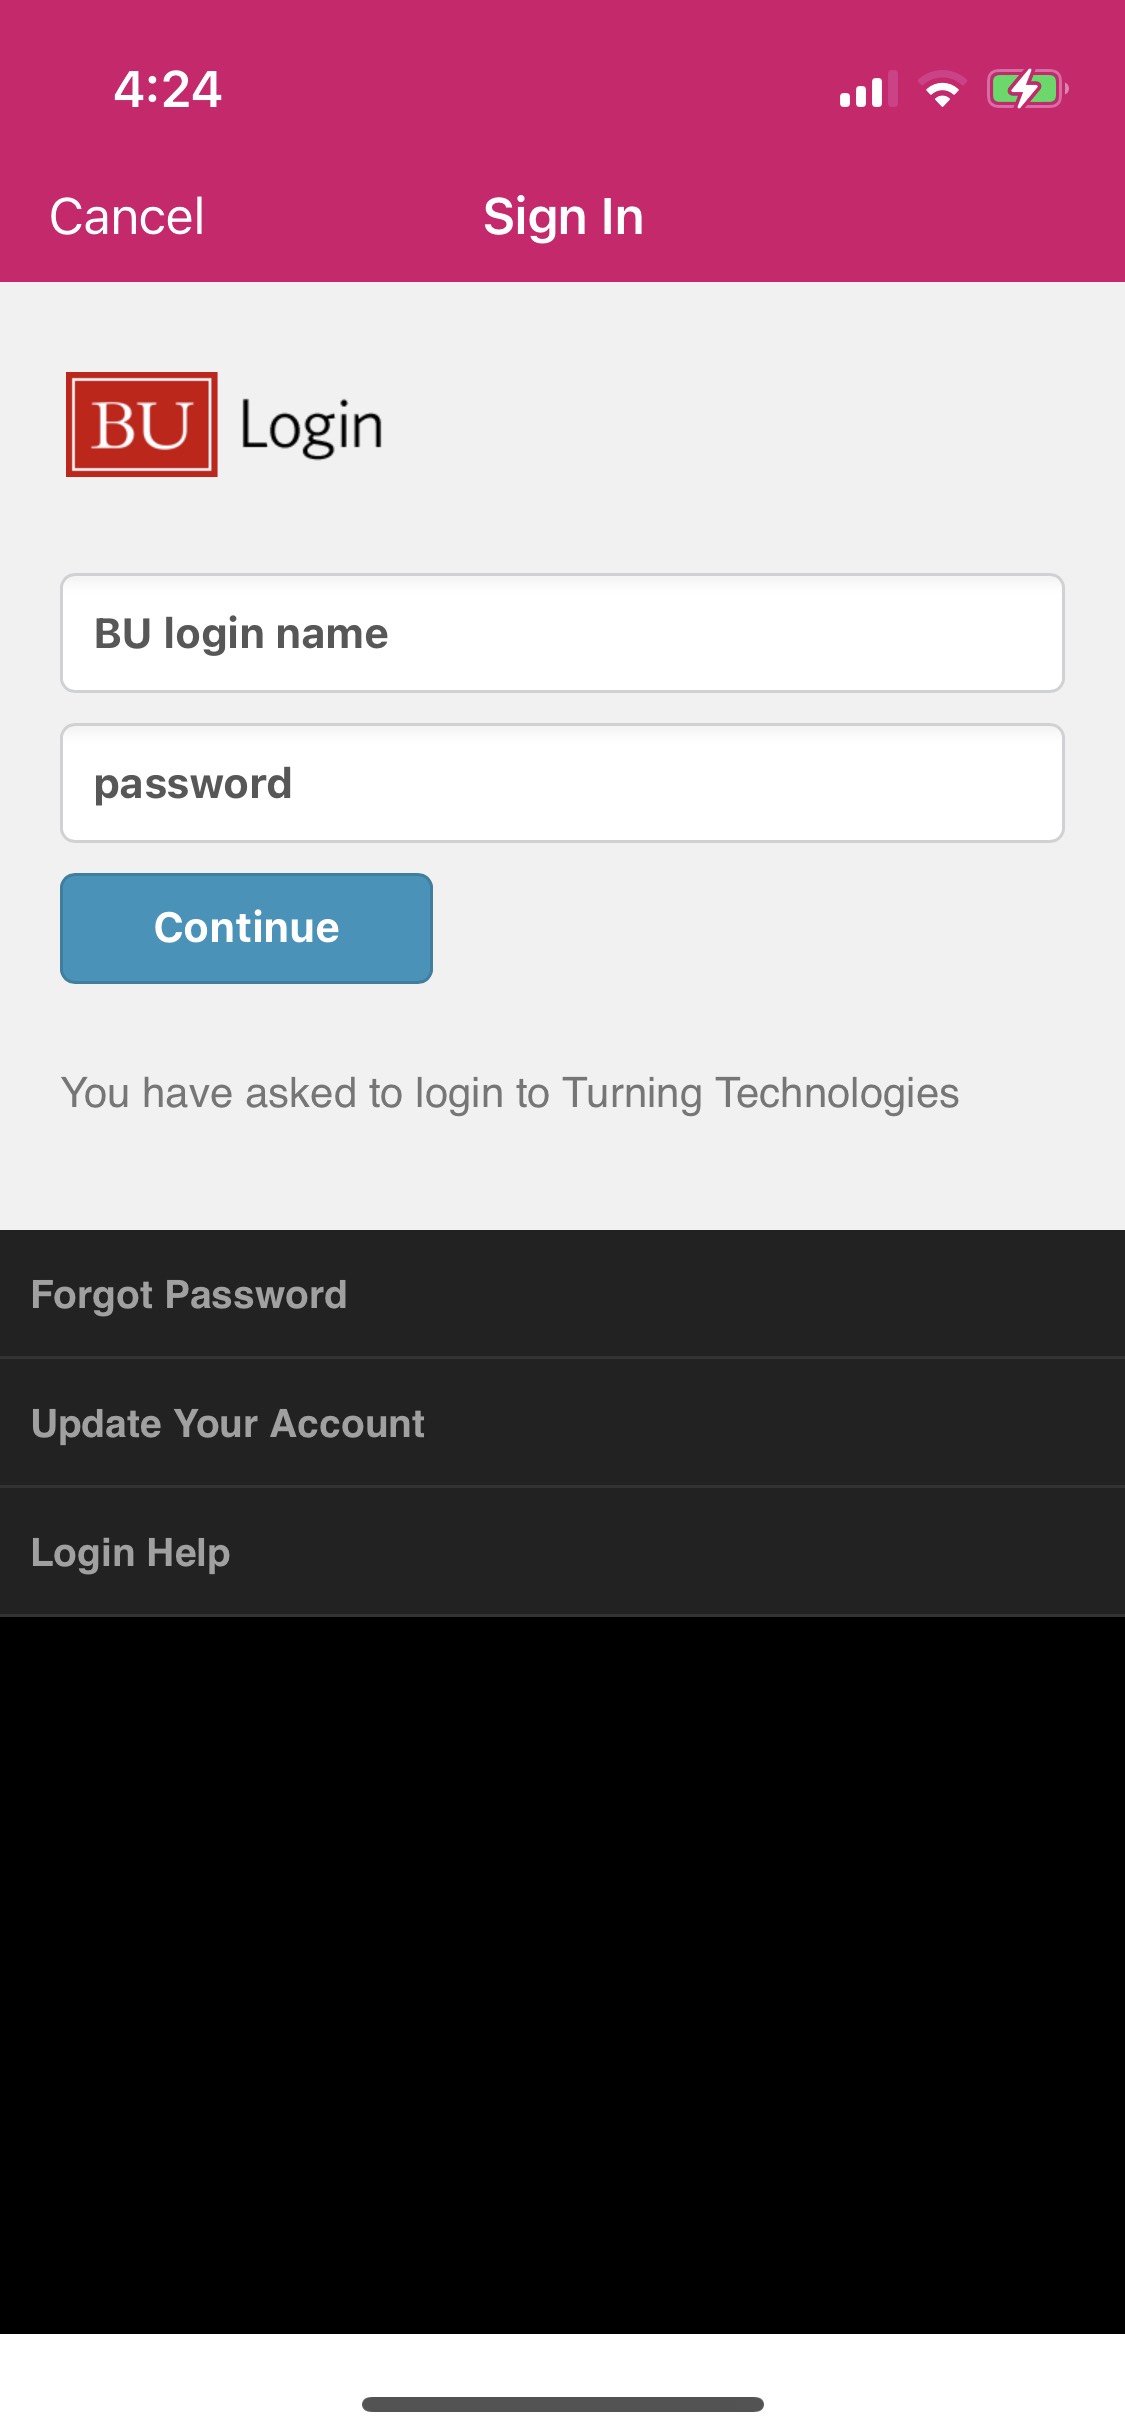
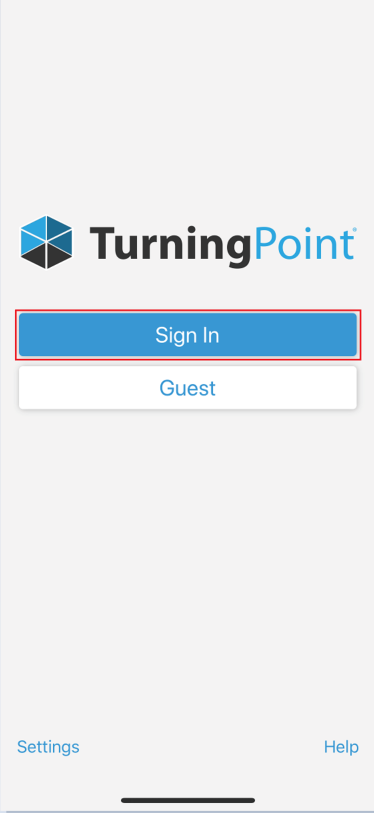
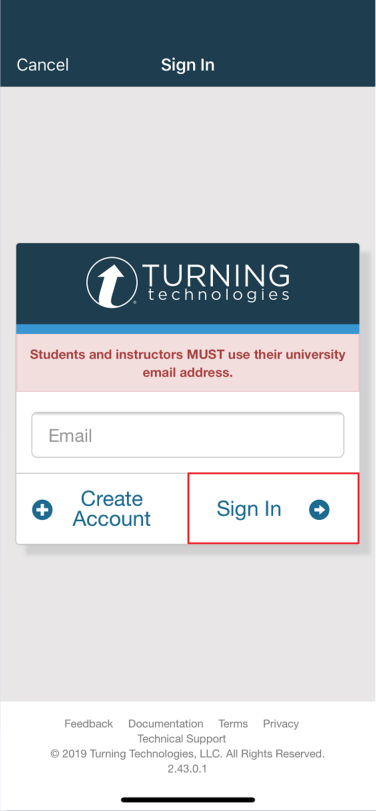
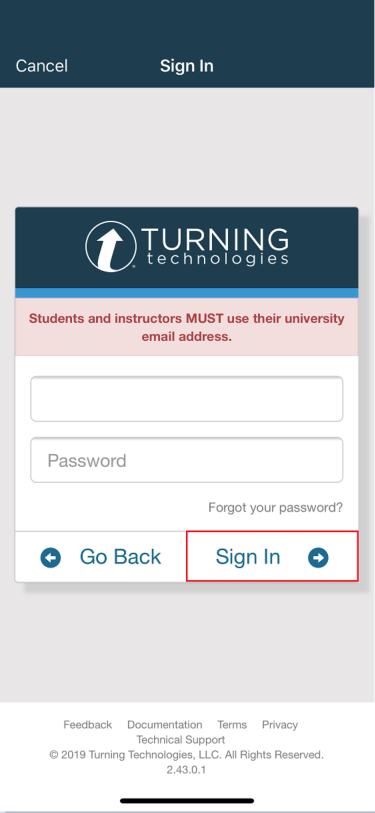
- Once the app is downloaded, open TurningPoint and log in with your Turning Account BU email address and password.
IMPORTANT
A PointSolutions software license is mandatory for students. If a participant does not purchase a PointSolutions software license, his or her score will show as an asterisk in all PointSolutions Desktop participant reports. Furthermore, his or her score will export as “0” to an Excel workbook and will not be exported to an LMS.
How do students register their ResponseCards and Licenses?
- Sign in to Blackboard using your BU username and Kerberos password.
- Select your Blackboard Learn course from the right-hand side.
- Click Tools from the left-hand course menu.
- Click Turning Technologies Account Registration from the right-hand side.
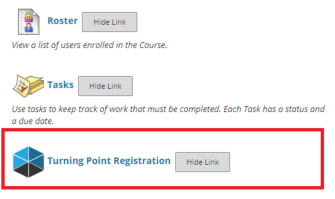
- Enter your BU Username and Kerberos password.
- Sign up by using your BU email address then click next, you will be sent a verification e-mail and a verification link. Click the verification link.

- Fill out required information – your Role is a student and market is higher education. Once completed, click finish.
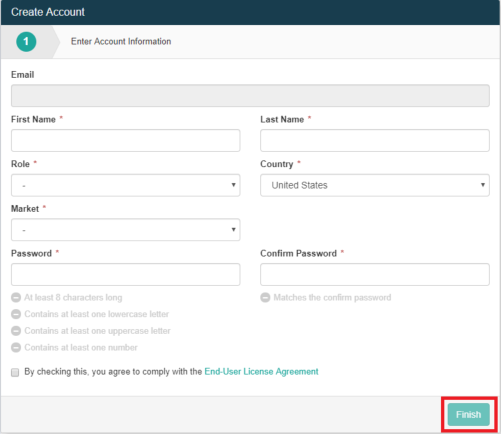
- Once you have created an account and signed in, click get started. *FYI – your student account can always be accessed at student.turningtechnologies.com
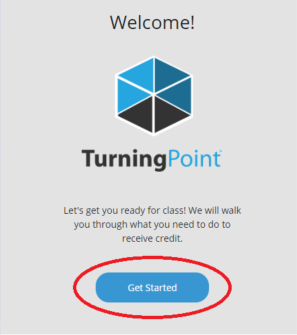
- Enter your subscription code in the form field and click Redeem. If you need to purchase a subscription, click on purchase subscription. Once purchased, your subscription will automatically be placed on your account.
- Enter your clicker ID in the form field and click add. Your clicker ID can be found on the back of your RF LCD ResponseCard under the barcode. The clicker ID consists of six digits or letters (A-F). If you need to purchase a clicker, select purchase clicker or visit your campus bookstore. If you purchased a clicker through Turning Technologies website, your clicker will be mailed to your address.
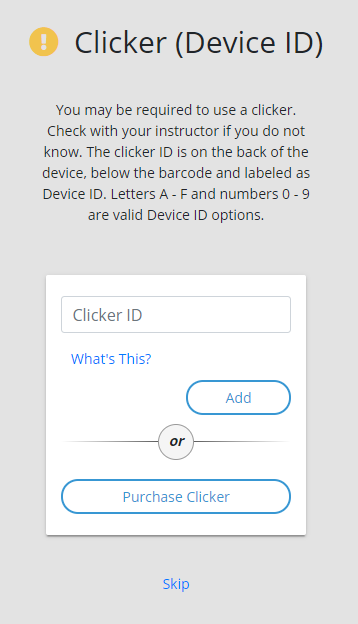
- If your instructor does not require a clicker in the classroom, but rather a mobile device, you can select skip. A mobile ID will be automatically generated for any new user and cannot be altered.
- Once completed, you will need to check for (3) green check marks under Subscriptions, Response Devices, and Learning Management System (Blackboard Connection). Note, if you are not required to use a clicker in the classroom, you are only required to have (2) green check marks under Subscription and Learning Management System (Blackboard Connection).
I am a student. Is there a helpful guide on using my clicker?


