Blackboard Learn offers a suite of integrated communication tools, such as Announcements, Messages, and Email designed to foster meaningful interaction between instructors and students. These tools support timely feedback, promote student engagement, and help create a connected learning environment.
Announcements (Ultra)
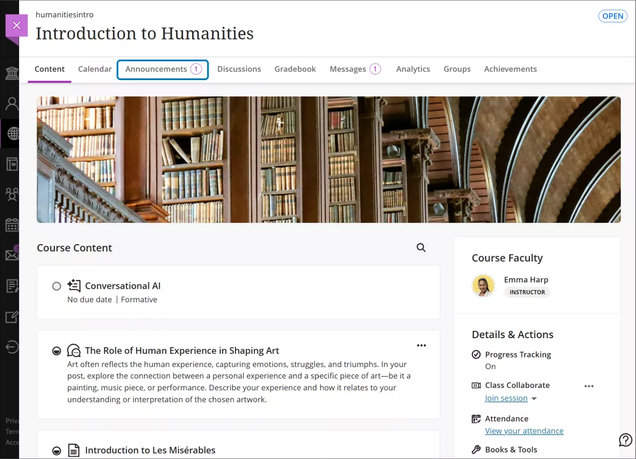
In Ultra, new and active course announcements are displayed the first time students enter your course. Students must close the New Course Announcements window before they can access the course content. Once closed, the window will not appear again unless new announcements are posted. In that case, the window will reappear, showing only the newly added announcements.
Watch a video about Announcement In Blackboard Ultra course view
For more information on Announcements, please explore the links below.
Announcements (Original)
Announcements are an ideal way to post time-sensitive information critical to course success. Add announcements for these types of course activities:
- Due dates for assignments and projects
- Changes to your syllabus
- Corrections/clarifications of materials
- Exam schedules
Watch a video about Announcement In Blackboard Original course view
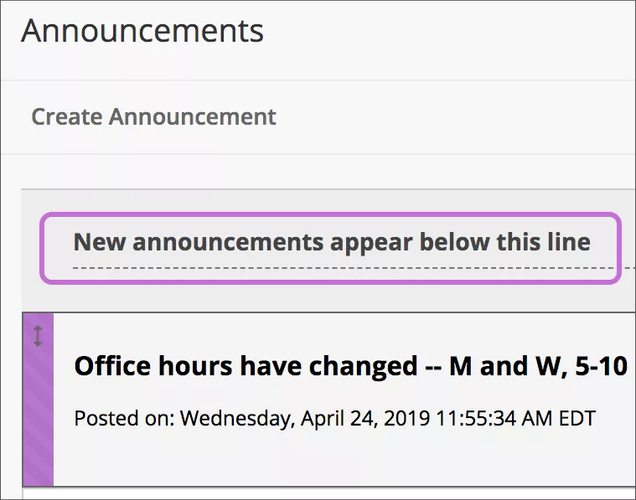
On the Announcements page, use the bar to reposition and prioritize your announcements. Drag the bar to reorder announcements to new positions on the page. Move priority announcements above the bar to pin them to the top of the list and prevent new announcements from superseding them.
Send a Course-Wide Email (Original Only)
- Log in to learn.bu.edu using your BU login name and Kerberos password
- Select your course from the Courses page.
- You can find the Blackboard email tool in these areas:
- On the course menu, select Tools > Send Email.
- On the Control Panel, expand Course Tools > Send Email.
- On the Send Email page, select a link, such as All Users.
- For Select Users or Select Groups, select the recipients in the Available to Select box and select the right-pointing arrow to move them into the Selected box. Use the left-pointing arrow to move a user out of the recipient list. Select Invert Selection to select users whose names aren’t highlighted, and deselect users whose names are highlighted.
- To select multiple users in a list on a Windows computer, press the Shift key and select the first and last users. To select users out of sequence, press the Ctrl key and select each user needed. On a Mac, press the Command key instead of the Ctrl key. You can also use the Select All function to send an email to all users.
- Type your Subject. Your message won’t be delivered without a subject.
- Type a Message.
- Select Attach a file to browse for a file from your computer. You can attach multiple files to your message.
- Select Submit.

- After you send an email, a message appears at the top of the Send Email page that lists all recipients. The message isn’t a confirmation that any users received the message, just that the message was sent.
Course Messages (Original)
Course messages are private and secure text-based communication that occurs within your course among course members. Although similar to email, you must be logged in to a course to read and send course messages. Messages activity remains inside the system, and you don’t have to worry about email addresses that may be incorrect or outdated.
- Log in to learn.bu.edu using your BU login name and Kerberos password.
- Access the Messages page on the left Blackboard navigation page.


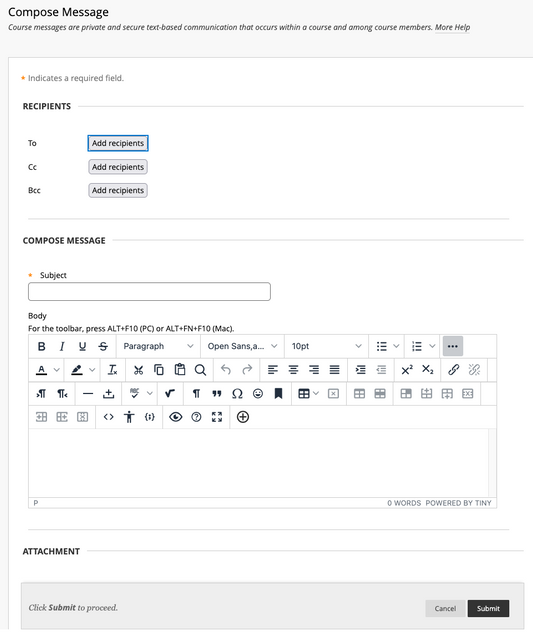
- On the Compose Message page, select To. A list of all course members appears. In the first box, select the recipients and select the right-pointing arrow to move them to the Recipients box.
- You can use the options in the editor to format the text of your message. You have creative control over how your content appears and the flexibility to change the order and appearance.
- Both incoming and outgoing messages are saved in course messages in the Inbox and Sent folders. You can’t rename these folders.
- When you receive new course messages, a notification appears in the the Home Page.
Course Messages (Ultra)
You and your students can send messages to each other, multiple people, or an entire class. Messages activity remains inside the system, and you don’t have to worry about email addresses that may be incorrect or outdated. As an instructor, you can quickly send messages to all students about important deadlines and schedule changes.
- Log in to learn.bu.edu using your BU login name and Kerberos password.
- Access messages either with the Messages page on the left navigation Menu.
- When you select the New Message icon on the Messages page, the New Message panel opens.

- As you type in the Recipients box, matching recipient names appear in a menu for easy selection. You can continue to add as many names as you want or send to the whole class.
- You can send an email copy of a course message. Students might see, read, and act on important announcements and course messages when they receive a copy in their inboxes. Email copies are only delivered if recipients have valid email addresses in their Blackboard Learn profiles. When you select this option, all recipients of the message receive an email copy.
- You may choose not to allow replies for messages you create. If you choose to send a message to the whole class, no one is allowed to reply by default.
Message Permissions and Turning Off Messages
As an instructor, you can change who students are allowed to message in your Ultra course. By default, students can start new messages to all staff/instructors and other students. To change these permissions:
- Log in to learn.bu.edu using your BU login name and Kerberos password.
- Navigate to the Courses page using the left side base navigation panel.
- Open the course that you want to change the message permissions for.
- Within the Course Content page of your course, click on Course Settings in the top right corner of the page.
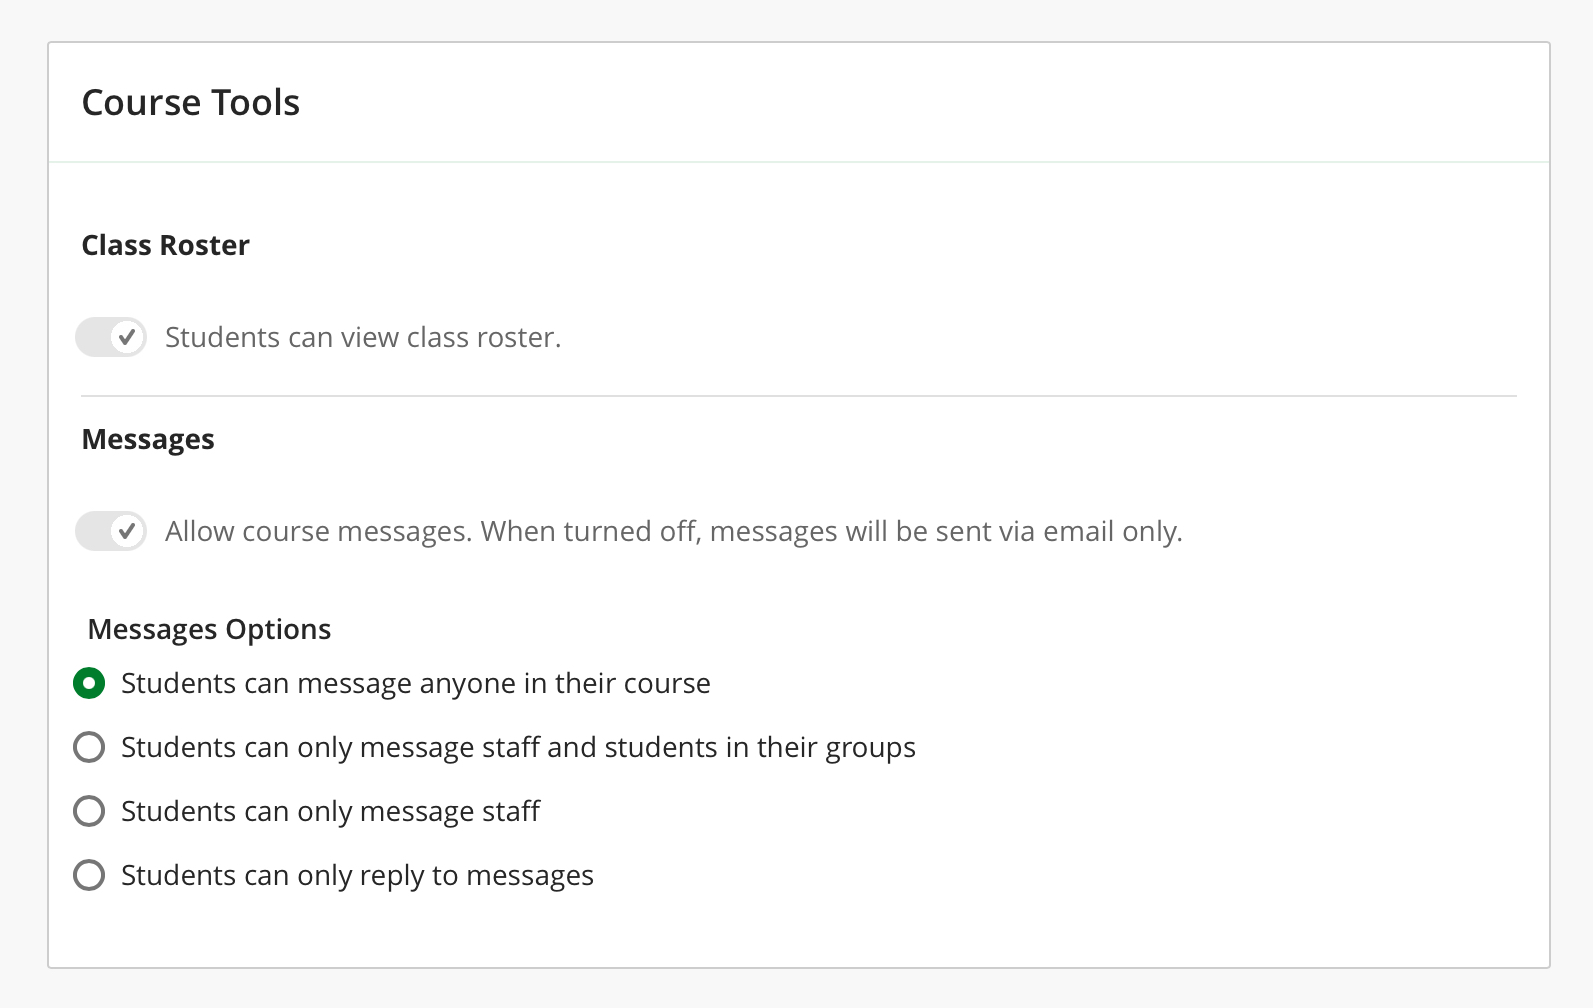
- In the Course Settings panel that opens, scroll down to Course Tools.
- Under the Messages section, select the best option that fits your needs:
- Students can message anyone in their course
- Students can only message staff and students in their groups
- Students can only message staff
- Students can only reply to messages
- Once you change the messaging option, this setting will immediately be instituted.
The “Students can only reply to messages” option prevents students from being able to message instructors or other students unless you or another instructor sent them a message first.
Send Announcements to Individual Groups (Ultra)
In Blackboard Ultra you are able to send announcement messages to students separated into groups so that only those put into a specific group will see the message.
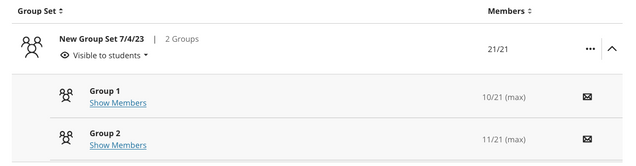
- Navigate to the Course Content page of the course, click Groups on the top of the page.
- Click on the three dots next to the Group Set containing the group you would like to message and click Send Message.
- Or on the drop down menu, you can scroll to find the specific group that you want to message. Click on the envelope icon to open up the New Message panel.
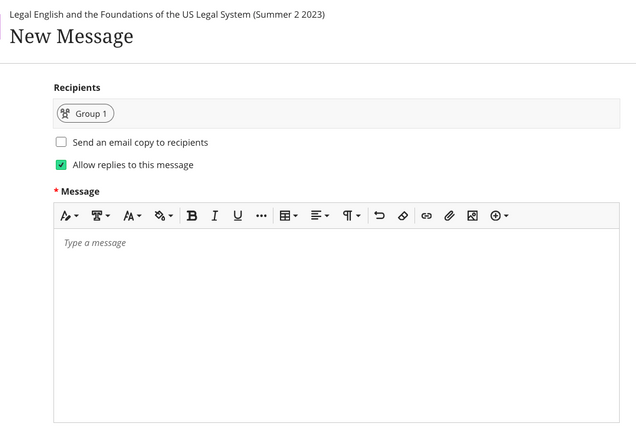
- Use the message box and text controls to type your message.
- Check the box for Send an email copy to recipients if you want the members to get an email of the message as well.
- If you want the message to be an announcement that students can’t reply to, uncheck the Allow replies to this message box.