These collaboration tools provide many options for instructor and student interaction. They support real-time communication, file sharing, and collaborative editing, which enhance engagement and learning outcomes. Learn how to add other types of content with our tutorials on developing your course content.
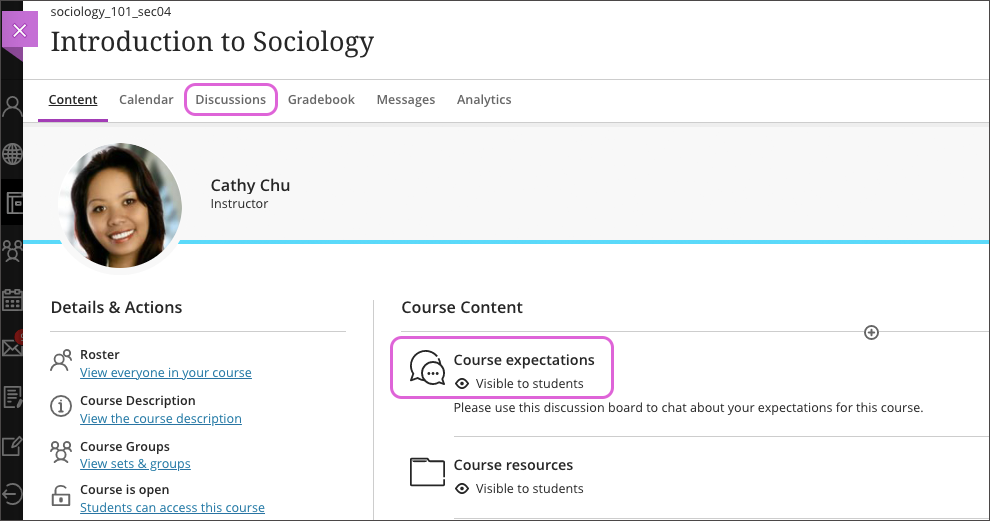
Discussion Boards
Discussions can encourage students to think critically about their coursework and interact with each others’ ideas. You can create discussions around individual course items, or for course topics in general. After you start a discussion, you can post responses of your own to guide students.
Watch a video about Discussions
- Create a discussion directly on the Course Content page so students can view it in context with other materials. Click the plus sign above or below the content where you want to place the discussion board.
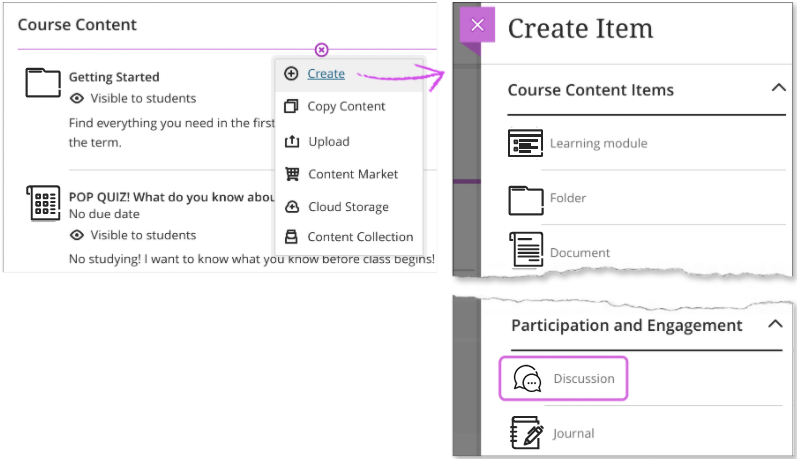
- Select the Discussions icon on the navigation bar to open the course discussions page. Select the plus sign in the upper-right corner to open the menu. You can add discussions and organize them with folders. Select the gear icon to open the Discussion Settings panel.
- You can add discussions for everyone or ask students to participate in group discussions. You can also make discussions count for a grade.

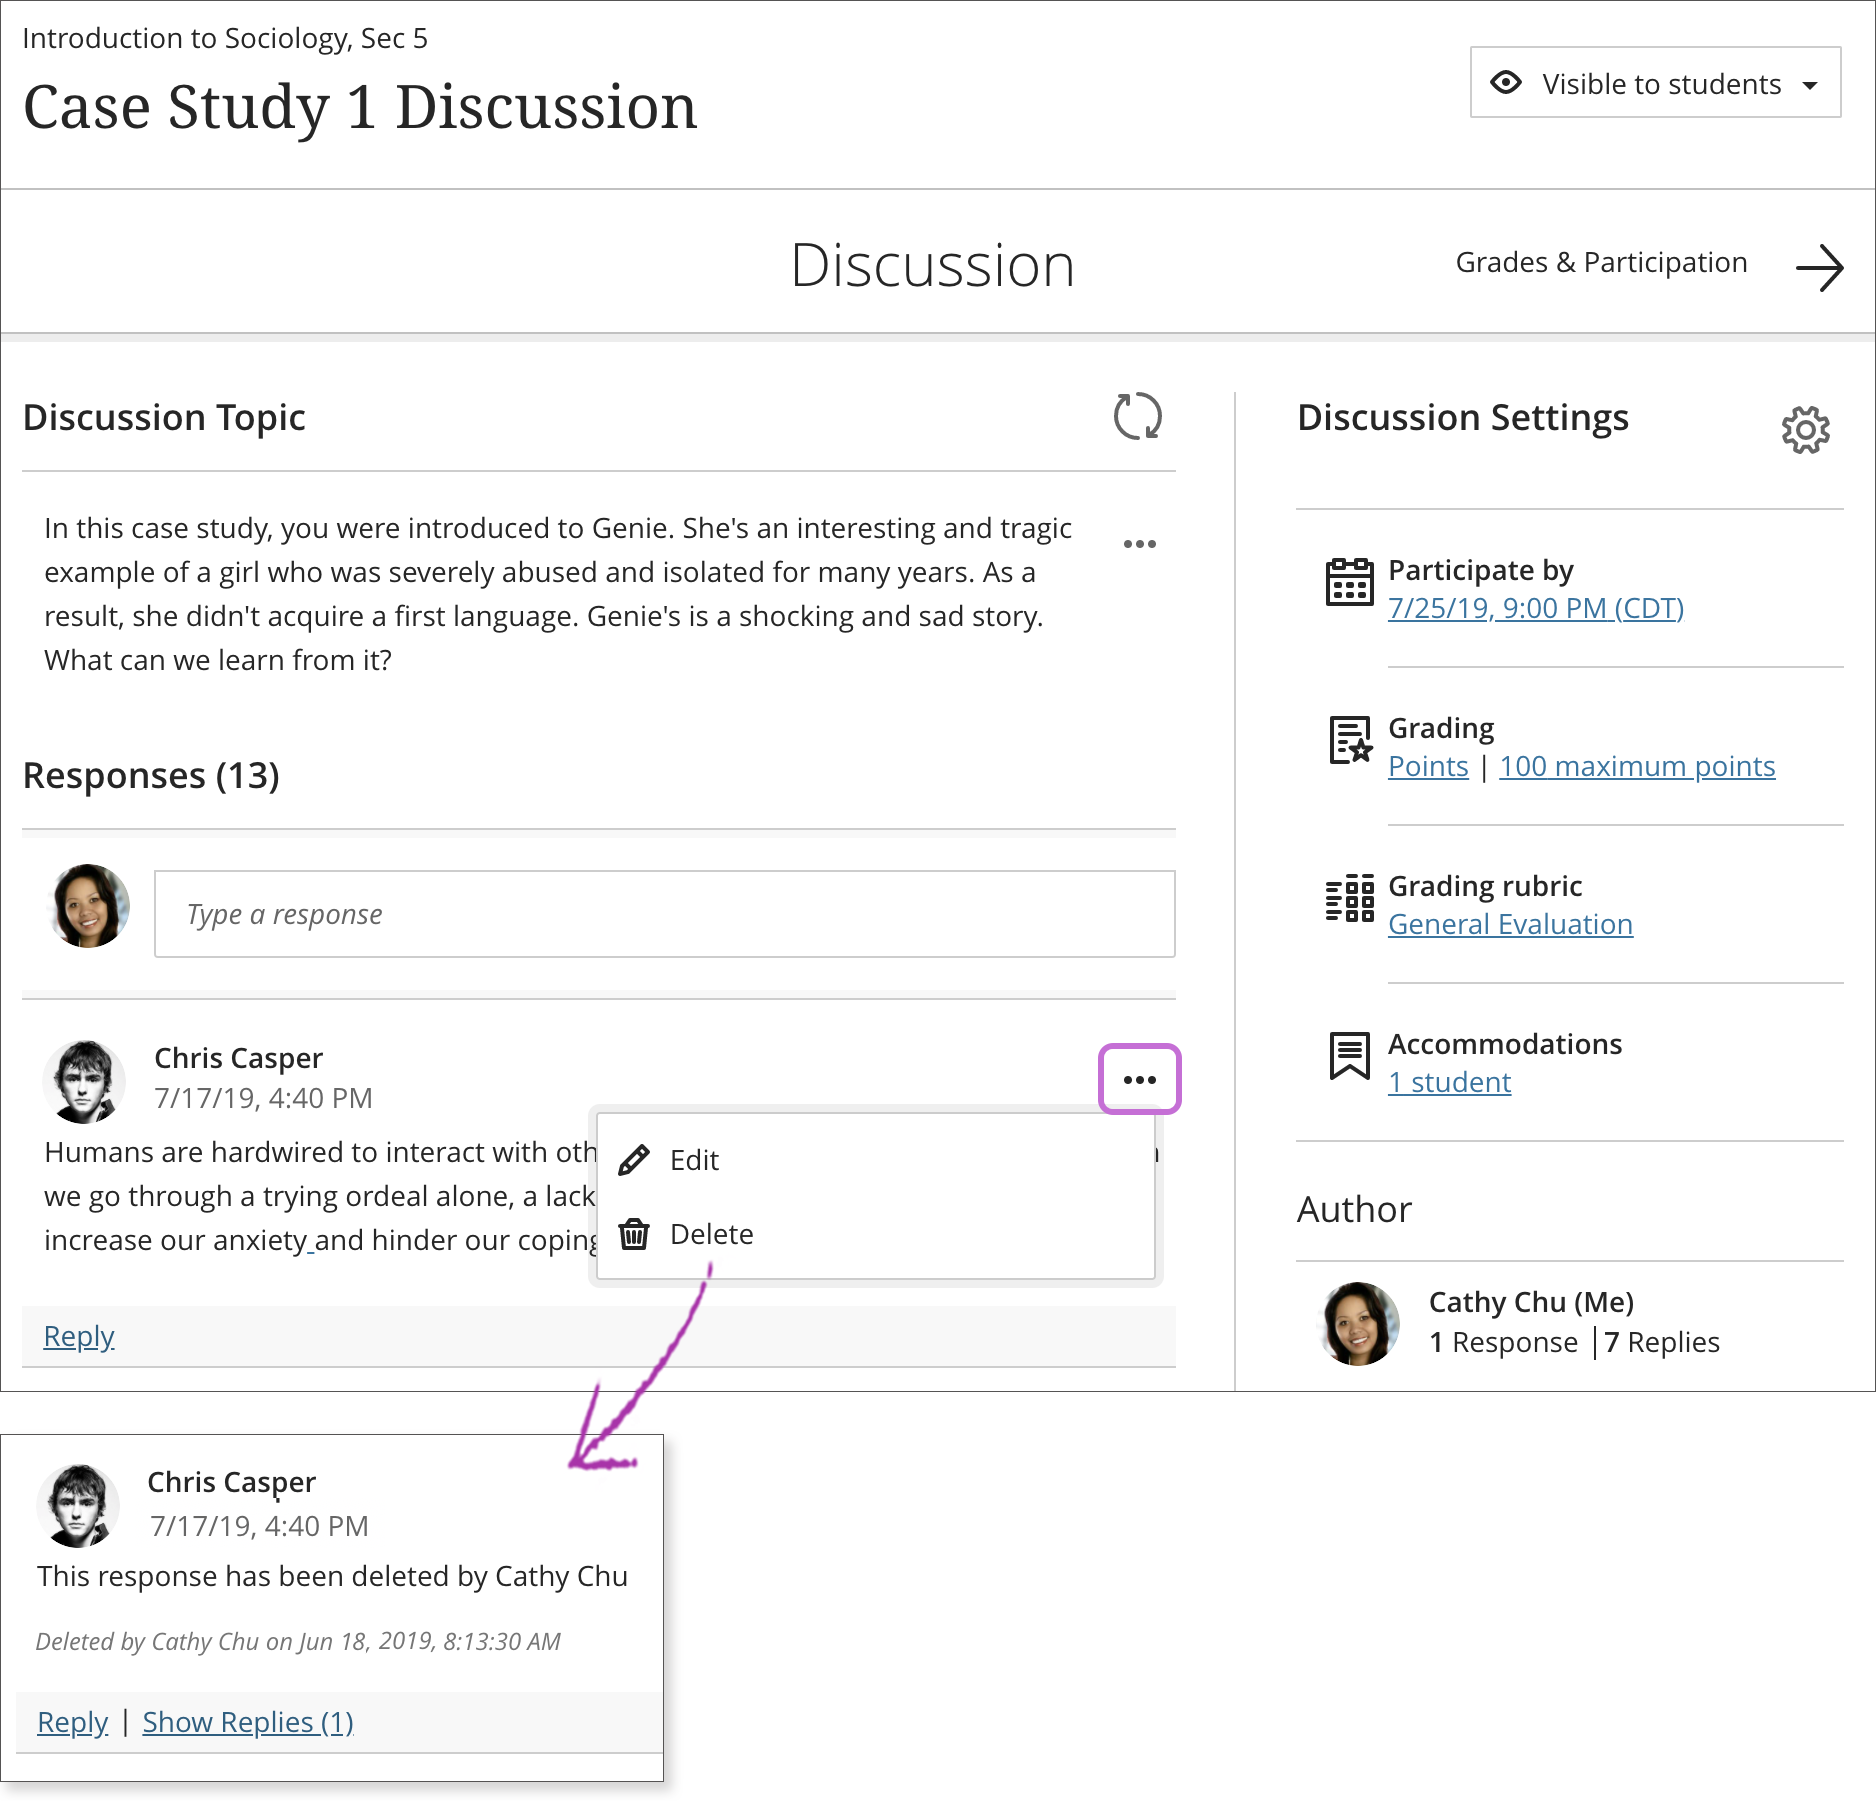
- As shown in section A of the graphic above, choose a name for your discussion. If you don’t add a title, “New Discussion” and the date appear as the title for you and your students.
- Include guidelines and expectations in the main text box on the page (shown as section B). You can use the options in the editor to format text, attach files, and embed multimedia.
- New discussions are hidden by default. Students can’t see a discussion until you choose to show it, which you can edit by the visibility dropdown shown in section C of the graphic. If you select Conditional Availability from the dropdown, you can also set availability conditions based on date, time, and performance on other items in the course Gradebook.
- As shown in section D of the graphic above, select the Discussion Settings icon to open a panel with options for your discussion:
- Select Display on the Course Content page to include the discussion on the Course Content page.
- Hidden responses and replies can help students cultivate their own ideas on your initial discussion topic. Select Post first to hide discussion activity from students until they respond to the discussion. When you want to use both post first and groups, select Post first before you assign groups.
- When you choose to Grade discussion, more options appear such as the due date and maximum points. The maximum points apply to one or more posts made by a student. When you enable grading for a discussion, a column is created automatically in the gradebook.
- When you create a discussion, you can align one or multiple goals. Select Align with goals to search for available goals. After you make the discussion visible, students can view the goals so they know your expectations.
- You can make it a Group Discussion to assign students to discussion groups so fewer people are involved. You can also assign a specific topic to each group, and grade group discussions.
- Instructors can edit or delete anyone’s discussions, discussion titles, responses, and replies. Students can delete only their own discussions, responses, and replies. Open the menu for a response or reply to access the Edit and Delete functions. If you delete an initial response, all replies remain. The system displays a message about your deletion so others know what happened.
- If you delete the discussion topic and responses and replies exist, everyone is informed about the deletion. The deletion message also appears if students delete discussion topics they created.
For additional information about Discussions, please visit this page.
Journals
Journals are personal spaces for students to communicate privately with you. Students can also use journals as a self-reflective tool. They can post their opinions, ideas, and concerns about the course, or discuss and analyze course-related materials.
On the Course Content page, select the plus sign wherever you want to add a journal. Select Create, then scroll down to the Journal button at the bottom of the Create Item panel. You can also expand a folder or learning module to add a journal within them.
Enter a meaningful title to help students find the right journal in the content list. If you don’t add a title, “New Journal” and the date appear on the Course Content page.

- As shown in section A in the graphic above, add a prompt to set expectations and guidelines. You can use the options in the editor to format text, attach files, and embed multimedia. If you don’t add a prompt, students see a message that you haven’t added instructions for this journal.
- New journals are hidden by default. Students can’t see a journal until you choose to show it. By selecting the dropdown in section B of the graphic, you can set availability conditions based on date, time, and performance on other items in the course gradebook. On the Course Content page, students can see when you set the journal to show.
- You can make a journal count for a grade as well. Select the gear icon (section C in the graphic above) to open the Journal Settings panel. When you choose to grade a journal, more options appear such as the due date and maximum points. The maximum points apply to one or more entries made by a student. You can also use Ultra’s grading tools, like feedback and rubrics, to grade journals.
For additional information about Journals, please visit this page.