1. Log in to your WordPress site by your BU Google Apps Account.
2.a Click the orange “Access Google Analytics” button on your dashboard. (If the account is not enabled, which means that the account is not the administrator/creator of the site, get the access to BU Google Analytics by contacting the IT Help Center.)

2.b If there is no such button on the dashboard, or if your sites have advanced tracking needs, you’ll need to create a (free) Google Analytics account for the site. Once the account has been set up, grab the “Tracking ID” and head to WordPress. Go to Settings > Google Analytics on the left-hand side menu. Then, click “Add new account…” and enter the Tracking ID from Google Analytics. Click ‘OK’. 
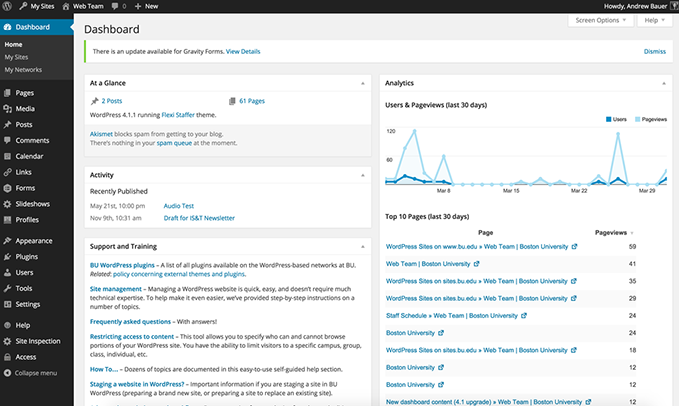
3. Now you should see the Google Analytics dashboards as a widget on your WordPress sites. The widget displays the number of total users and pageviews over the last 3o days. Users are visitors to your website tracked by using cookies based on the Javascript; pageviews count the number of web pages actually loaded; sessions are the group of interactions that occur on your site during 30 minutes. To access more data on your WordPress site, click “View all data” to access the complete report on Google Analytics websites.
If you need more information or have any general questions about setting up Google Analytics, Analytics Help is a good resource to get an overview of how Google Analytics works and the important set-up steps.
Note: Google Analytics only works at production websites but does not work for staging websites. You need to launch the staging websites to the public to make it a production website and be able to be accessed by others. You can make a request to launch your site to BU WordPress Help.