How do I login to Echo Cloud?
- Visit echo360.org, and enter your full BU email address.
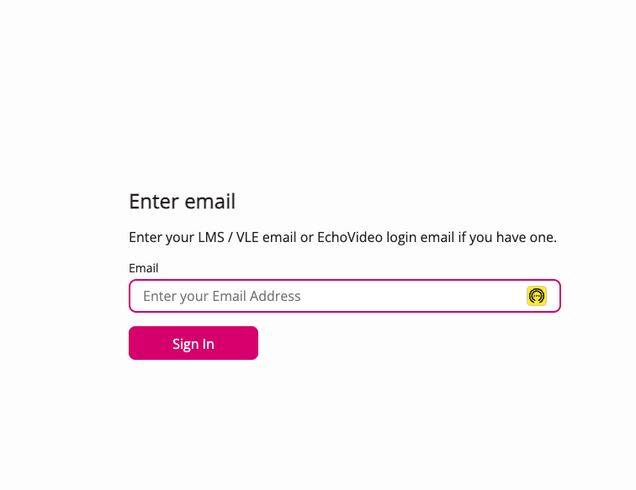
- Click on the “Sign In” button.
- After redirection to the BU sign-in page, input your BU account credentials to log in.
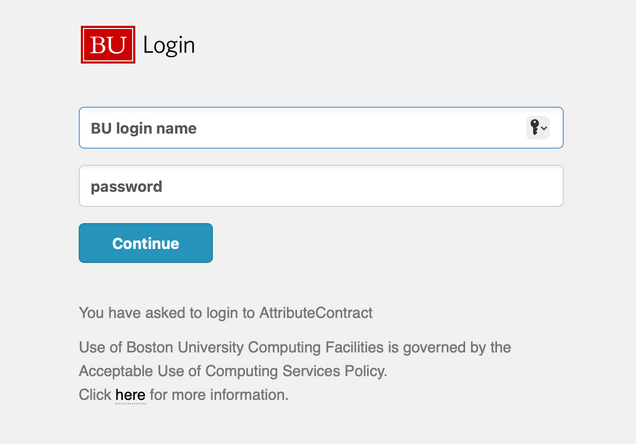
- After successful login, you will be redirected back to Echo360.
How to I View Class Content?
After logging in at echo360.org, you can access your course details by clicking on ALL CLASSES on dashboard view of the course or clicking the course under the drop down menu COURSES.
Courses with Slide Decks
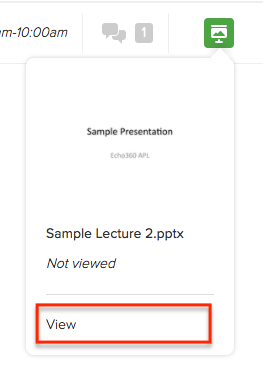
Scroll to the class you wish to view the content of. To the right, there should be a small presentation icon. If it is green, that means there is an available presentation for that class that has not been viewed. If it is gray, that means the presentation has been viewed already.
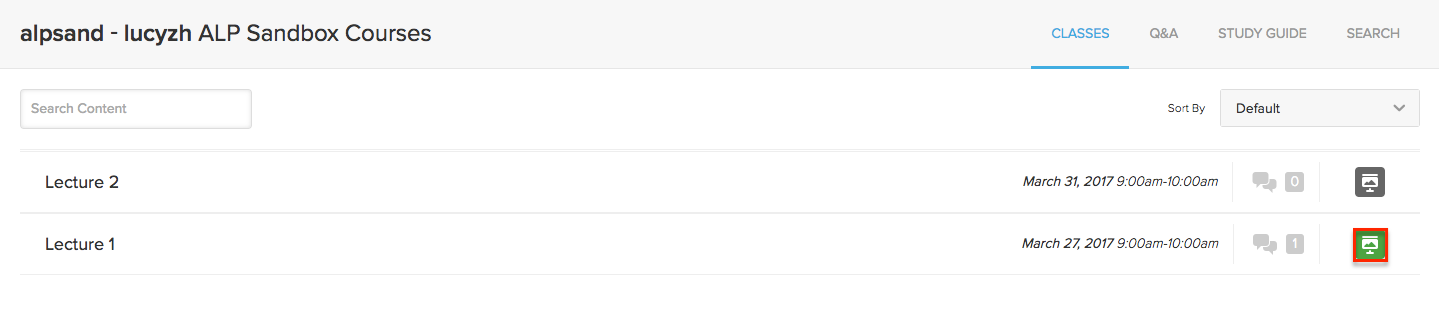
Click on green icon. Select View.
Courses without a Presentation
If there is no icon present, that means the class does not have a presentation.

More information on the course dashboard can be found at echo360.org
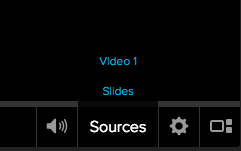
Playback: Changing sources
To change the content you are viewing within a presentation, click on Sources to the right of the playback control bar. If the content title is blue, that means it is in the presentation. Change the current setting by clicking on the title of the content you wish to view.
Instructors
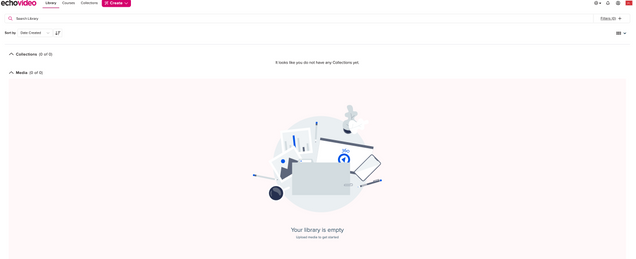
Navigating the Library
Any content for which you are the primary instructor will be visibile in your library tab.
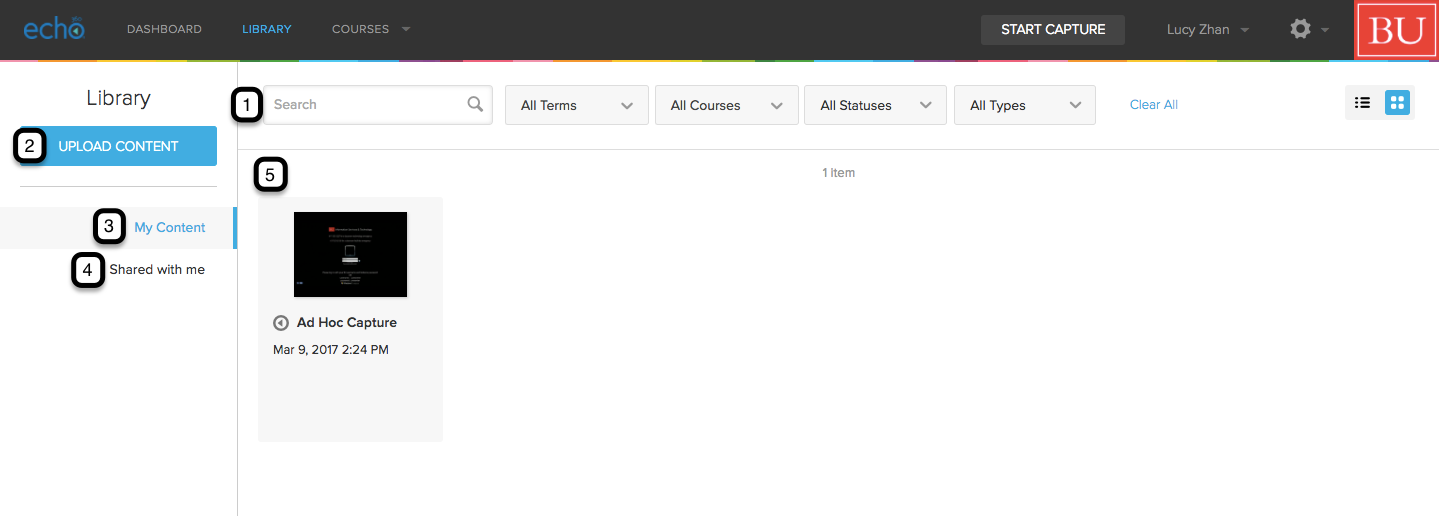
- Search: To search for content in library, use the search field and filter by term, course, status or type.
- Upload: To upload content to library.
- My Content: To view content you have created.
- Shared: To view content shared with you by others.
- Content: Thumbnail view of the content, click on drop down near upper-right for more information and to edit.
How to share content with users not in your course
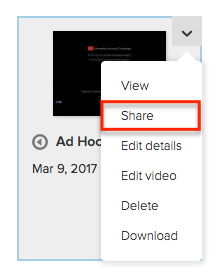
Go to Library.
Move the mouse to the upper-right corner of the content you wish to edit. Click the drop down menu and click on Share.
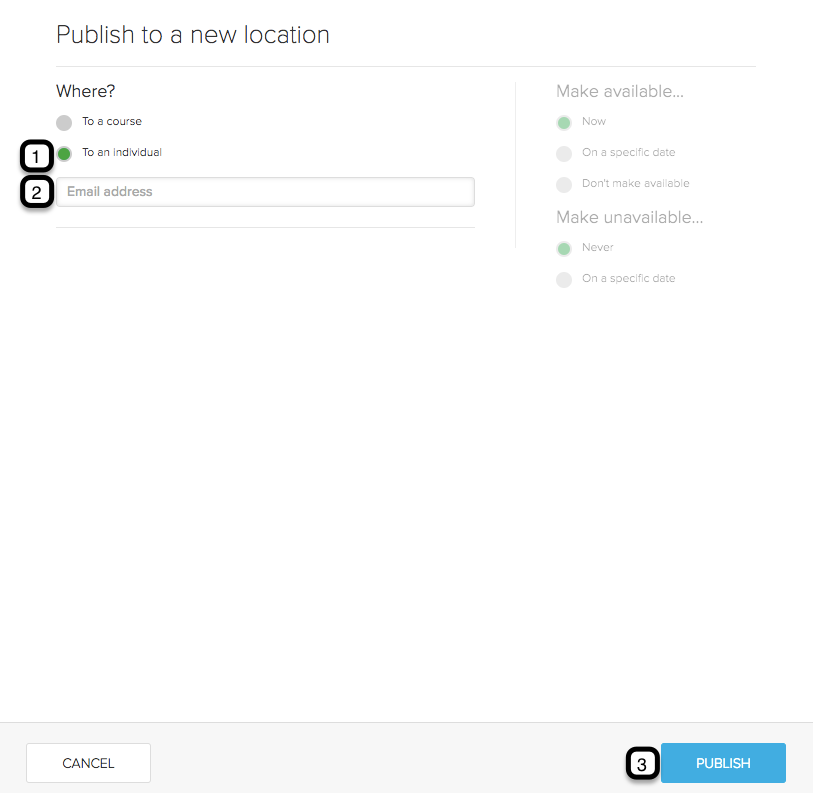
- To an Individual: Select to share course with an individual.
- Email: Enter individual’s email.
- Publish: Click publish to share it with user.
How to Publish Content to a Course
Go to Library.
Move the mouse to the upper-right corner of the content you wish to edit. Click the drop down menu and click on Share.
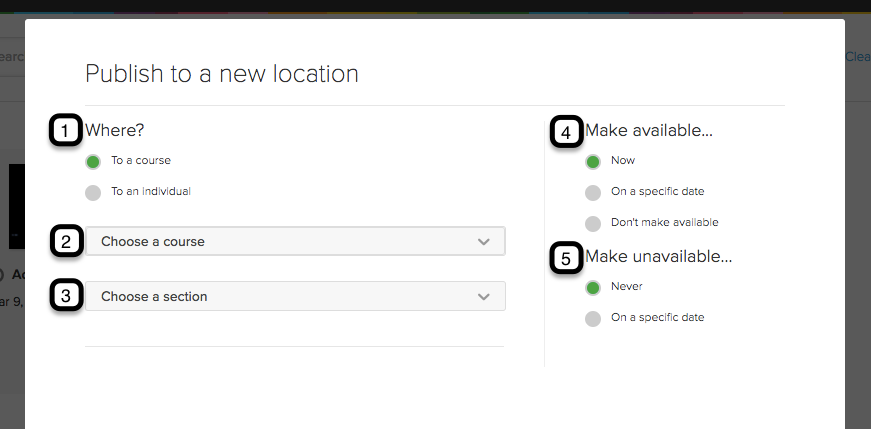
- Where?: Select ‘to a course’.
- Choose Course: Use drop down menu to choose one of your courses to publish the content to.
- Choose Section: Use drop down menu to choose one of the sections of that course.
- Make Available: Choose date you wish for content to be available in course.
- Make Unavailable: Choose date you wish to make content unavailable in course.
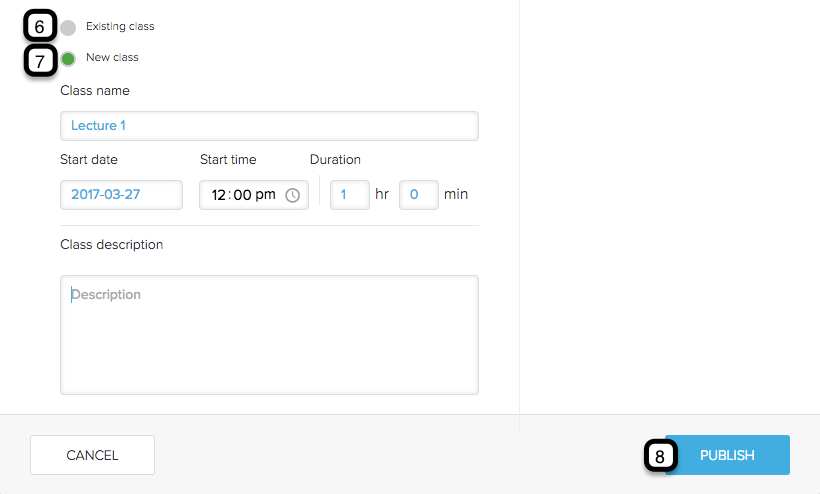
- Existing Class: Select to add content to an existing class. Select the class in the drop down menu.
- New Class: Select to add content to a new class under the course. Fill out the name, date, time, duration, and description.
- Publish: Publish your content to the course.
Accessing Links to Classrooms and Lectures
-
- From the echo360.org home page, select the Courses tab.
- Navigate to your course
- The URL to your section will be displayed in the address bar

-
- You can send this URL to any users who have access to your course. The same steps can be taken for individual lectures:

How to View Course Analytics
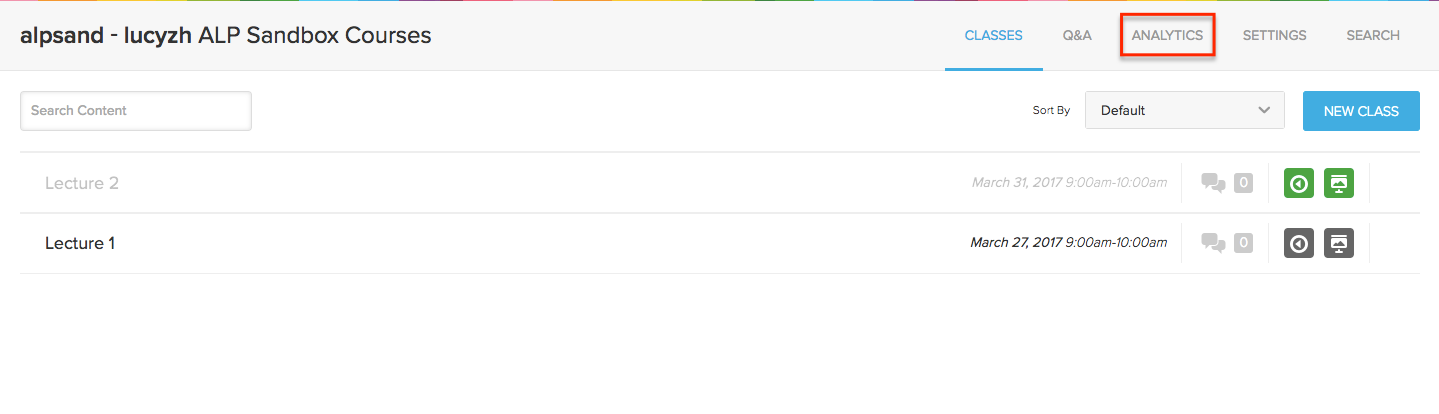
Access your course details by clicking on ALL CLASSES on dashboard view of the course or clicking the course under the drop down menu COURSES.
Access ANALYTICS on the top right.
Viewing Analytics by Class:
Click class on the left to view class analytics.
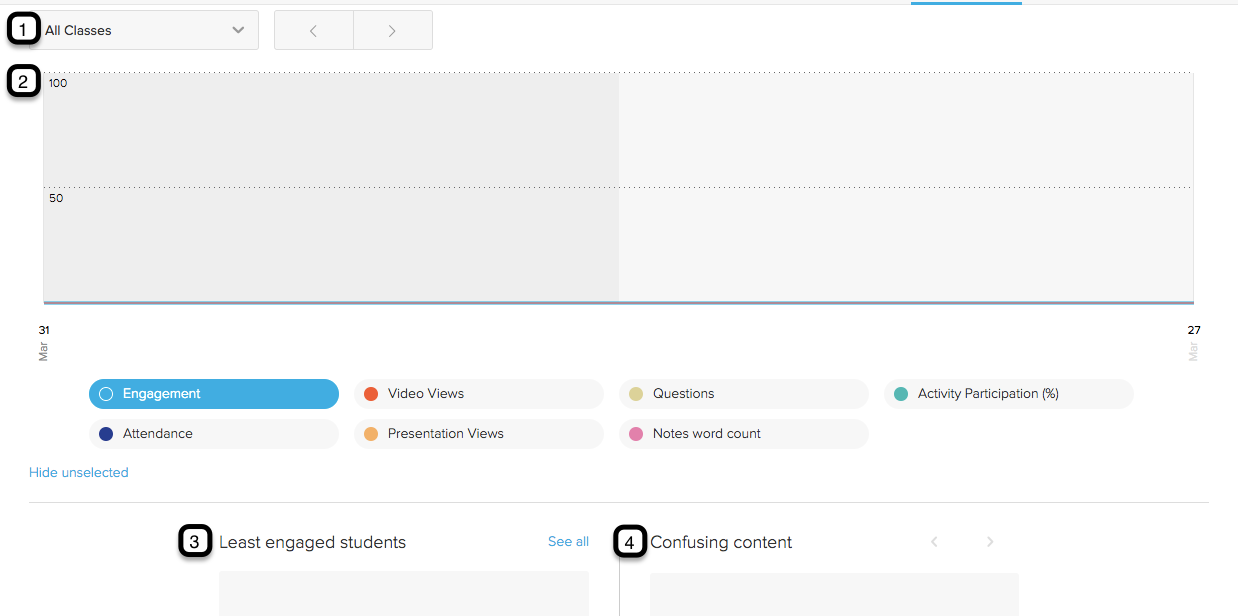
- Filter by Class: Click this drop down menu to choose to view the analytics of all classes or only one specific class.
- Engagement: Choose one of the categories on the bottom of the graph to view the engagement analytics of the class for that category.
- Least Engaged Students: This displays the least engaged students and the percentage of engagement. To view all students, click see all.
- Confusing Content: Any content that the students mark as confusing will appear here.
Viewing Analytics by Students:
Click students on the left to view student analytics.
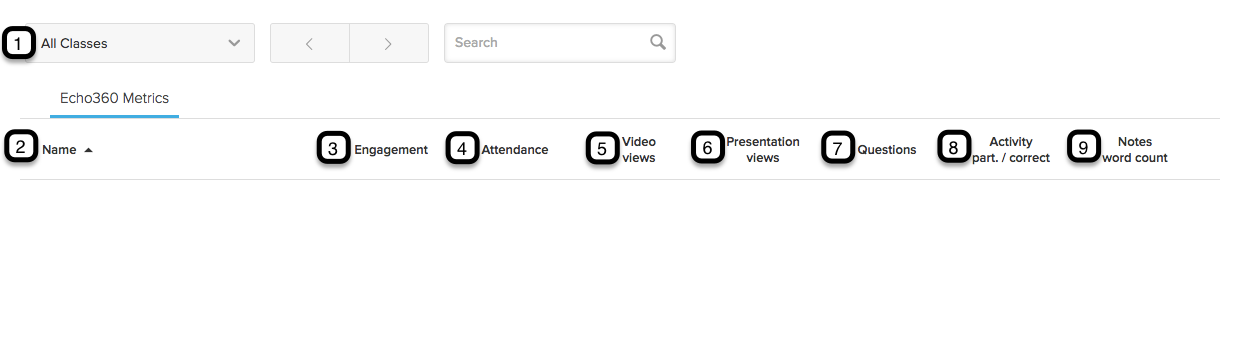
- Filter by Class: Click this drop down menu to choose to view the analytics of the students for all classes or one class.
- Name: Under this column lists the students’ names.
- Engagement: The percentage of engagement for the student will be calculated based on their participation and displayed in this column.
- Attendance: This column displays the percentage of classes the student has attended.
- Video Views: This column displays the number of times the student has viewed the course videos.
- Presentation Views: This column displays the number of times the student has viewed the presentations.
- Questions: The column displays the number of times the student has asked a question.
- Activity Participation/Correctness: This column displays both the students percent of participation in activities and the percent correct.
- Notes Word Count: This displays the number of words the student has in their notes.
Engagement Settings:
Click engagement on the left to change engagement weightings and for additional settings.

- Apply/Reset: Click APPLY to save the changes to the engagement score weightings. Click RESET to revert back to the original settings without new changes.
- Customize: Move the bars of each category to set different weightings.
- Presets: Click on one of the three presets to set the weightings to that preset.
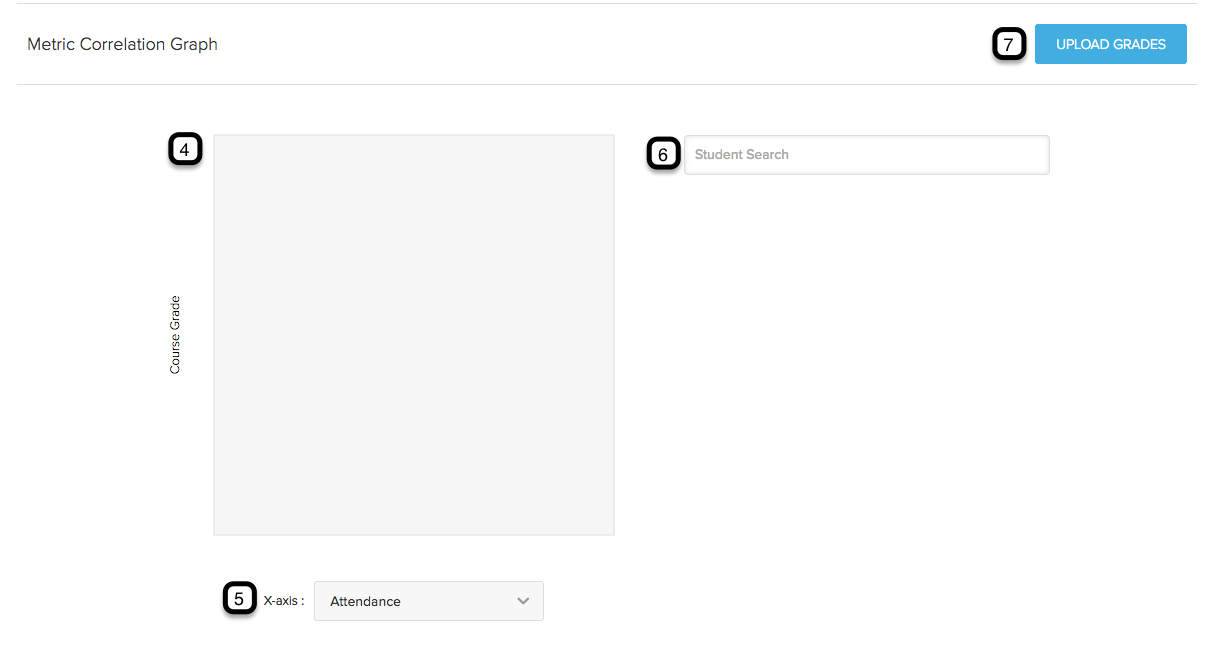
- Correlation Graph: This displays a graph that correlates and displays the relationship betweens students’ grades with a chosen engagement category.
- X-axis: Select one of the engagement categories via the drop down menu to choose a value for the x-axis.
- Student Search: Search for a student on the graph.
- Upload Grades: Click this button to use one of the excel templates to enter grades of students and upload it to use for the graph.
Export & Gradebook:
Click export & gradebook on the left to export analytics.
Click DOWNLOAD to download course analytics as a CSV file.

Students
How to Download Study Guide Notes
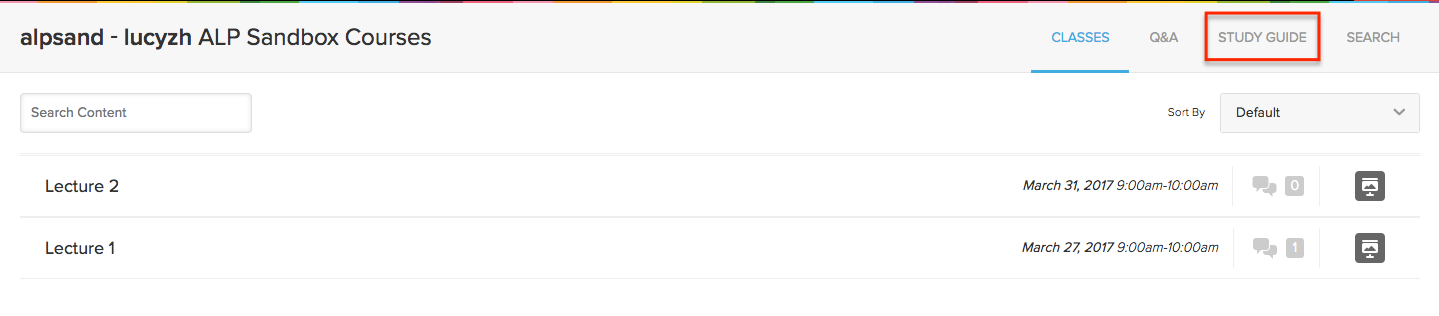
Through Classes
Access your course details by clicking on ALL CLASSES on dashboard view of the course or clicking the course under the drop down menu COURSES.
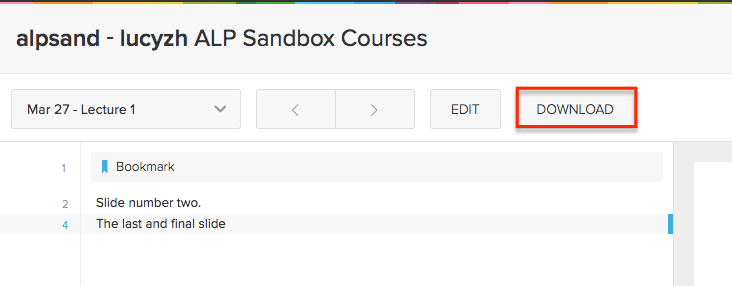
Click on STUDY GUIDE near the top right navigation bar.
Click on DOWNLOAD button near the top.
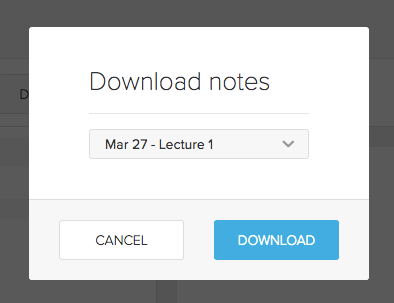
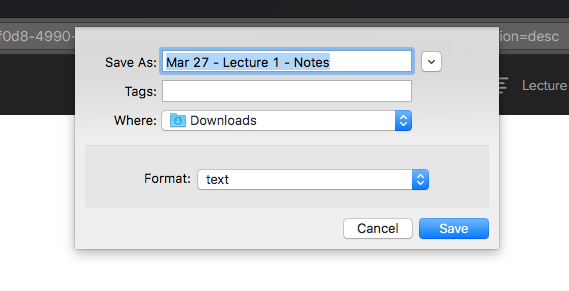
Using the drop down menu, choose which lecture notes you wish to download. Click DOWNLOAD.
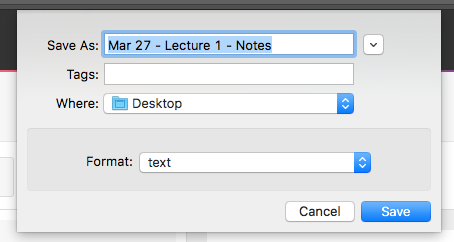
Name and save the notes in the desired location on your computer.
Through Presentation
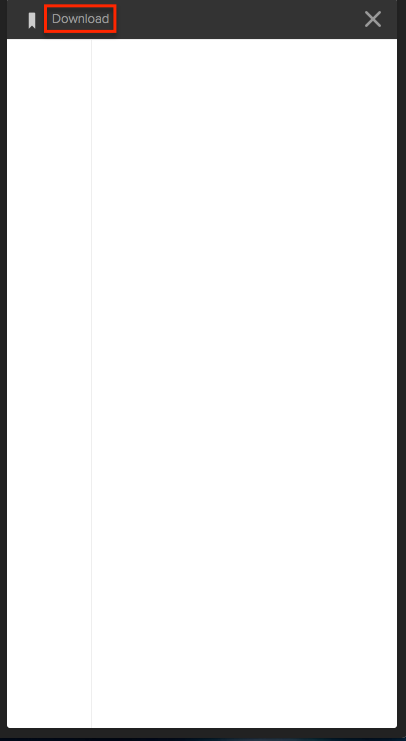
Click on the notes icon near the upper left.
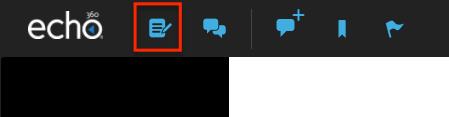
A side bar view of notes will appear on the right. To the top of the view, click Download.
Name and save the notes in the desired location on your computer.
Ask a New Question while Viewing Content
While in the viewing the content of a class, the top tool bar allows you to ask questions in relation to the class material. Click on ask a new question icon.

A side bar on the right will pop up. Click on NEW QUESTION.
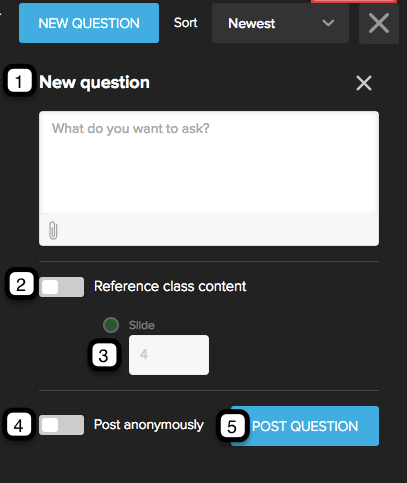
- New Question: Type in the question you wish to ask.
- Reference: Check the box to make a mark to reference a specific slide/time of the presentation/video.
- Reference Number: Type in the reference time/slide number.
- Post Anonymous: Check to post anonymously.
- Post: Click to post question.
For further guide in asking and accessing the class Q&A, refer to the Q&A guide.