The Enable Media Replace plugin allows you to replace an existing file in your Media Library, and the new file will be uploaded to the same location as the original. Use the same filename as the file you are replacing. This allows you to replace files without having to change the links that are pointing to them.
To start using Enable Media Replace, please contact us and we will activate the plugin for you.
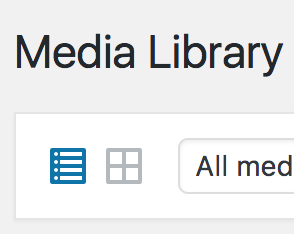
Note: This feature is only currently available using the “list view” in WordPress Media Library. The “grid view” does not support this feature.
To replace an existing file in the Media Library:
- From the Media section of the WordPress Dashboard’s left menu, select Library.
- Make sure that you are using the list view and not the grid view.
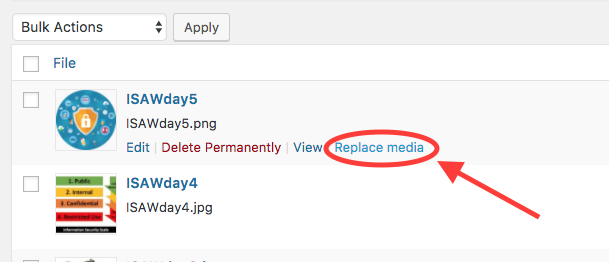
- Locate the file you need to replace.
- Hover your cursor over the item and click the Replace Media link.
- Click the Choose File button.

- From the file browser that appears, choose the replacement file you’d like to upload.
If you are replacing an image, you can only upload a new image file. - Click the Upload button to replace your media item.
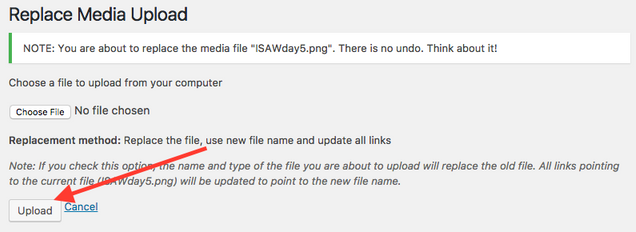
Once uploaded, the old file in your media library will be replaced with the new one. There is no way to undo a media replacement, so proceed carefully.

