BU WordPress now supports the addition of custom meta tags on a per-page basis. With custom meta tags, you can now do things like verify yourself as the site owner in Google Webmaster Tools. You can also begin to tap into the potential of the Open Graph protocol, allowing you to craft exactly how you want your content to appear when someone links to it via social media.
To add a custom meta tag, edit your page/post in the WP Dashboard and scroll down to find the new SEO, Custom Meta Tags settings box.
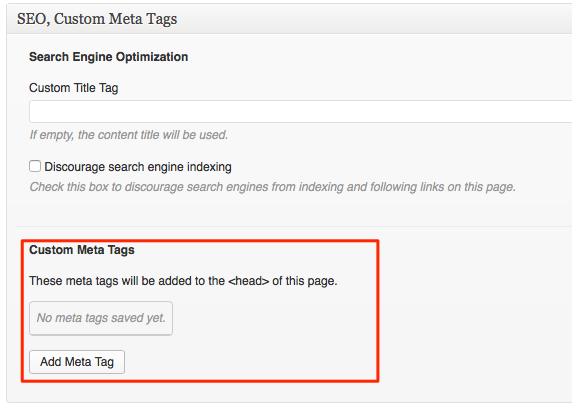
Click the Add Meta Tag button to add a new meta tag. This opens a pop-up window with further information.
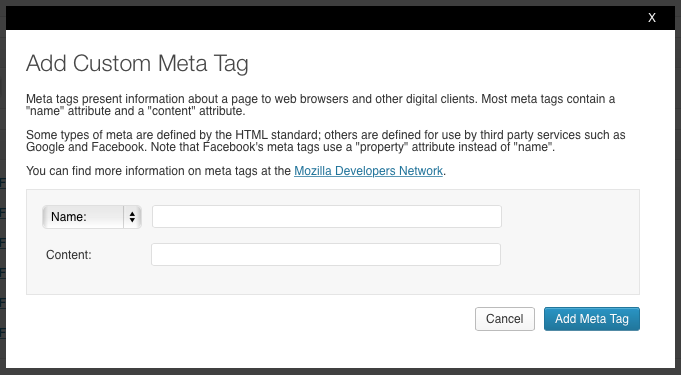
Define either the Name or Property, and the Content.

Once finished, click the Add Meta Tag button. Your custom meta tag will be added, and you will be returned to the WP Dashboard.
Don’t forget to publish your page after adding the custom meta tag — changes to custom meta tags don’t take effect until the page/changes are published.
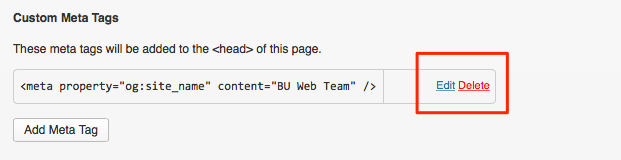
Custom meta tags you’ve added will be listed in the box. If you need to delete or edit and existing custom meta tag, use the Edit or Delete links as provided in the interface.