Connecting a Laptop to a COM Classroom AV System
Almost all laptops made within the 4-5 years feature a HDMI, Minidisplay, or USB-C port for connecting the computer to a screen or projector. Most cell phones and tablets can be connected the same way with the use of an adapter. This guide will show the steps needed to connect these devices.
Step 1:
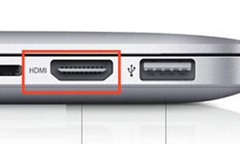
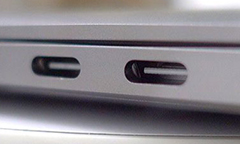
Find the HDMI, MiniDisplay, or USB-C Port connection on your device. If your computer has multiple types of connections, either can be used.
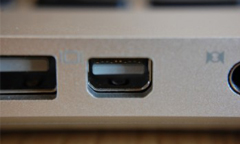
![PC Laptop with both a Mini DisplayPort [left] and HDMI connector [middle]](/comtech/files/2018/08/pc-minidisplay-hdmi.jpg)
Step 2:
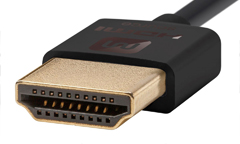
Attach the HDMI Cable — Every COM maintained classroom has a HDMI for attaching to the AV system. Some rooms have the cable permanently attached to the wall, other rooms have a wall or rack connection for the cable.
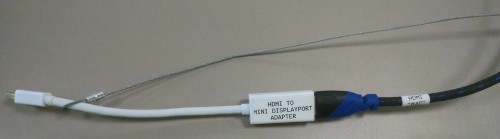
If your laptop uses a Mini DisplayPort connection, use the White HDMI to Mini DisplayPort adapter which is tied to the HDMI cable. If using USB-C, you will need to check out an adapter from RM 205. The adapter plugs into the USB-C port and then the HDMI cable connects to the adapter. If using a HDMI Port, the white adapter in the room should not be connected to anything.
Step 4:
Select the HDMI Input on the AV System
Press the “HDMI” button on the touchscreen or the physical button. The projector or LCD Screen should turn on.
