Web App Settings
Many settings in Zoom are only available via the Web App such as default scheduling, in-meeting, and recording settings. The following sections highlight recommended settings for hosting Lectures, as well as settings you may find helpful.
Settings toggled-on are  while settings that are toggled-off are
 . Any settings you change will have a flag next to it noting that it has been modified
 . This is true even if you change it back to the default.
To start, Sign Into Zoom from the Web App (see instructions).
Schedule Meeting
- Select “Settings” from the left-hand navigation menu. Then “Schedule Meeting” from the middle menu.

- Settings we recommend you should Toggle-On from the defaults are:
- Mute participants upon entry
Permalink
Email Notification
- Select “Settings” from the left-hand navigation menu. Then “Email Notification” from the middle menu.
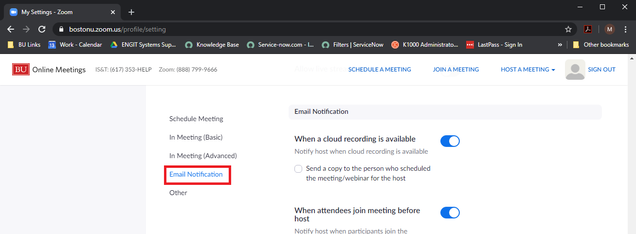
- There are no settings we recommend changing at this time.
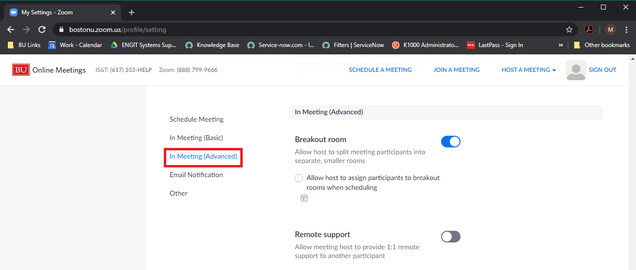
Other
- Select “Settings” from the left-hand navigation menu. Then “Other” from the middle menu.

- Settings for your consideration:
- Blur snapshot on iOS task switcher
- Invitation Email: Add additional text to the boilerplate meeting invitation
- Schedule Privilege: Assign users to schedule meetings on your behalf
Recording
- Select “Settings” from the left-hand navigation menu. Then “Recording” from the top of the page.

- Settings we recommend you should Toggle-On from the defaults are:
- Automatic recording
- It is strongly recommend to save to the Local Computer and upload later to the Media Gallery of your Blackboard course.
- Settings for your consideration:
- Only authenticated users can view cloud recordings
- Recording consent