|
BU Linux 4.0 Step-by-Step installation instructions
These instructions should help you with a basic install of BU Linux 4.0
Bossanova. They demonstrate the "Personal Desktop" installation type. If you
choose Workstation, Server, or Custom, some of the choices and screens will
be a bit different, but the basic concepts are the same.
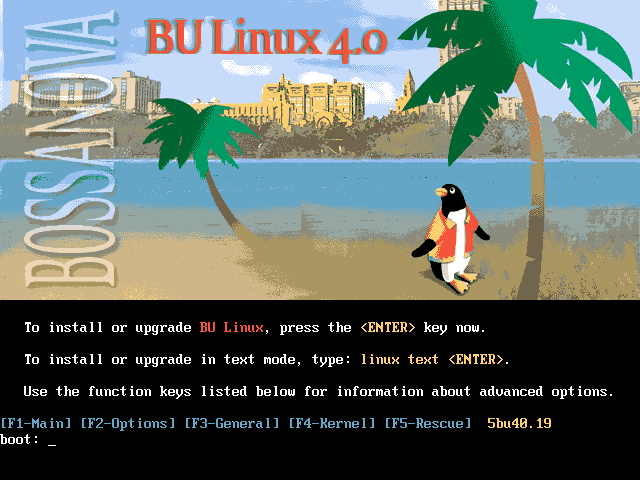
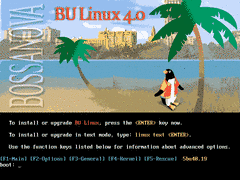 Once you are ready to begin, reboot your machine from the BU
Linux netinst boot floppy or CD. Press your <ENTER> key to continue.
In some rare cases, you may want to select different install options at this
point, but usually you won't need to. (Press F1-F5 to access help
screens.)
Once you are ready to begin, reboot your machine from the BU
Linux netinst boot floppy or CD. Press your <ENTER> key to continue.
In some rare cases, you may want to select different install options at this
point, but usually you won't need to. (Press F1-F5 to access help
screens.)
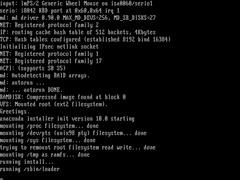 The kernel will now load. You'll see a lot of information scroll by with
information about the hardware in your system. The actual text will
vary from machine to machine.
The kernel will now load. You'll see a lot of information scroll by with
information about the hardware in your system. The actual text will
vary from machine to machine.
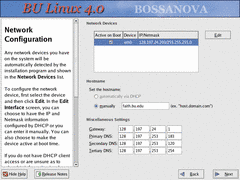
 Next, enter the network information for your computer. You can choose to use
either DHCP or give a static IP address. If you're not sure what to use,
DHCP is a generally safe guess, and otherwise you should ask your network
administrator. The netmask and gateway will be automatically calculated, and will
likely be correct for most subnets at BU.
Next, enter the network information for your computer. You can choose to use
either DHCP or give a static IP address. If you're not sure what to use,
DHCP is a generally safe guess, and otherwise you should ask your network
administrator. The netmask and gateway will be automatically calculated, and will
likely be correct for most subnets at BU.
Once you've entered the networking information, the
second-stage of the install program will be loaded from the network. If this
doesn't happen, please go back and make sure you've entered your information
correctly. (And of course make sure that the network card is properly
connected!)
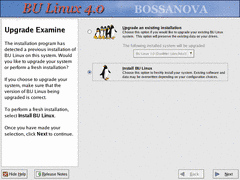 When the installer detects a previous installation of BU Linux or of Red Hat
Linux, you'll be prompted to choose between an upgrade and a fresh
installation. You may find that backing up configuration files and doing a
clean new install is actually faster than an upgrade (since the upgrade
needs to process each existing package to determine what upgrades are needed
and how to do them.). And, if your user data is on a separate partition, you
will be able to chose to leave that untouched. Of course, an upgrade install
is also often convenient, as it will attempt to preserve your existing
configuration as much as possible. The rest of these instructions cover a
clean install, but the concepts are similar if you choose to do an upgrade.
When the installer detects a previous installation of BU Linux or of Red Hat
Linux, you'll be prompted to choose between an upgrade and a fresh
installation. You may find that backing up configuration files and doing a
clean new install is actually faster than an upgrade (since the upgrade
needs to process each existing package to determine what upgrades are needed
and how to do them.). And, if your user data is on a separate partition, you
will be able to chose to leave that untouched. Of course, an upgrade install
is also often convenient, as it will attempt to preserve your existing
configuration as much as possible. The rest of these instructions cover a
clean install, but the concepts are similar if you choose to do an upgrade.
Note: we've recieved several reports of difficulties with systems
upgraded from older BU Linux releases. Everything has been resolvable, but
new users and experienced admins alike will probably find a fresh install
less of a hassle. For the next BU Linux release, we intend to invest extra
time into improving this process. For now, we strongly recommend choosing to
do a clean install, even when upgrade is selected as the default.
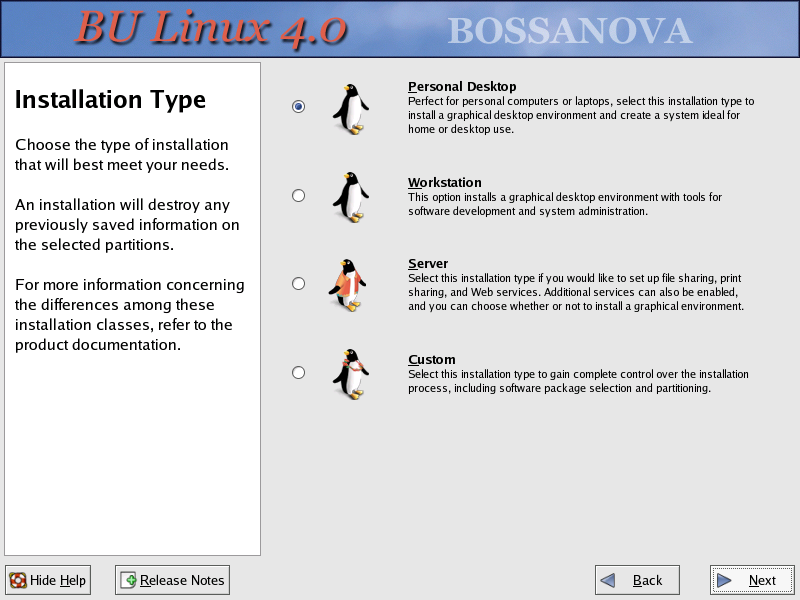
 Now, you'll need to pick the type of install you want. These instructions
are for the Personal Desktop path. Chosing Workstation will add software
development tools, and picking Server will, as the name implies, give you
options appropriate for a server machine. For the most flexibility, choose
Custom, but be prepared to answer a lot more questions.
Now, you'll need to pick the type of install you want. These instructions
are for the Personal Desktop path. Chosing Workstation will add software
development tools, and picking Server will, as the name implies, give you
options appropriate for a server machine. For the most flexibility, choose
Custom, but be prepared to answer a lot more questions.
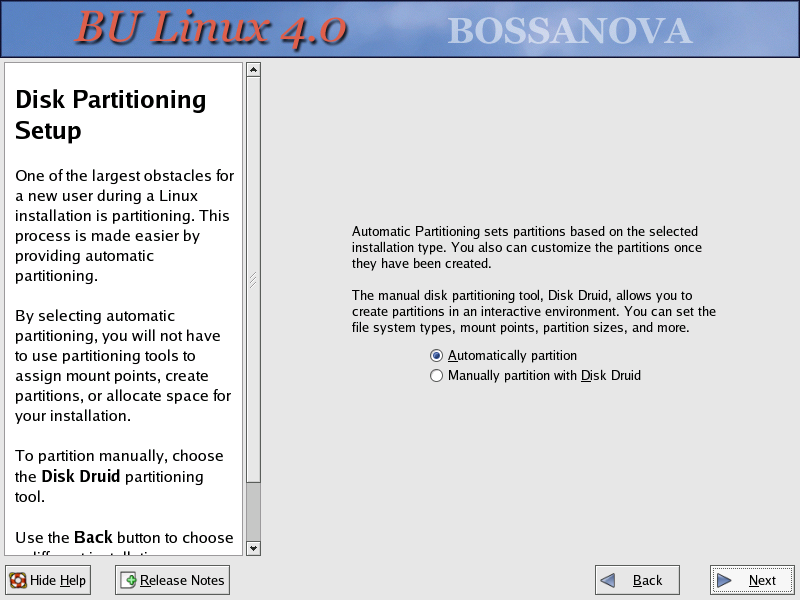
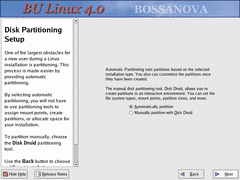 The next step is configuring your disk drives — getting them partitioned
properly, and assigning mount points (deciding where the partitions you make
will be accessed from). Unless you have specific needs, choosing
"Autopartition" here will be fine. Disk partitioning can be esoteric, so if
you want something other than the automatic defaults, you'll need to know
what you're doing.
The next step is configuring your disk drives — getting them partitioned
properly, and assigning mount points (deciding where the partitions you make
will be accessed from). Unless you have specific needs, choosing
"Autopartition" here will be fine. Disk partitioning can be esoteric, so if
you want something other than the automatic defaults, you'll need to know
what you're doing.
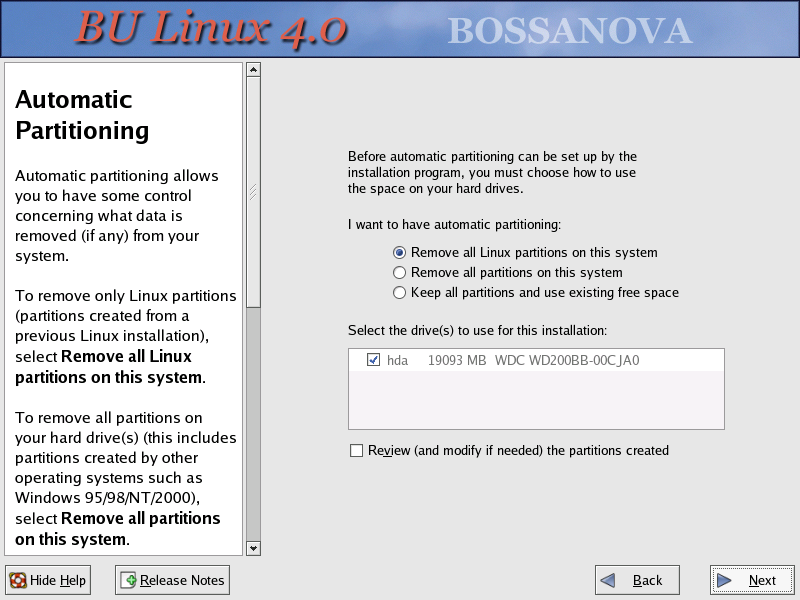
If you have a brand-new disk, you'll see a warning about an unreadble partition
table. In that case, you should say Yes to that question.
 Next, you'll be asked to choose how to utilize the space on the hard drive.
Unless you're doing something special, choose "Remove all Linux Partitions
on this system", or "Remove all partitions on this system."
Next, you'll be asked to choose how to utilize the space on the hard drive.
Unless you're doing something special, choose "Remove all Linux Partitions
on this system", or "Remove all partitions on this system."
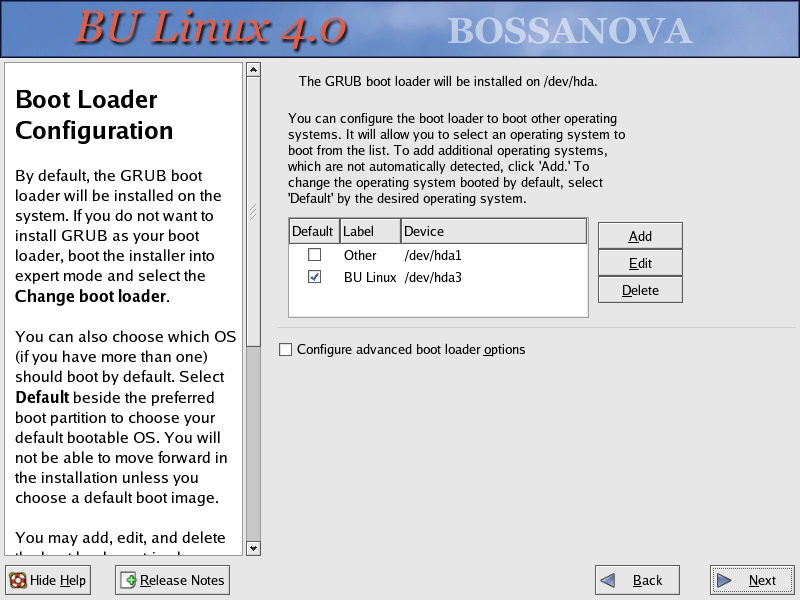
 Then, you'll be asked to choose what partitions you want to be able to boot
from. This is where you would configure dual-boot options for machines with
multiple operating systems installed. Usually, the
default settings are what you want.
Then, you'll be asked to choose what partitions you want to be able to boot
from. This is where you would configure dual-boot options for machines with
multiple operating systems installed. Usually, the
default settings are what you want.
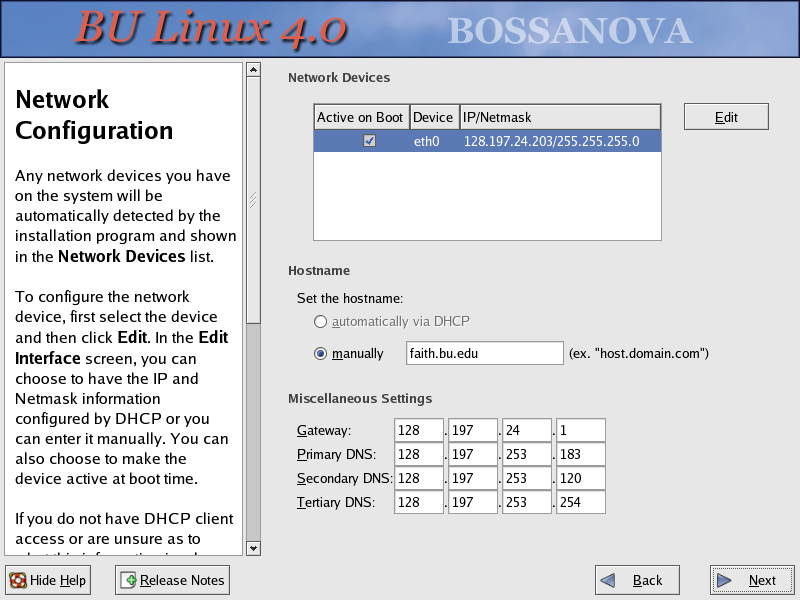
 Although you already entered the network configuration at the beginning of
the install, you have a chance to verify it here. The approprate hostname
should have been discovered automatically — if it wasn't, please make sure
your network is working properly. You also have a chance to change the DNS
servers here, which may be useful for off-campus installations.
Otherwise, the BU defaults are fine. In almost all cases, you just want to
press "Next" on this screen and move on.
Although you already entered the network configuration at the beginning of
the install, you have a chance to verify it here. The approprate hostname
should have been discovered automatically — if it wasn't, please make sure
your network is working properly. You also have a chance to change the DNS
servers here, which may be useful for off-campus installations.
Otherwise, the BU defaults are fine. In almost all cases, you just want to
press "Next" on this screen and move on.
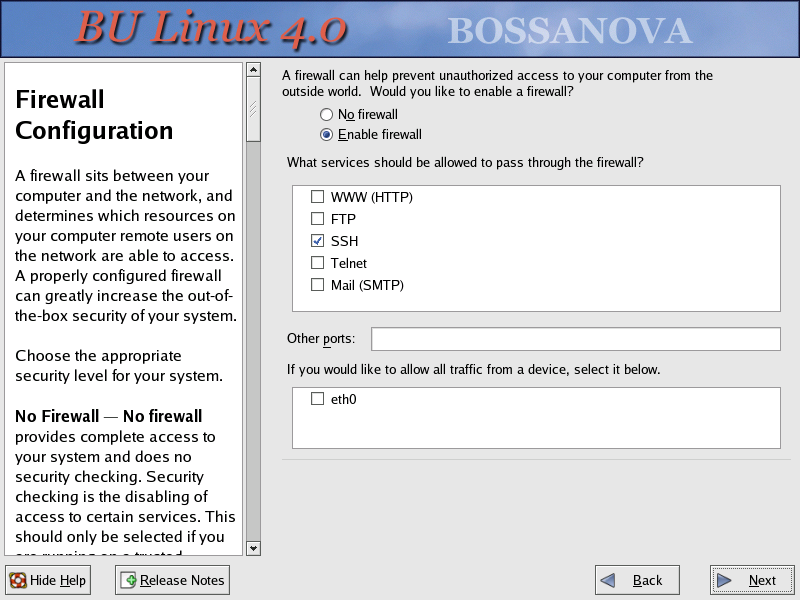
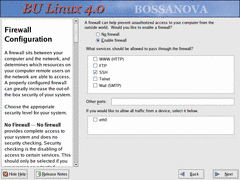 The next screen deals with the firewall settings. If you will be using the
system as a server, you will want to check the appropriate boxes to allow
access. Of course, you'll need to actually configure those services once the
system is installed.
The next screen deals with the firewall settings. If you will be using the
system as a server, you will want to check the appropriate boxes to allow
access. Of course, you'll need to actually configure those services once the
system is installed.
Using the "allow all traffic" option is not recommended in most cases,
but may be helpful if the system is intended for use as a firewall / router.
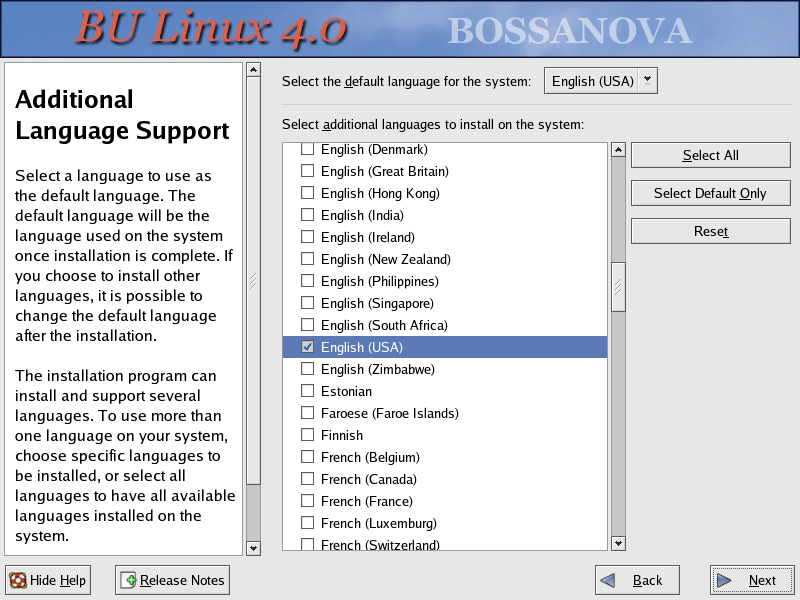
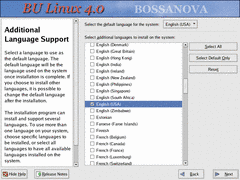 The next option is to choose what language will be available on this system.
The default is to install just English support, but if the machine will be
used by speakers of other languages, you can add others.
The next option is to choose what language will be available on this system.
The default is to install just English support, but if the machine will be
used by speakers of other languages, you can add others.
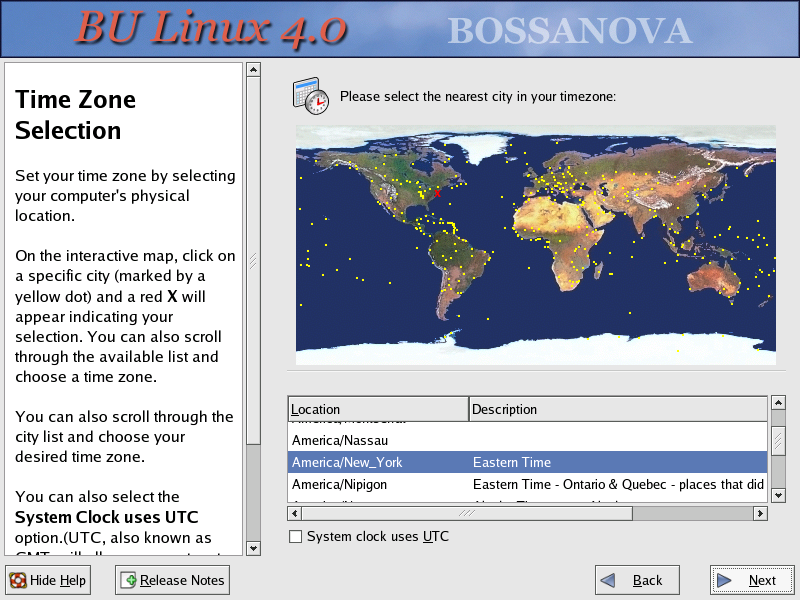
 Obviously, most BU machines will be in the Eastern time zone, which, Hub of
the Universe not withstanding, is officially known as "America/New York". If
your system is not dual booting, setting the system clock to use UTC is a
nice option, since it can reduce daylight saving time hassles.
Obviously, most BU machines will be in the Eastern time zone, which, Hub of
the Universe not withstanding, is officially known as "America/New York". If
your system is not dual booting, setting the system clock to use UTC is a
nice option, since it can reduce daylight saving time hassles.
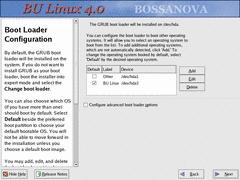
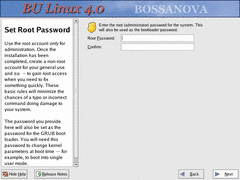 Next, you must set a root password. This is very important. Anyone
with access to the root password can do anything they want on your system.
Make sure that the one you pick is hard to guess (and not something you use
elsewhere). This password will also be used by the GRUB boot loader.
Next, you must set a root password. This is very important. Anyone
with access to the root password can do anything they want on your system.
Make sure that the one you pick is hard to guess (and not something you use
elsewhere). This password will also be used by the GRUB boot loader.
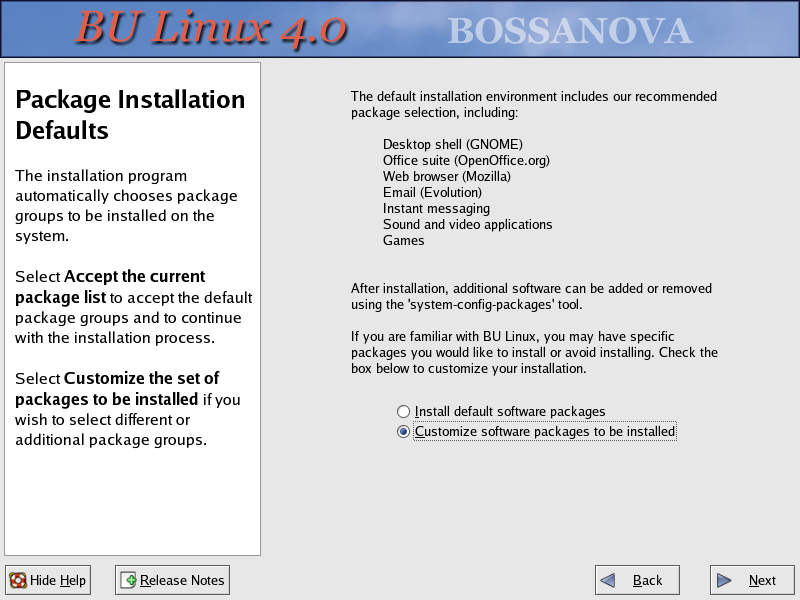
 The Personal Desktop installation path preselects software which will be
generally useful on a desktop machine — web browsers, office applications,
and so on. To add other software or remove things which you
won't need, select "Customize Software Selection".
The Personal Desktop installation path preselects software which will be
generally useful on a desktop machine — web browsers, office applications,
and so on. To add other software or remove things which you
won't need, select "Customize Software Selection".
After the installation is complete, it's easy to add or remove packages
with apt-get or the Synaptic
GUI. These tools are more flexible than the installer and they present more
information on each package, so you may find it more convenient to skip
specific package selection now and use those instead.
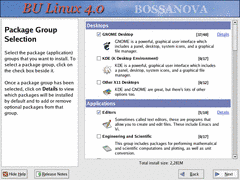 If you've chosen to customize the software that gets installed, you're given
a list of various package groups which you can check to add to the system, or
uncheck to remove. Which groups are preselected is determined by your choice
of install type — for example, Personal Desktop doesn't include the
software development tools by default, but Workstation does.
If you've chosen to customize the software that gets installed, you're given
a list of various package groups which you can check to add to the system, or
uncheck to remove. Which groups are preselected is determined by your choice
of install type — for example, Personal Desktop doesn't include the
software development tools by default, but Workstation does.
 The next screen simply lets you know that a log will be created that records
the installation process. Once you say OK here, the installer will begin
transferring packages over the network and installing them.
The next screen simply lets you know that a log will be created that records
the installation process. Once you say OK here, the installer will begin
transferring packages over the network and installing them.
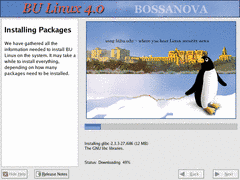 The installation process can take a while — a good time for a nice long lunch break.
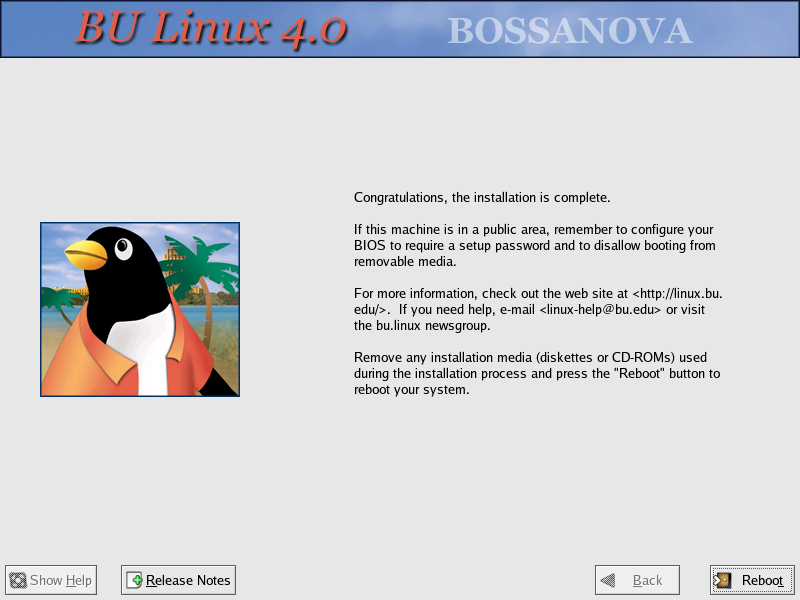
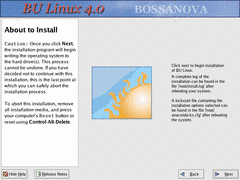
 Assuming all went well, you'll see a congratulatory message when the installation
completes. You're almost done, but if the system you've just installed is in a computer lab
or other insecure location, there's one more important thing to do….
Assuming all went well, you'll see a congratulatory message when the installation
completes. You're almost done, but if the system you've just installed is in a computer lab
or other insecure location, there's one more important thing to do….
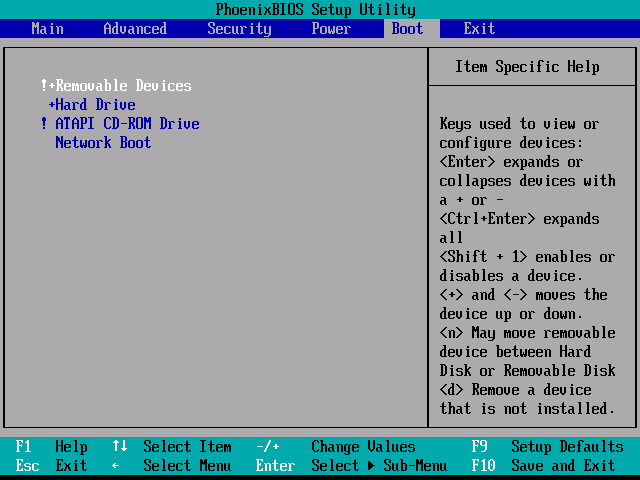
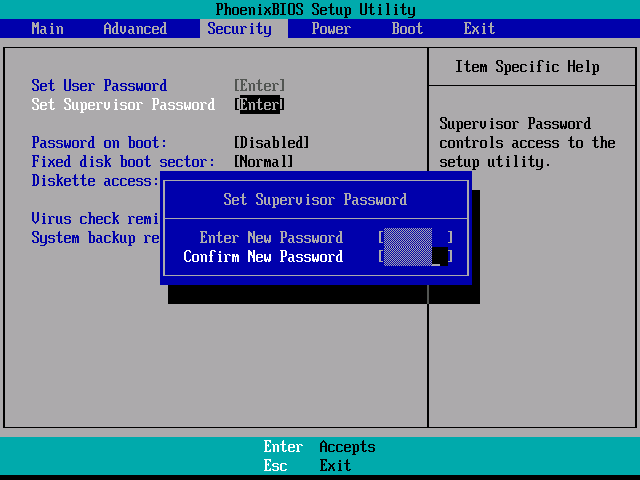
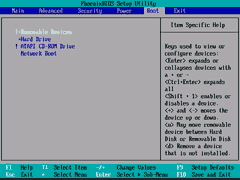 Use your PC's BIOS configuration utility (usually entered by hitting F2,
DEL, ESC, or some other key while the machine is first booting) to disable
booting from removable media and to require a password to enter the BIOS
config. Otherwise, someone could come with a boot floppy or CD of their own
and gain complete access to the machine.
Use your PC's BIOS configuration utility (usually entered by hitting F2,
DEL, ESC, or some other key while the machine is first booting) to disable
booting from removable media and to require a password to enter the BIOS
config. Otherwise, someone could come with a boot floppy or CD of their own
and gain complete access to the machine.

(The screenshots here are examples only; the BIOS config utility for your PC
is probably different.)
And congratulations! You now have a working BU Linux system! We're
interested in knowing who is using BU Linux, and we'd like to hear any
feedback you may have, so we'd appreciate it if you'd send a message to
linux-help@bu.edu
introducing yourself. If you'd like to be added to our (low-volume)
announcements mailing list, please mention that.
If you're new to Linux, you may want to take a look through the resources section of our FAQ. And beginners and experts alike are invited to take
part in the bu.linux newsgroup,
both to ask questions and to help answer them.
|