VPN
OpenConnect
A newer tool that works with Ubuntu 18.04.
First, install the Ubuntu Network Manager:
sudo apt-get install openconnect network-manager-openconnect-gnome
Configure the VPN
- Click on the Network Manager icon in your System Tray

- Click the Configure icon

- Under VPN, click + to create a VPN
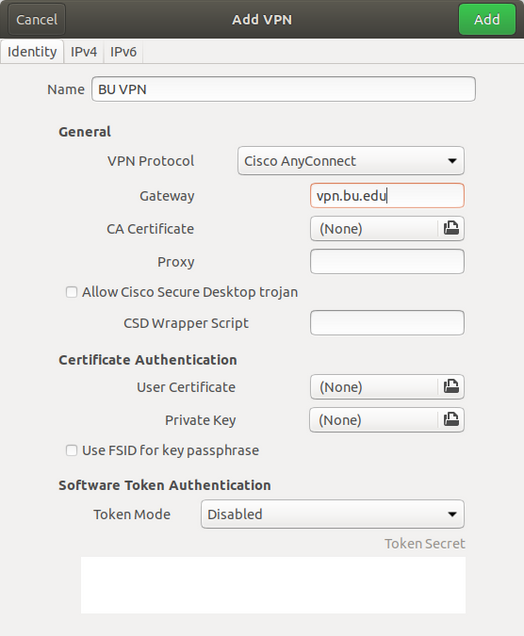
- In the popup, click Cisco AnyConnect Compatible VPN to open configuration
- Enter the following:
- Connection name: BU VPN
- Gateway: vpn.bu.edu
- Leave the rest blank
- Connection name: BU VPN
- Click Add in the upper right
Start the VPN client
- Click on the Network Manager icon in your System Tray
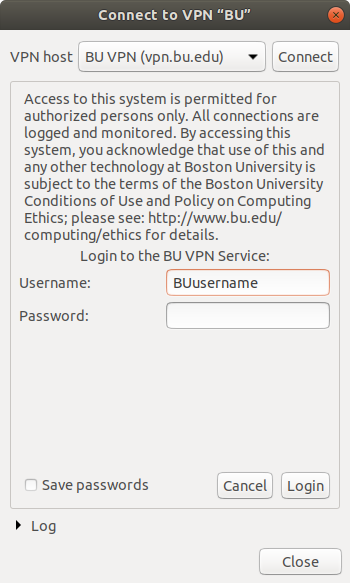
- Turn on the BU VPN
- In the Popup, enter the following:
- Username: Your BUusername
- Password: Your Active Directory/Kerberos password
- Click Login.
Disconnect the VPN
- Click on the Network Manager icon in your System Tray
- Turn off the BU VPN
VPNC
In Ubuntu 16.04, you could connect to the BU VPN using the vpnc package. This hasn’t been tested recently.
- The package network-manager-vpnc gives you access to your VPNs from the Network Manager applet.
If you’re not using NetworkManager to handle the VPNs, you will need to make a couple config files.
- /etc/vpnc/oncampus.conf
IPSec gateway vpn-oncampus.bu.edu
IPSec ID BostonU
IPSec secret BostonU
- /etc/vpnc/offcampus.conf
IPSec gateway vpn-offcampus.bu.edu
IPSec ID BostonU
IPSec secret BostonU
- You can also make /etc/vpnc/default.conf a link pointing to the connection you use most.