Crestron TPMC-4SM Control Panel (2nd Generation w/ Computer)
Detailed Operating Instructions
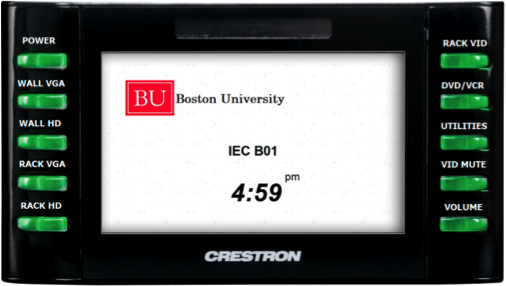
START UP
- Locate the touchscreen control panel in the room.
There may be more than one panel; either panel may be used at any point during your projection. - The panels are motion activated. When you approach the panel, the default screen may appear. Display includes your classroom building & room and the current time.
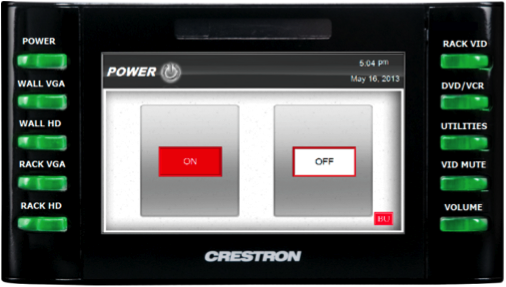
- Press the POWER button on the top left of the control panel.
- The System Power submenu will appear. Press the ON button on the touchscreen. ALWAYS turn the system on at the panel — you will never need to touch the actual projector.
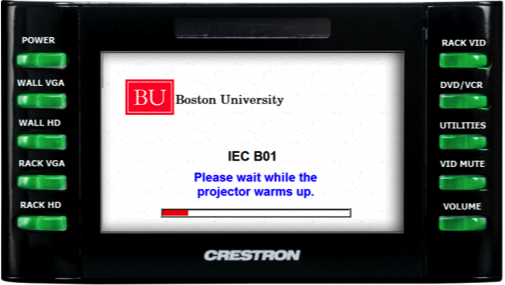
- A progress bar will appear with the message “Please wait while the projector warms up”. The process takes about 40 – 60 seconds, depending on the system. No other actions can be performed while the projector is warming up.
- Lower the projection screen at the front of the room.
The screen may be manual or electric. - When the system has warmed up, the following message will display on the panel: “System is ready. Please plug your source at the right location!”
DISPLAY LAPTOP
If you are using a Mac laptop, you will need to provide your own VGA adapter, as Classroom Technology Services does not provide Mac adapters.
Also, If your laptop does not display, press the APA (Auto Pixel Adjust) button in the bottom left of the touchscreen after source selection. By pressing this button, the projector will optimally align the image pixels without requiring laptop adjustments such as changing the image resolution.
WALL INPUT — VGA
- Remove the 15pin VGA cable from the rack drawer located in the cabinet or media box.
- Connect your laptop, using the cable, into the PC IN input jack on the wall. If using Computer Audio, please also connect the 1/8” stereo mini connector to both your laptop and the wall jack.
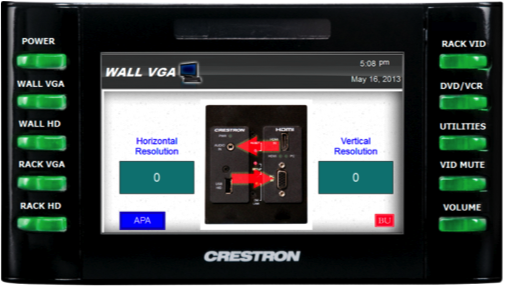
- Push the WALL VGA button near the top left of the control panel.
- Turn on your laptop
- After a few seconds, the system will detect your connection and display the Horizontal & Vertical Resolution.
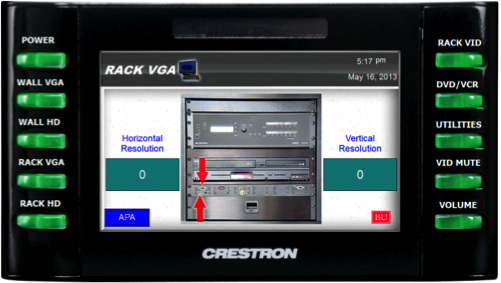
RACK INPUT — VGA
- Remove the 15pin VGA cable from the rack drawer located in the cabinet or media box.
- Connect your laptop, using the cable, into the COMPUTER VIDEO input jack in the equipment rack in the cabinet or media box. If using Computer Audio, please also connect the 1/8” stereo mini connector to both your laptop and the wall jack.
- Push the RACK VGA button on the left side of the control panel.
- Turn on your laptop
- After a few seconds, the system will detect your connection and display the Horizontal & Vertical Resolution.
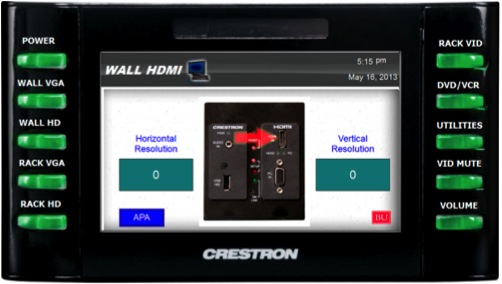
WALL INPUT — HDMI
- Remove the HDMI cable from the rack drawer located in the cabinet or media box.
If there is no HDMI cable in the drawer, please contact CTS at (617) 353-3227 and we will bring you a cable. - Connect your laptop, using the cable, into the HDMI IN input jack on the wall.
- Push the WALL HD button on the left side of the control panel.
- Turn on your laptop.
- After a few seconds, the system will detect your connection and display the Horizontal & Vertical Resolution.
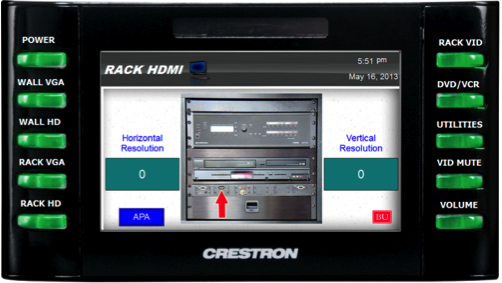
RACK INPUT — HDMI
- Remove the HDMI cable from the rack drawer located in the cabinet or media box.
If there is no HDMI cable in the drawer, please contact CTS at (617) 353-3227 and we will bring you a cable. - Connect your laptop, using the cable, to the HDMI IN input jack in the equipment rack in the cabinet or media box.
-
Push the RACK HD (might also be labeled MAC MINI) button on the bottom left of the control panel. Select the RACK HDMI option.
- Turn on your laptop.
- After a few seconds, the system will detect your connection and display the Horizontal & Vertical Resolution.
MAC MINI
- Push the RACK HD (might also be labeled MAC MINI) button on the bottom left of the control panel.
- Select the MINI MAC option.
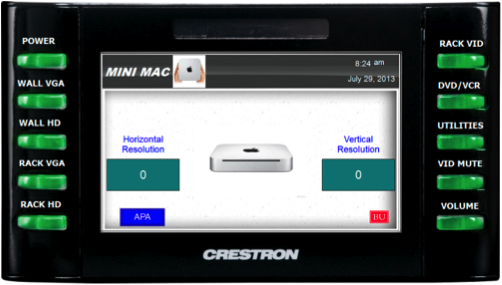
- Log in to the Mac Mini.
If you are having issues with the Mac Mini, please contact Global Programs Technology Support (GPTS) at either (617) 353-4800 or gpts@bu.edu. More info can be found here: www.bu.edu/gpts.
DISPLAY DVD
- All rooms with this control panel are equipped with a combination VCR/DVD Player. Insert your DVD into the Combo Player in the equipment rack, located in the cabinet or media box.
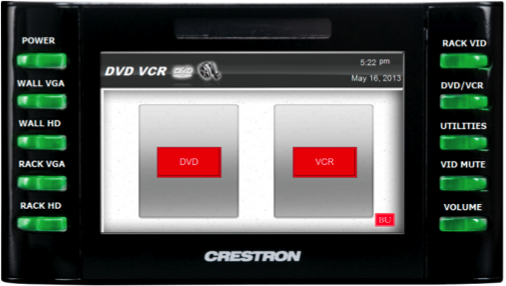
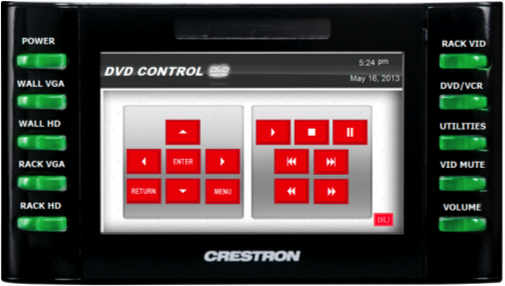
- Press the DVD/VCR button on the right side of the control panel. Select the DVD option on the touchscreen. The DVD Control and Navigation menu will be displayed, including options for the following: Play, Stop, Pause, Rewind, Fast Forward, Track Forward and Track Back.
- There are also Left, Right, Up and Down arrows which will allow you to navigate your DVD’s menu. Use the RETURN button to return to the previous screen, or the MENU button, which will bring you to the DVD’s menu.
- All functions of the DVD can be controlled from the DVD Control and Navigation menu, making a remote control unnecessary.
DISPLAY VHS
- All rooms with this control panel are equipped with a combination VCR/DVD Player. Insert your VHS tape into the Combo Player in the equipment rack, located in the cabinet or media box.
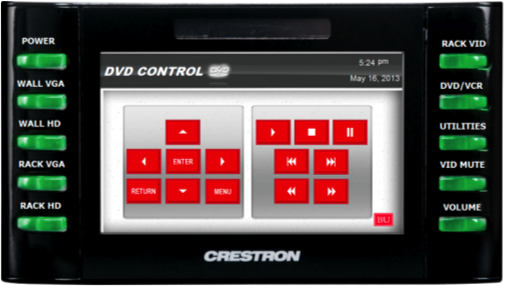
- Press the DVD/VCR button on the right side of the control panel. Select the VCR option on the touchscreen. The VCR Control menu will be displayed, including options for the following: Play, Stop, Pause, Rewind and Fast Forward.
- All functions of the VCR can be controlled from this menu, making a remote control unnecessary.
DISPLAY AUXILIARY VIDEO
Occasionally, if the built-in DVD Player or VCR in a classroom fails, portable equipment may be brought in for temporary use.
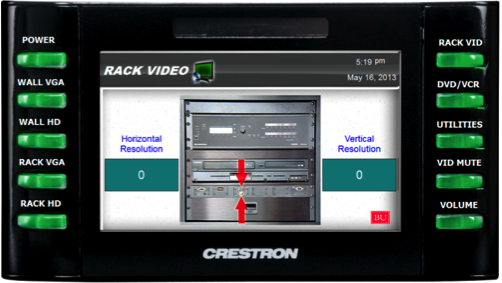
- Plug the equipment into the RCA inputs in the equipment rack located in the cabinet or media box.
- Push RACK VID in the top right of the panel
UTILITIES/ASPECT RATIO
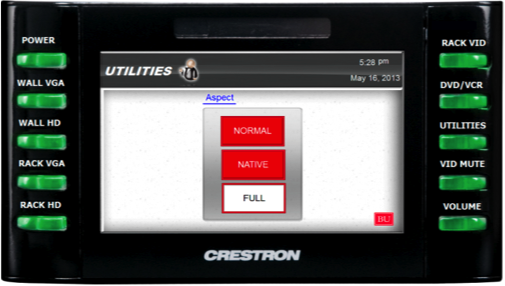
- Press the UTILITIES button on the right side of the control to access the Aspect Ratio menu.
- NORMAL: This option will display your laptop image as is.
- NATIVE: This option will adjust your laptop’s resolution to the native resolution of the projector. In most rooms with this panel, the native resolution is 1280×800.
- FULL: This option will scale the projected image to fill the entire projection screen.
If your projection contains a lot of images, they will most likely appear skewed. If this is the case, please switch back to NORMAL projection mode.
VOLUME CONTROL
The levels of both Computer Audio, as well as the audio of your projected DVD or VHS media, are controlled from the Volume menu.
- Press the VOLUME button near the bottom right of the control panel.
- Use the UP and DOWN arrows to raise and lower the volume. Press the MUTE button to silence the audio; press it again, or either the UP or DOWN arrow, to restore the audio.
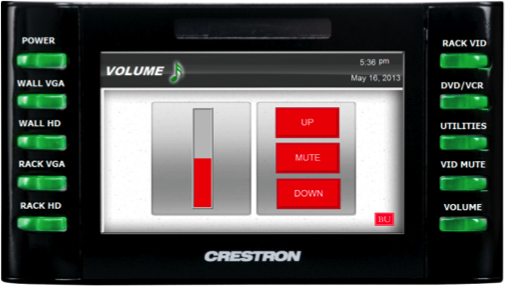
When the volume is muted, the MUTE button becomes white and the volume meter to the left disappears.
VIDEO MUTE
It is possible to temporarily shut off the projected image without turning off the projection system.
- Press the VID MUTE button on the bottom right of the control panel.
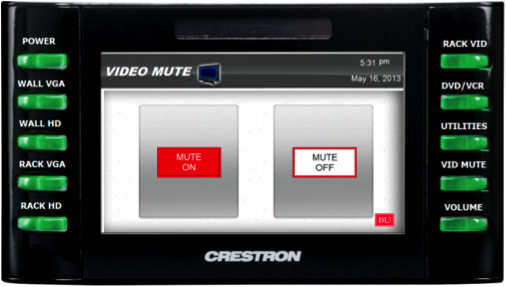
- Press the MUTE ON button to enable the Video Mute.
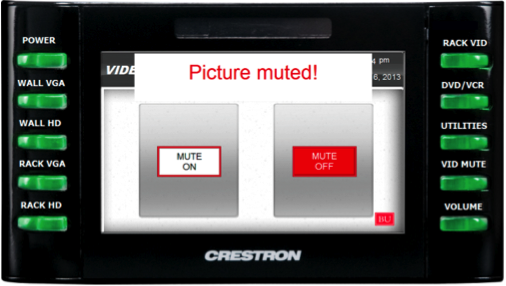
- Press the MUTE OFF button to restore the image.
When the Video Mute is active, the “Picture muted!!” message will flash on the touchscreen.
SHUT DOWN
- Press the POWER button on the top left of the control panel.
- The System Power submenu will appear. Press the OFF button on the touchscreen. ALWAYS turn the system on at the panel — you will never need to touch the actual projector.
- A progress bar will appear with the message “Please wait while the system shuts down”. The shutdown process takes about 2 minutes.
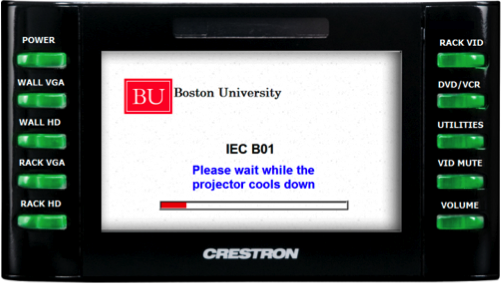
You will not be able to restart the system until the projector cools down. - Return the projection screen to the raised position. Return the cable to the drawer.

