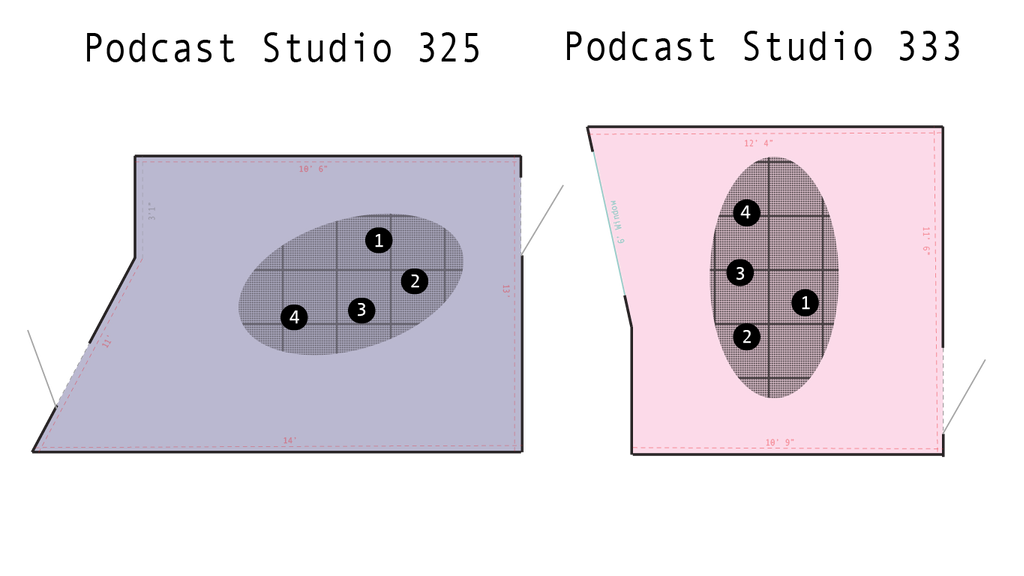
Working in the Podcast Studios:
Recording Direct to Laptop:
- Plug the labelled USB Cable directly into your laptop.
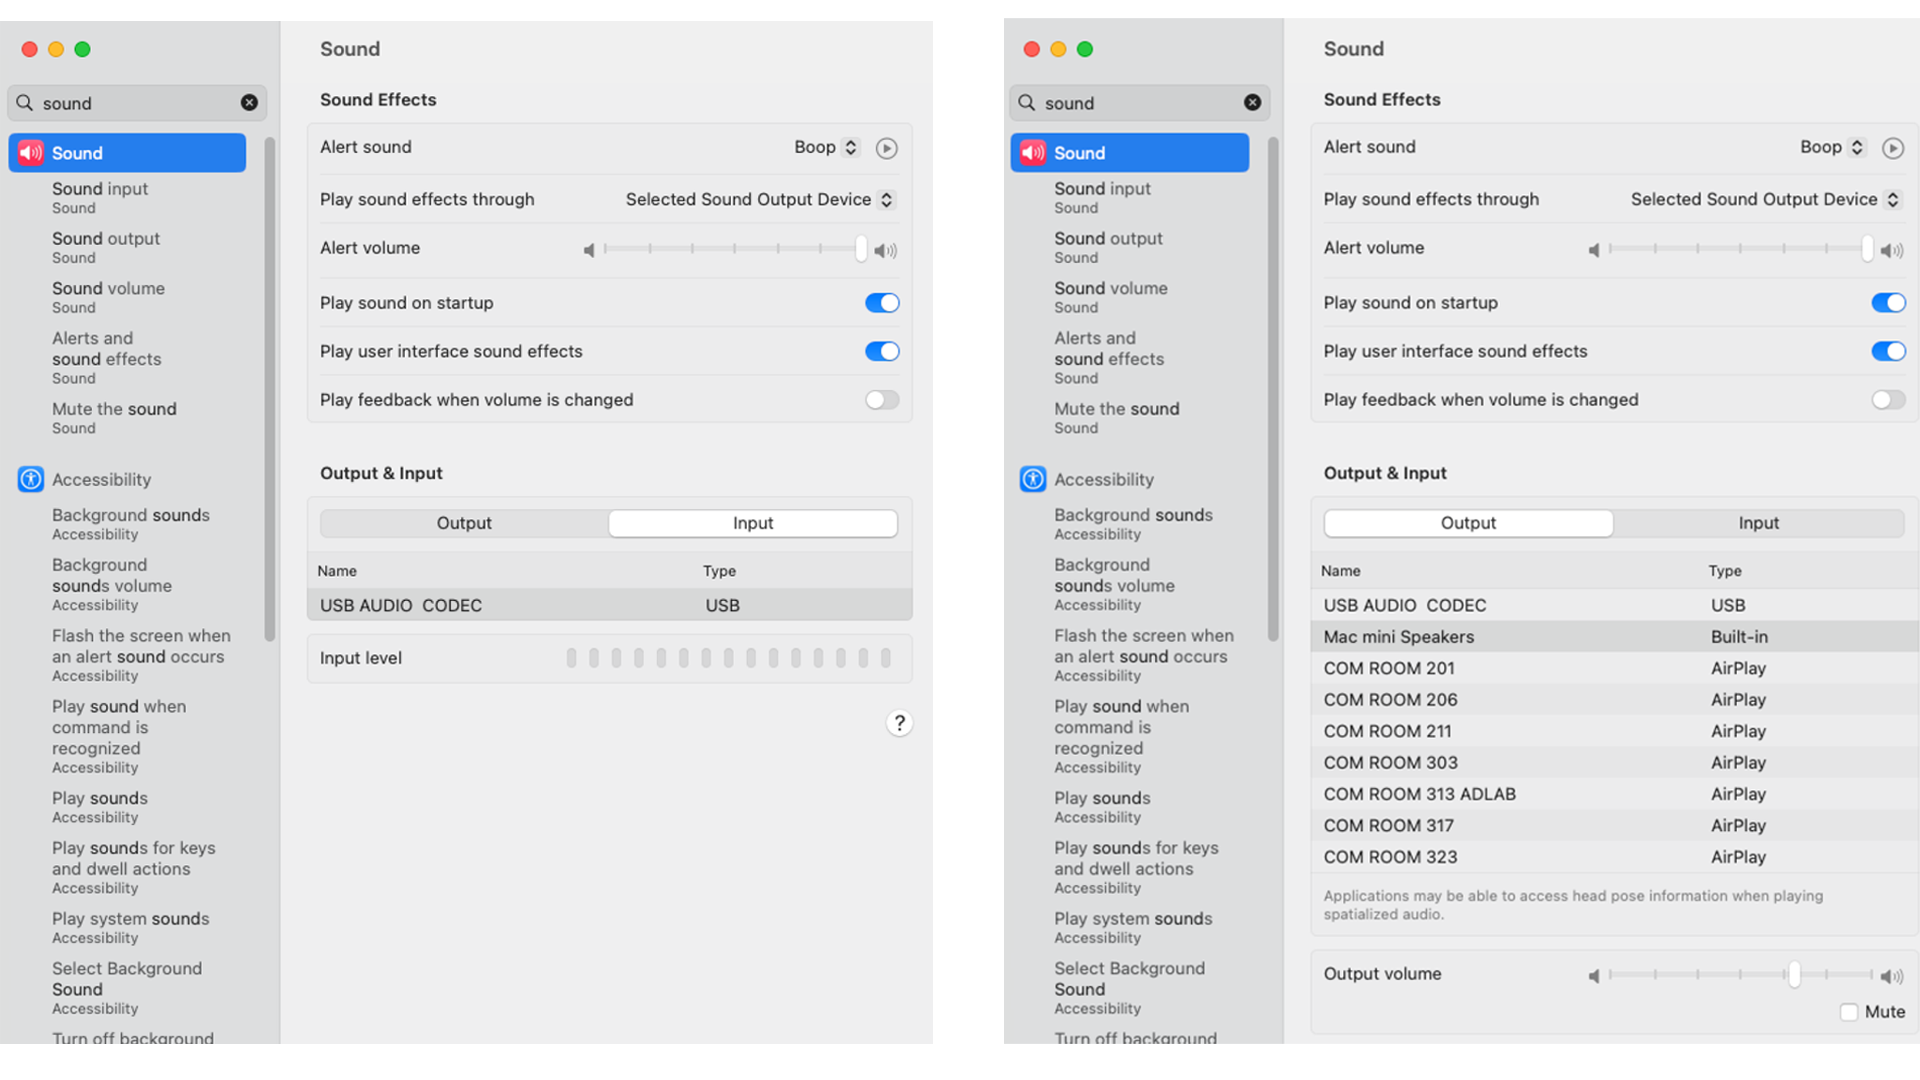
- Open your “Sound Preferences” and go to the “Input” settings.
- Select “USB Audio Codec”
- Open your preferred recording software (we recommend Adobe Audition)
- Press the record button in the software and save/export your file when finished.
Recording Direct to Desktop:
- Log into your BU Account on the desktop and open the audio program of your choice.
(If you want to use any Adobe program you will have to log in to your BU account again). - In the audio program select “USB Audio Codec” as the input/microphone. Make sure that the track on the audio board labeled ST4Mac is on and brought up in order that the headphones will playback the recorded audio.
- Record your session and export the file to google drive, an external hard drive or another file-sharing system.
If you have any questions or problems email comhelp@bu.edu
Recording to Adobe Audition:
- Open Adobe Audition with a New Project.
- Choose File > New > Multitrack Session
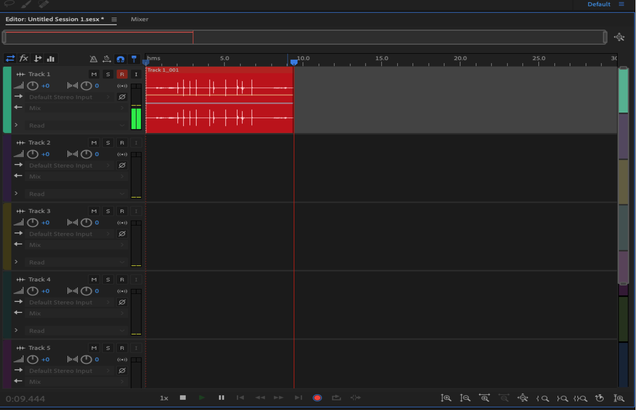
- Select a track to record to and select USB Audio Codec in the menu displayed in the reference image below.
- Make sure to click “R” on the track you want to record on.
- At the bottom of the record window, click the red circle to start recording. The tracks will turn red while they record if it’s set up correctly.
- Press “Stop” when finished recording.
- Select File > Export and name your file or Mix Session.
Zoom Recording Sessions in the Podcast Studios:
- Open both Zoom and recording app of your choice on the desktop computer provided.
- Record your session in the audio editing software of your choice (i.e. Audition, Audacity etc.) AND in Zoom itself. Technology can malfunction and especially if this recording session is a live interview having a backup is always a good idea.
Within Zoom:
- Click the ^ symbol to the right of the mute button/microphone icon. The pop-up menu should list “USB Audio Codec” under both “speaker” and “microphone.” If it does not, click “Audio Settings” and reassign the speaker and microphone to match the image below.
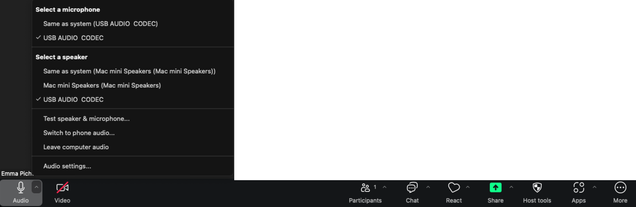
- Within the settings menu select “Recording” and under “Store My Recording At” select a location (like the desktop) so the recording will be easy to find after your session.
- To start the zoom recording click the three dots inside a circle for “More” and select “Record On This Computer.”
Within Audition:
(Or another audio recording software)
- Login to your adobe account and click “Multitrack” in the upper right-hand corner. Choose where you will save this Adobe Session (Pick a folder or location that will be easy to access and export from later).
- On “Track 1,” click “R” so it turns red. You can now record to that track.
- Under Audition’s Settings and “Audio Hardware” make sure both the default input and output are set to “USB AUDIO CODEC”

4. On the physical Audio Board: make sure all the studio microphones you want are live by pressing “On” below their matching slider. If you are recording someone remotely on the desktop, make sure ST4 MAC is on. If recording from a laptop you will instead want to turn on ST4 USB.
6. If the mics are live the bar to the left of Track 1 will be green (see image below) and moving according to the sounds it is picking up and audio should be playing through the studio headphones. To record in Audition, click the red record button at the bottom of the window.
Final Steps:
- Adjust the mix with the corresponding physical sliders before starting either recording.
- Do a test recording in your preferred recording software to check the quality of the playback and to make sure the correct microphones are recording. (To hear the playback through the headphones the computer and audition must both have the podcast system set as their output AND the track labelled “MAC” needs to be turned on and the slider needs to be raised.) It is ideal to record all the audio through the studio desktop AND use a personal device to connect to the meeting with a camera (so the other participants can see your face) and to have zoom record the session.
- Start both recordings and complete your session.
- When you’re done, stop the recordings. In zoom you can click “stop recording” and then click “End the meeting”
- Zoom will automatically open a folder at the end of your call that contains three files: the .mp4 (the complete video and audio recording) and the .m4a audio (zoom audio only) transfer these two to a personal hard drive or virtual drive right away.
- Save and export your Audition session. Then IMMEDIATELY listen to both the Audition and Zoom files to check for quality before you leave the studio.
- Finally, log out of the desktop.
Troubleshooting:
Most problems can be fixed by checking the audio settings of the computer itself. On the desktop mac or a personal mac go to “Sound.” Make sure the Output and Input are set to “USB Audio Codec” matching the images below.
Third floor staff are happy to offer any help with recording or troubleshooting at any time. Email comhelp@bu.edu with any questions or call 617-353-33453 for help 8 AM – 7 PM Monday through Friday.
Tips and Tricks for recording clean audio:
- Watch the screens above the board to track where the audio is peaking. The goal is always to have the peak around -8 to -12, that will ensure the audio sounds clear during playback and that enough sound has been recorded for later editing.
Somebody should always be monitoring the audio levels via the audio board and the accompanying headphones.
- Audition, once set to record, will record whatever is playing from the device connected to the “AUX” channel.
- Audition will mute AUX if any of the Mics are “ON,” make sure all Mics are “OFF” before using the “AUX” channel.