The settings outlined on this page may vary slightly across devices and versions, but these instructions should be generally applicable to all situations. You can also open this mobile configuration file from your phone to streamline the process.
Note: After you configure 802.1x as described below, you might also want to Get BU Mobile! BU’s suite of applications for the iPhone, iPod touch and iPad.
- Open Settings >> Wi-Fi.
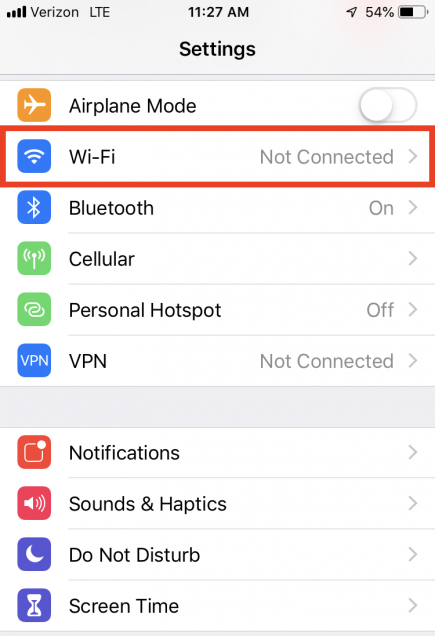
- Ensure Wi-Fi is ON and select BU (802.1x).

- Enter your BU login name (your BU email address without the @bu.edu) as the Username and your Kerberos password as the Password.

- Click Join.
You may be prompted to trust a security certificate. If so, tap Trust.

Troubleshooting
Make 802.1x the default SSID for BU:
If you had previously used either “BU (requires VPN)” or “BU Guest” you may have trouble joining the 802.1x network. (The iPhone will likely get stuck after accepting the certificate, staying in the “Joining…” phase indefinitely. Press the Home button to escape this screen.)
In order to be sure your computer connects by default to the BU (802.1x) SSID, follow these steps:
-
- Open Settings.
- Select Wi-Fi.
- Tap the blue “i” button next to the name of the network you were previously using (i.e. BU (requires VPN), or BU Guest).

- Tap the Forget this Network button.

- Tap Forget Network again.

- Restart your iPhone: Power off your iPhone by holding the sleep button for several seconds. A slider will appear on screen allowing you to power off the device. Once the iPhone has shut down, start it again by pressing the sleep button.
You should now be able to connect to BU (802.1x) as described above.
If you’ve connected successfully to BU (802.1x) but still can’t access the Internet, you may need to restart the Wi-Fi service on your iPhone before you can access the Internet. If you have successfully connected to BU (802.1x) but cannot access web pages or email via Wi-Fi, follow the instructions below to restart the iPhone’s Wi-Fi service.
-
- Open Settings.
- Select Wi-Fi.
- At the top of the Wi-Fi Networks screen, slide the Wi-Fi switch to the OFF position. Pause for a few seconds, and then slide it back to the ON position.

You should now be able to access the Internet.
What next?
You should now be fully connected to the campus network using the BU (802.1x) SSID and able to browse to websites both on and off campus.