The Flexi themes in BU WordPress feature main footbar and alternate footbar widget areas. This allows page authors to create a main footbar for most pages and configure an alternate footbar for other pages (such as the home page, prominent landing pages, etc.)
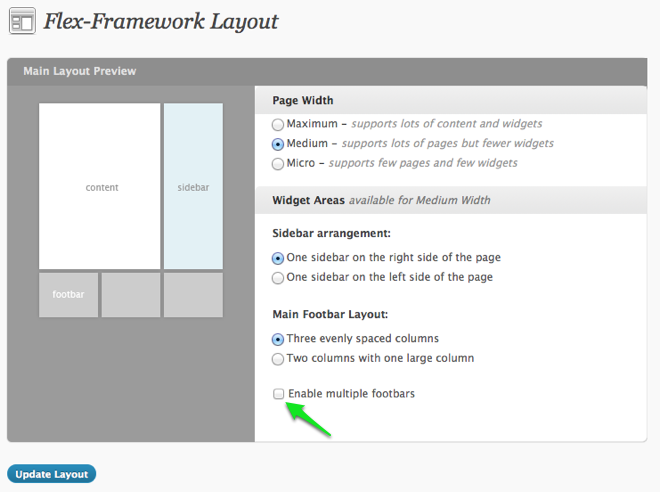
- To use the alternate footbar, a Web Admin for the site must first enable multiple footbars. Start by clicking Edit Layout under the Site Design menu in WordPress.

- On the Flexi-Framework Layout page, turn on the checkbox to enable multiple footbars.
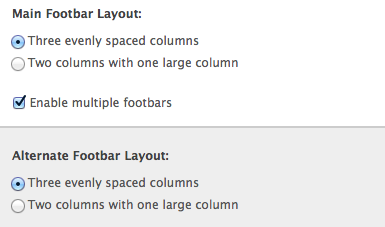
- After you have enabled multiple footbars, you can select from the various layout options that are available in your theme.
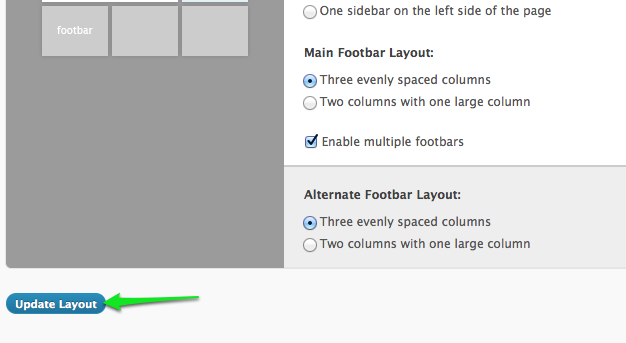
- Click Update Layout to save your changes.
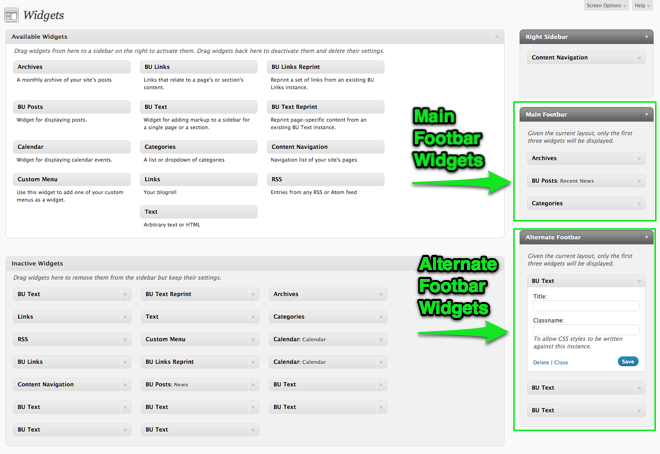
- With multiple footbars enabled, your Widgets settings page will now feature two footbar sections. Choose the widgets you want to use by dragging and dropping them into the appropriate box.
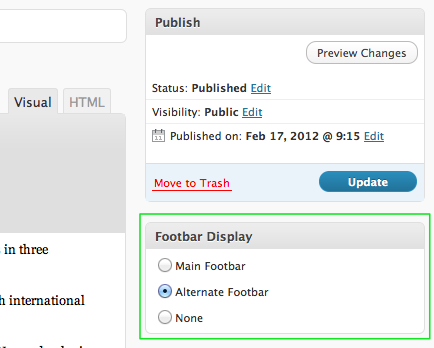
Now with multiple footbars enabled and your main and alternate footbar widgets configured, you can select on a page-by-page basis whether you want to use the main footbar or the alternate footer. These options are configured in WordPress by selecting the appropriate radio button from the Footbar Display box in the WordPress editor. Note that you can also choose “None” as well, which will hide the footbar on that page only.
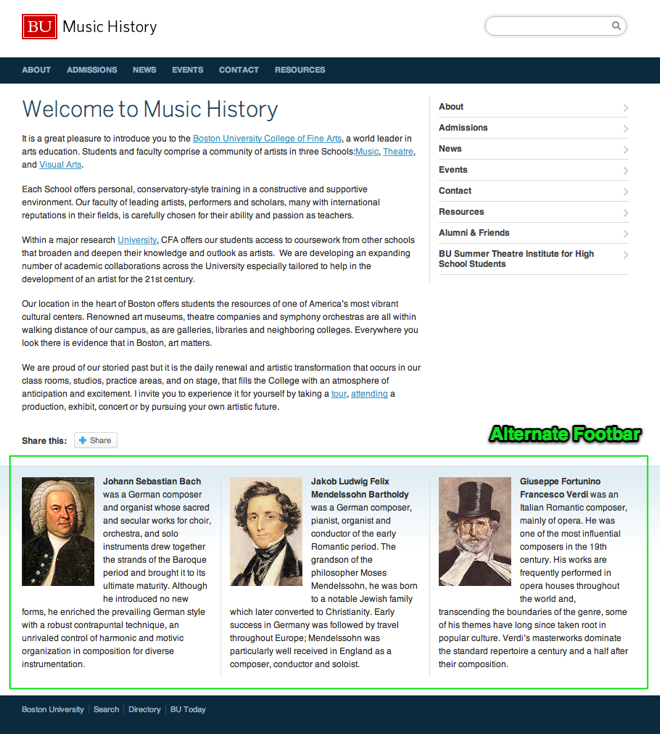
Below are two examples from the same website. The first example shows the site’s homepage, and here we are displaying featured content using the alternate footbar.
Our second example from the same website is an internal page, and here we are using the main footbar that displays archives, news, and post categories.

